Deck the walls, bake Santa some biscuits, wrap the presents but above all decorate and craft like your life depends on it. Here’s our guide to the two weeks before Christmas.
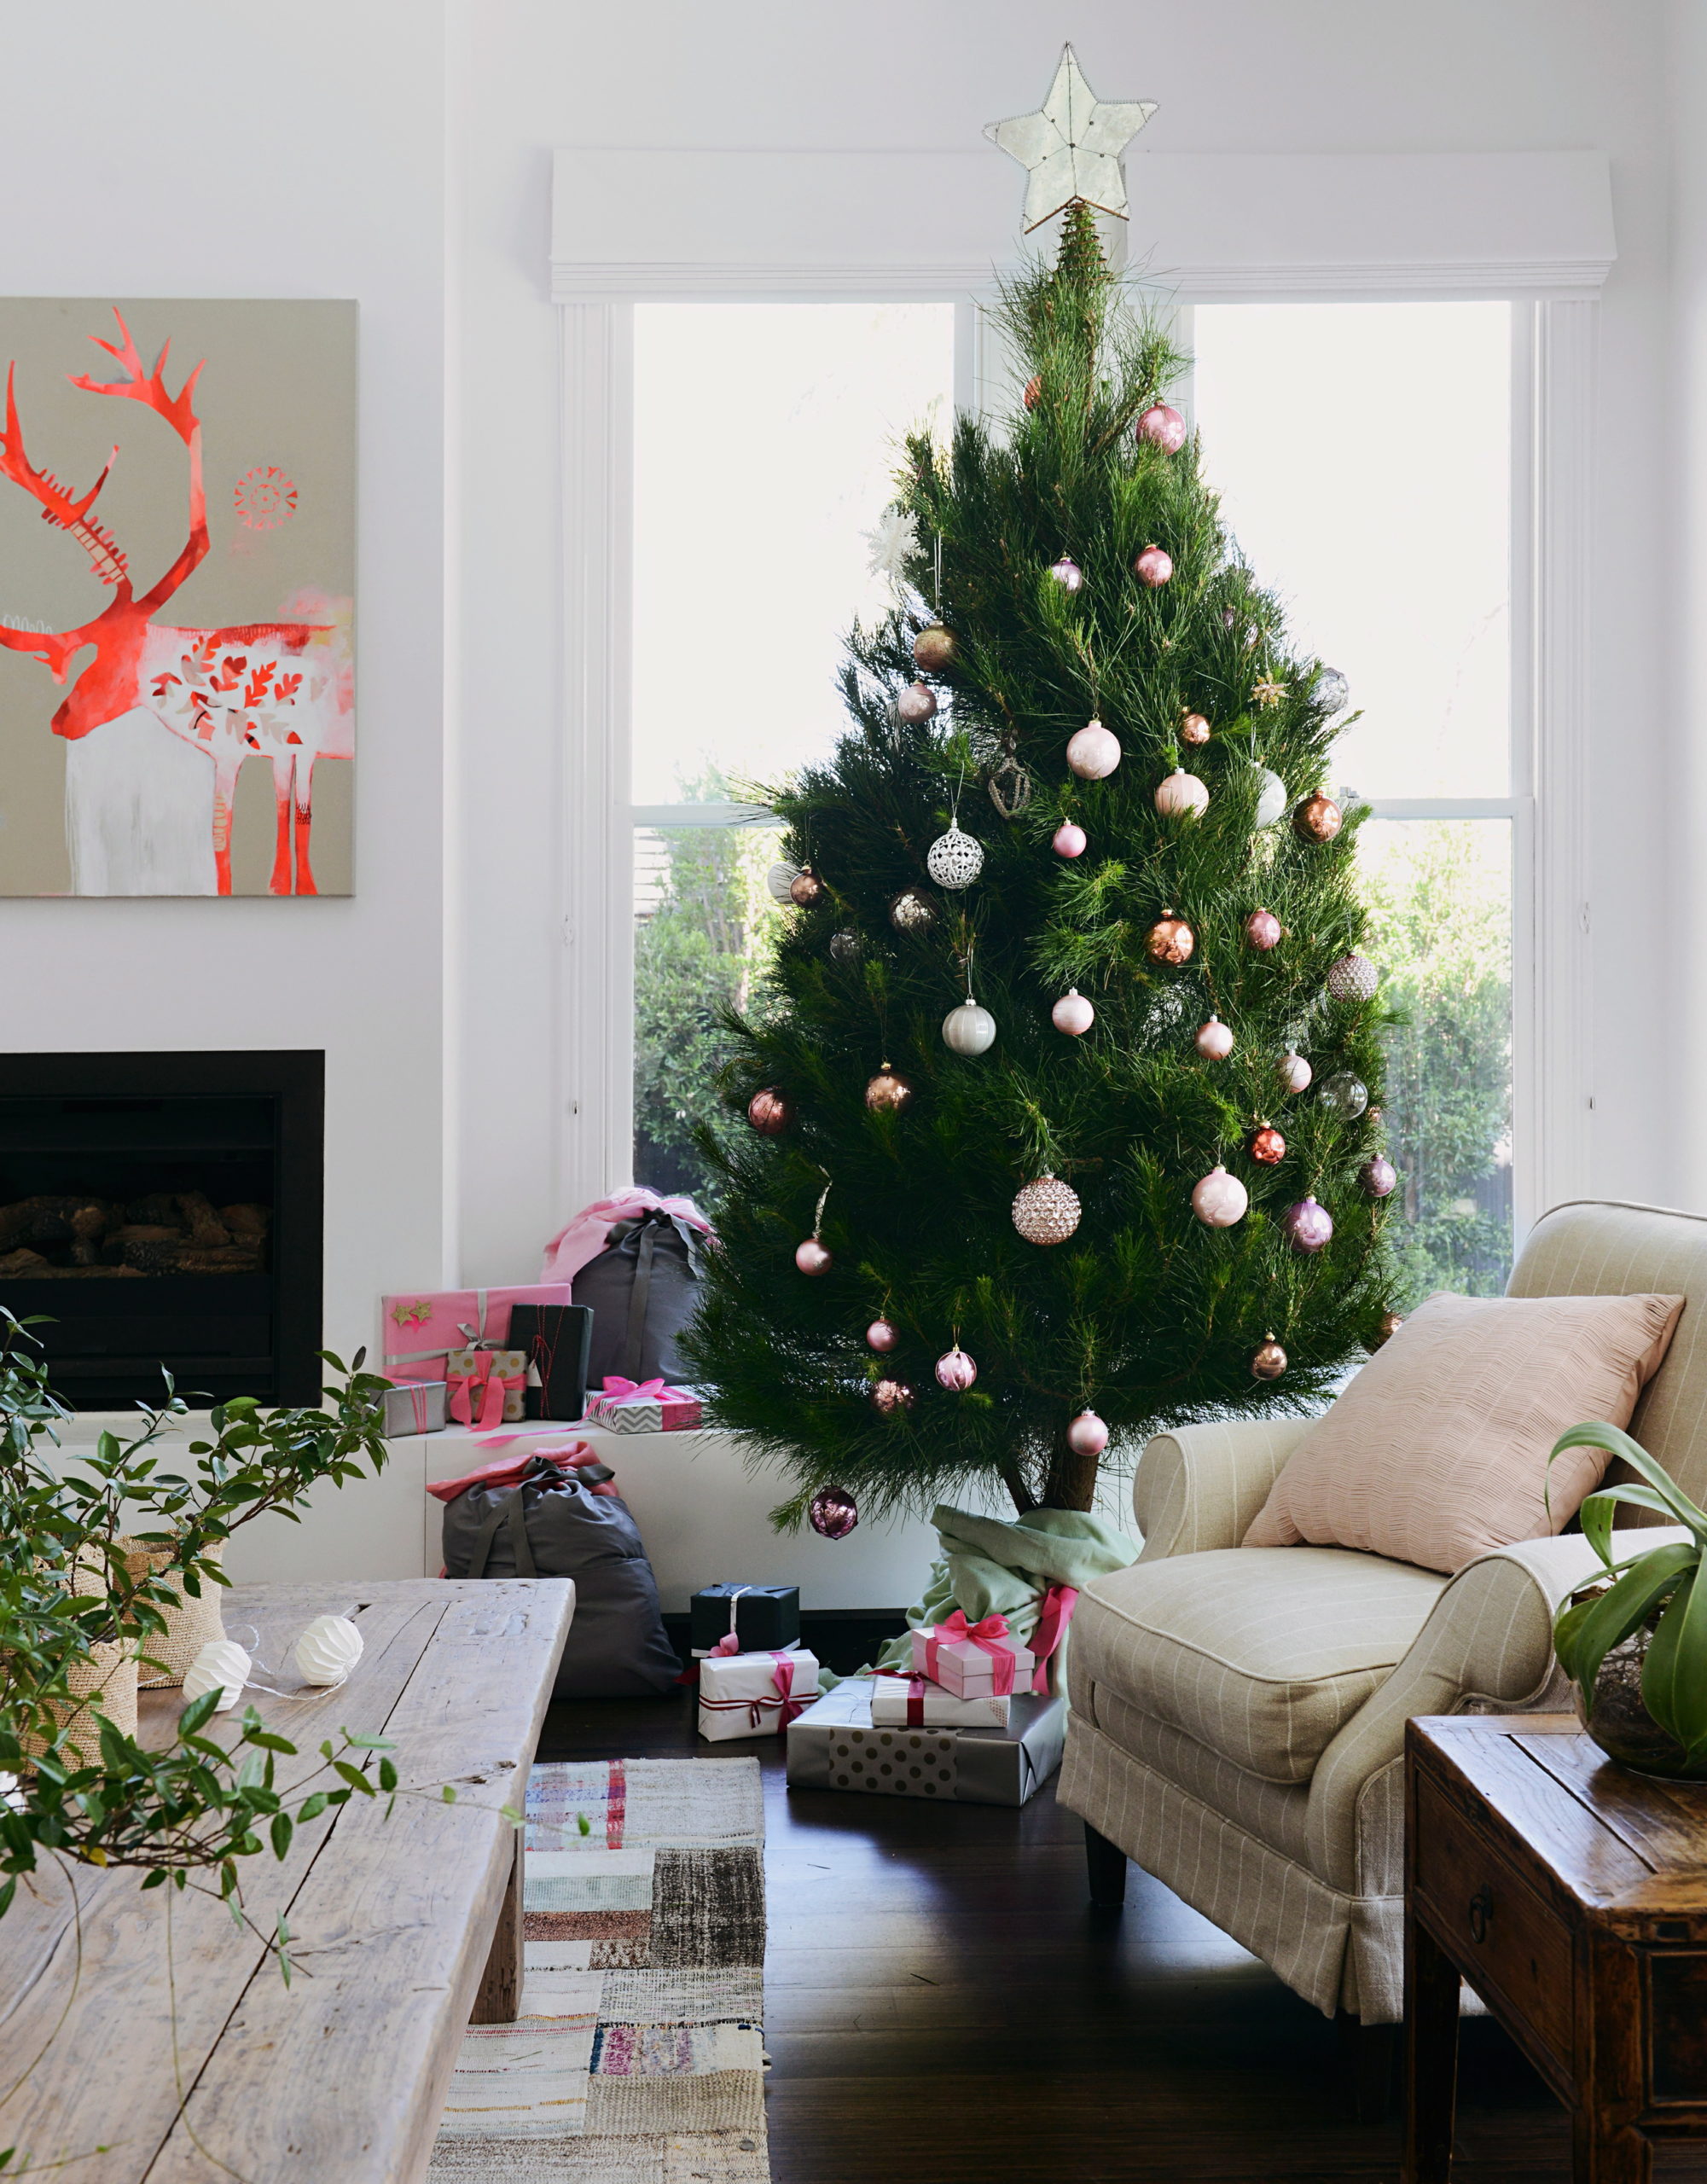
Day 14: Decorate the tree
Whether your tree is living or re-usable, perfect symmetry is the name of the game and lights should be your first port of call. Conventional wisdom says you’ll need 200 lights, or 10 metres for every 1.2 metres of tree. Start weaving them from the bottom and close to the trunk upwards. At the top work down and onto the outer branches.
When it comes to decorations, colour themes are enduringly popular. If you’re building up your bauble collection, don’t buy a single ornament. Instead buy three, six or 12 of a kind. Start with your largest ornaments and use a Z-shape when hanging. You can use the least exciting ones closest to the trunk to bulk out the decorations. Keep the most delicate ones for the top part of the tree out of the cat’s way. If you opt for ribbon or garlands, finish by weaving these through.
Disguise the base by wrapping tulle or another fabric around the bottom of the tree.
Day 13: Make biscuit decorations for the tree
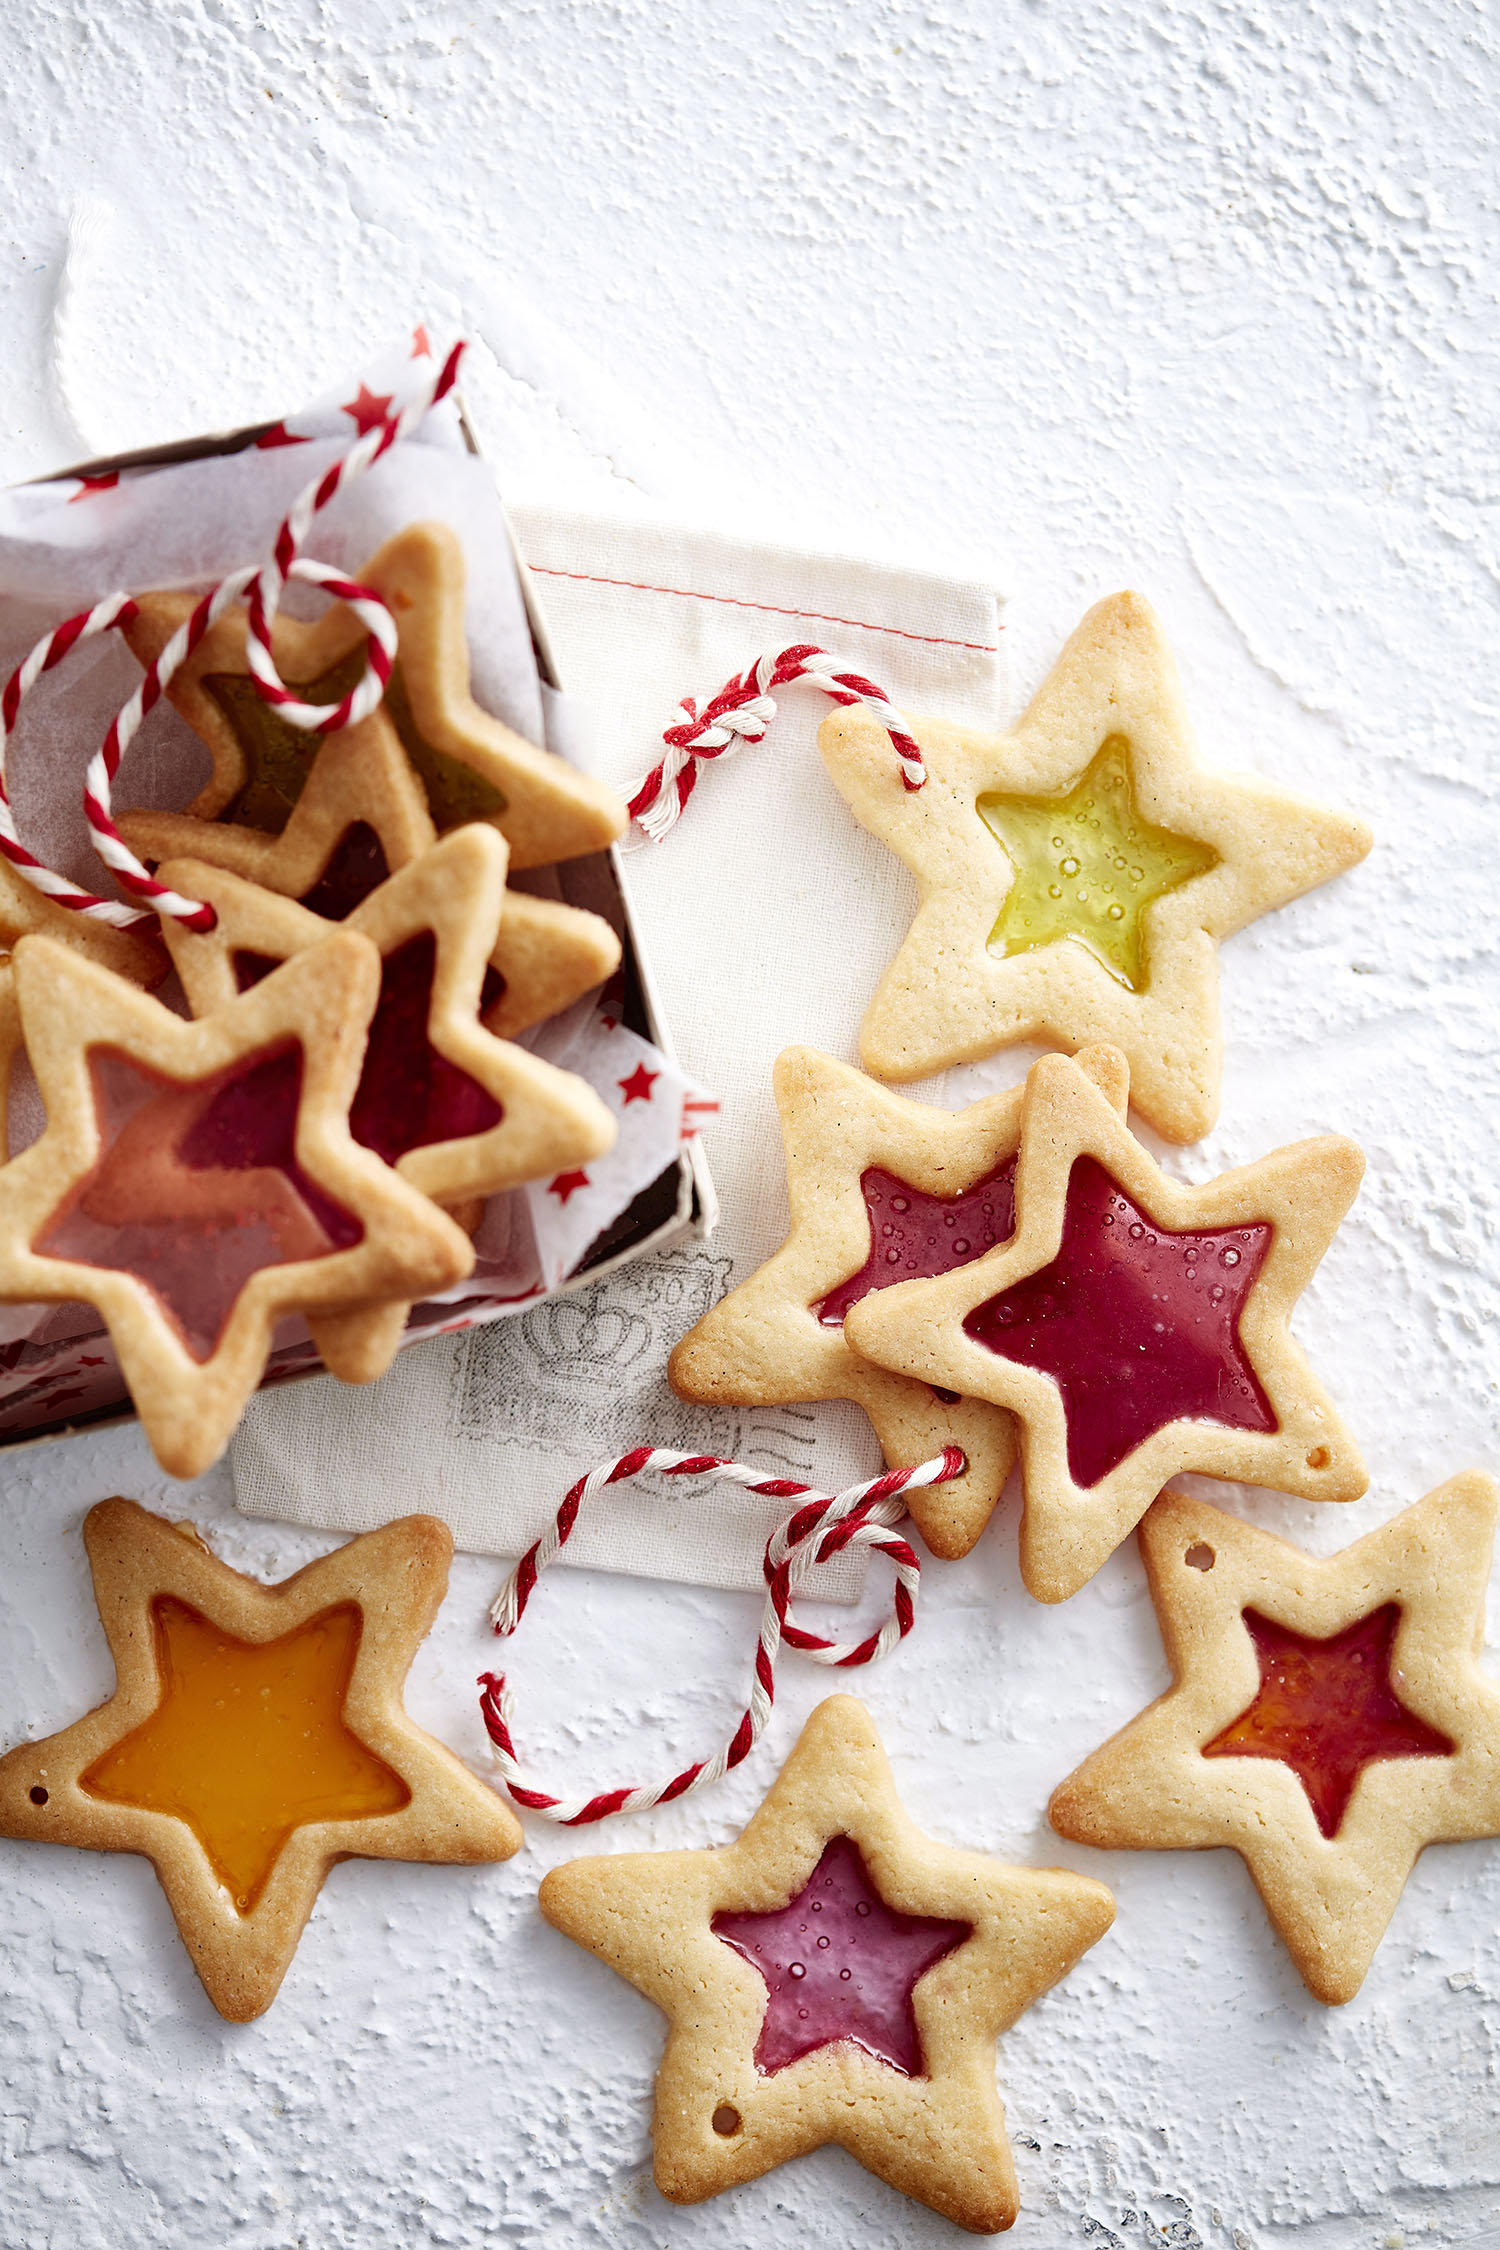
Edible decorations are naturally zero waste and these Stained Glass Christmas Stars are some of the prettiest going – you can find this simple recipe here
Day 12: Make a Christmas cake
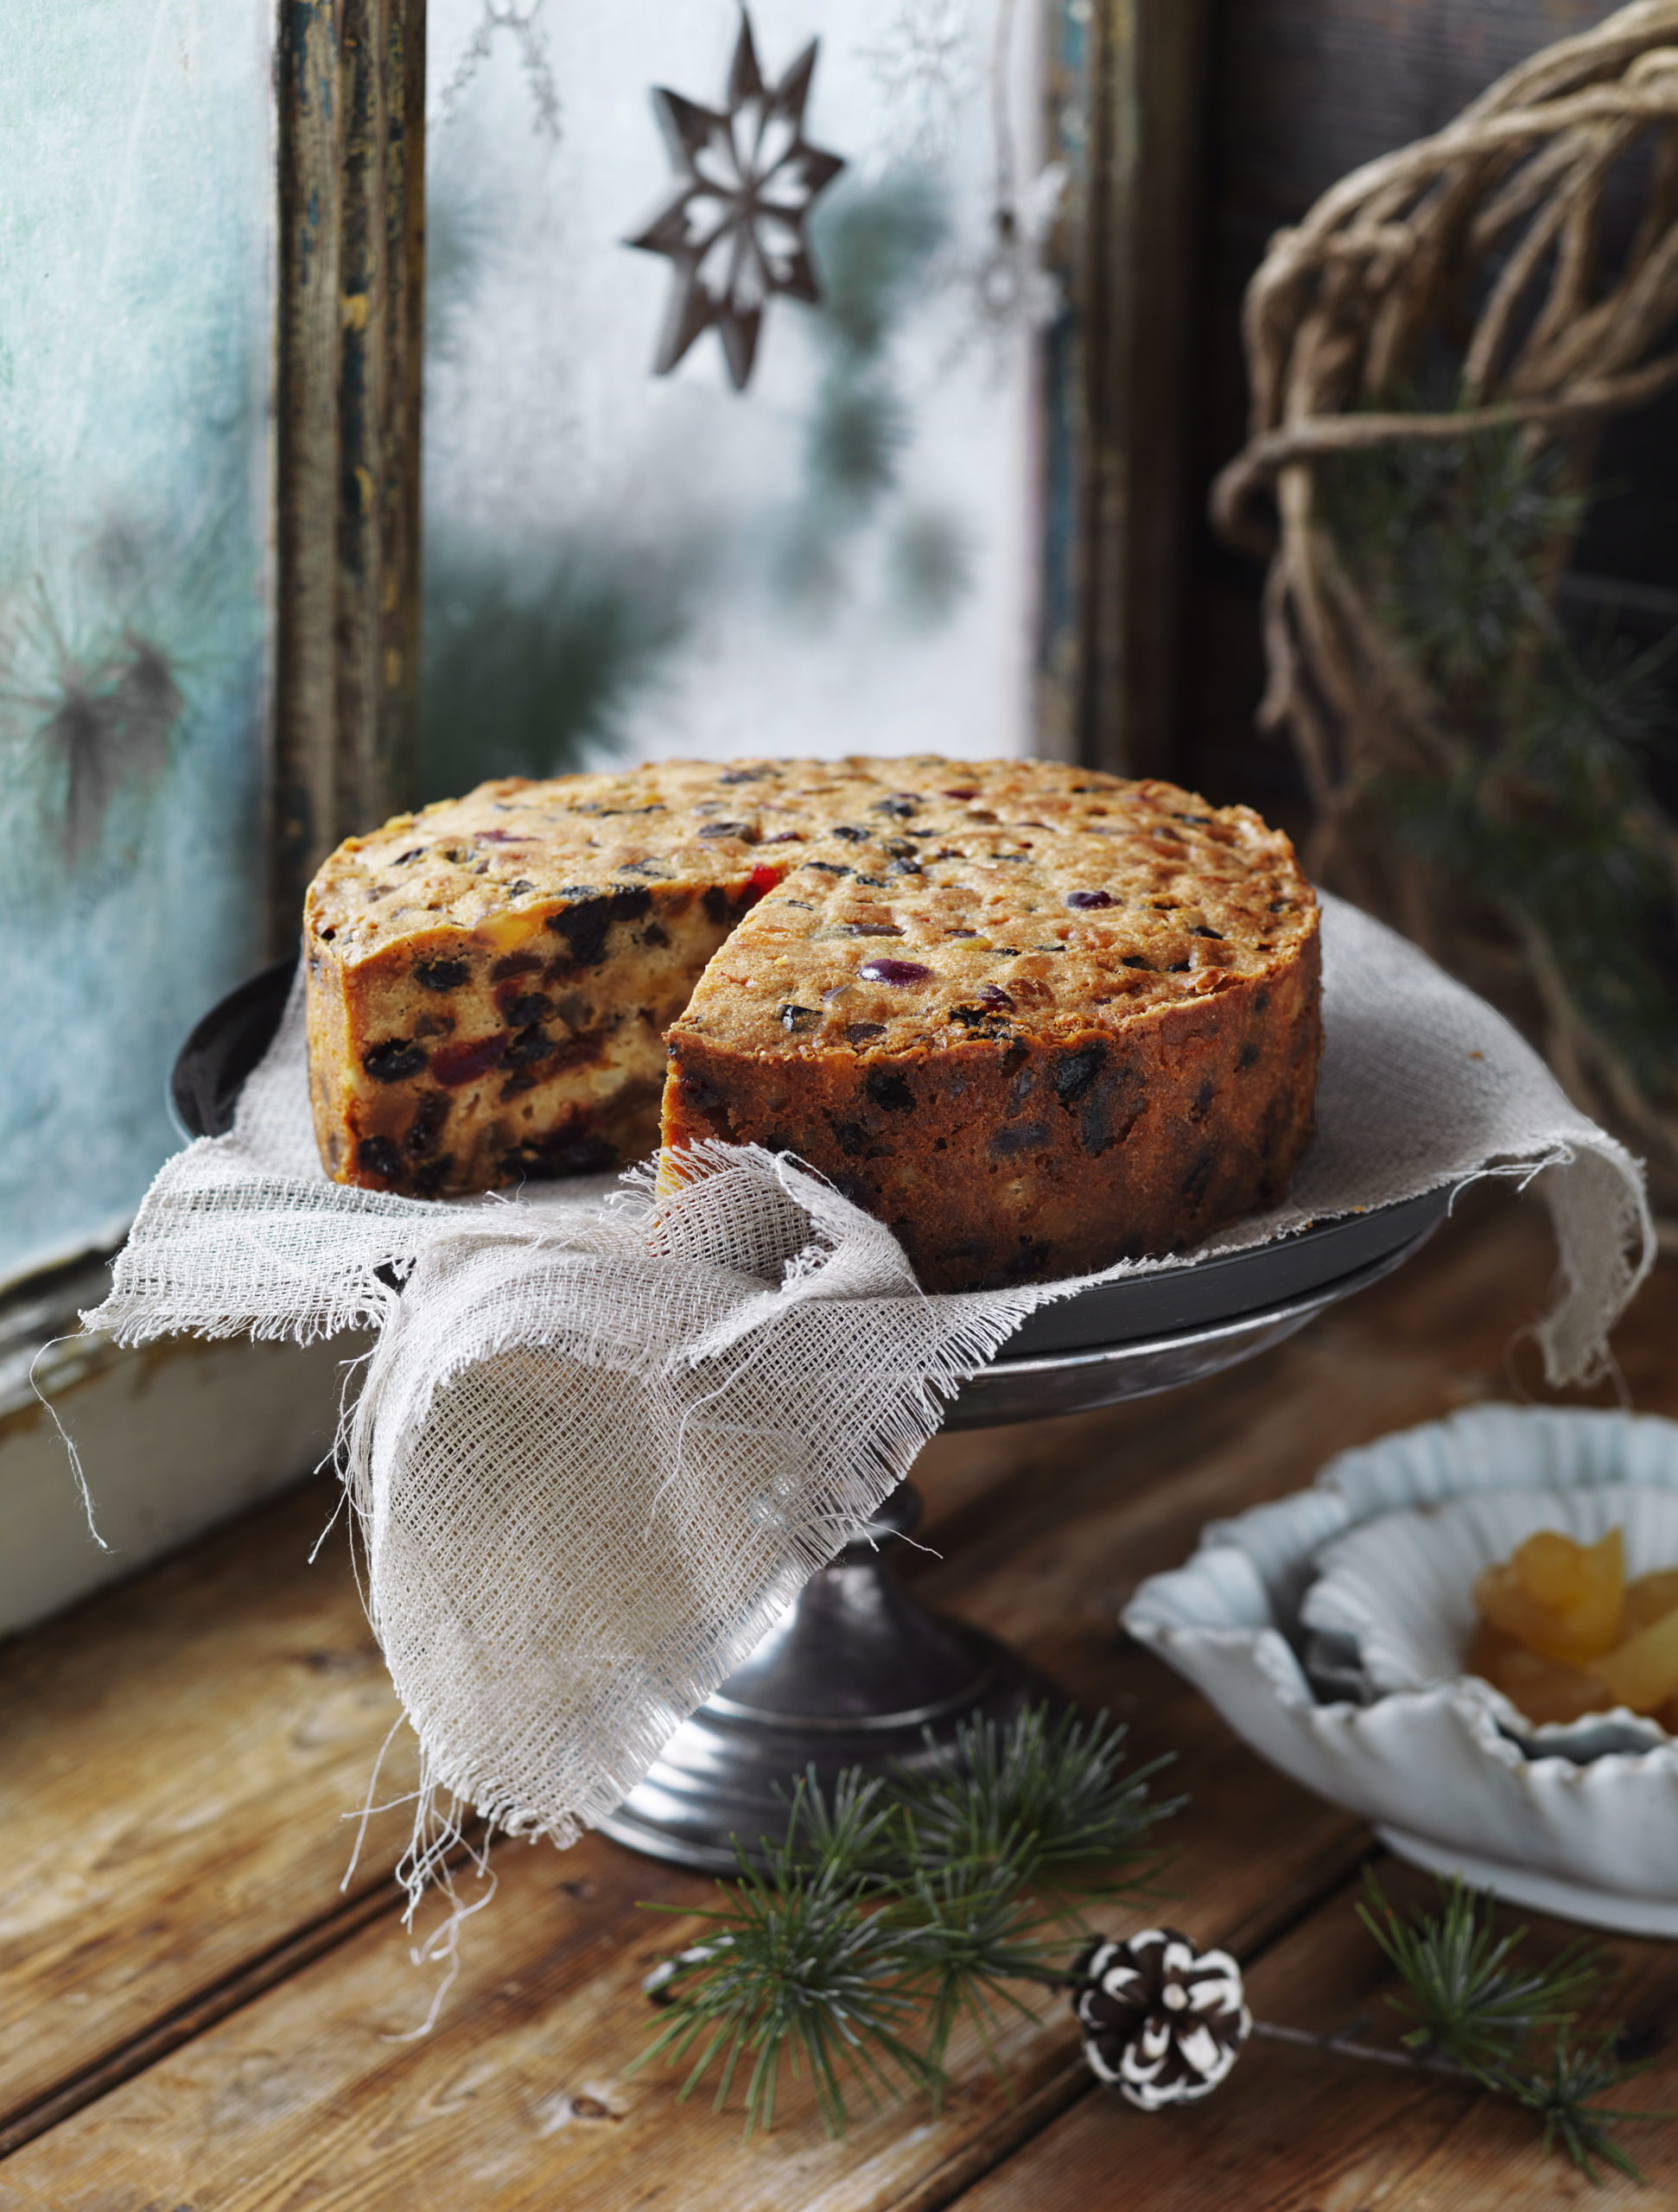
Traditionalists of the world unite and try this recipe for Golden Fruit Cake,
Day 11: Make Christmas Crackers
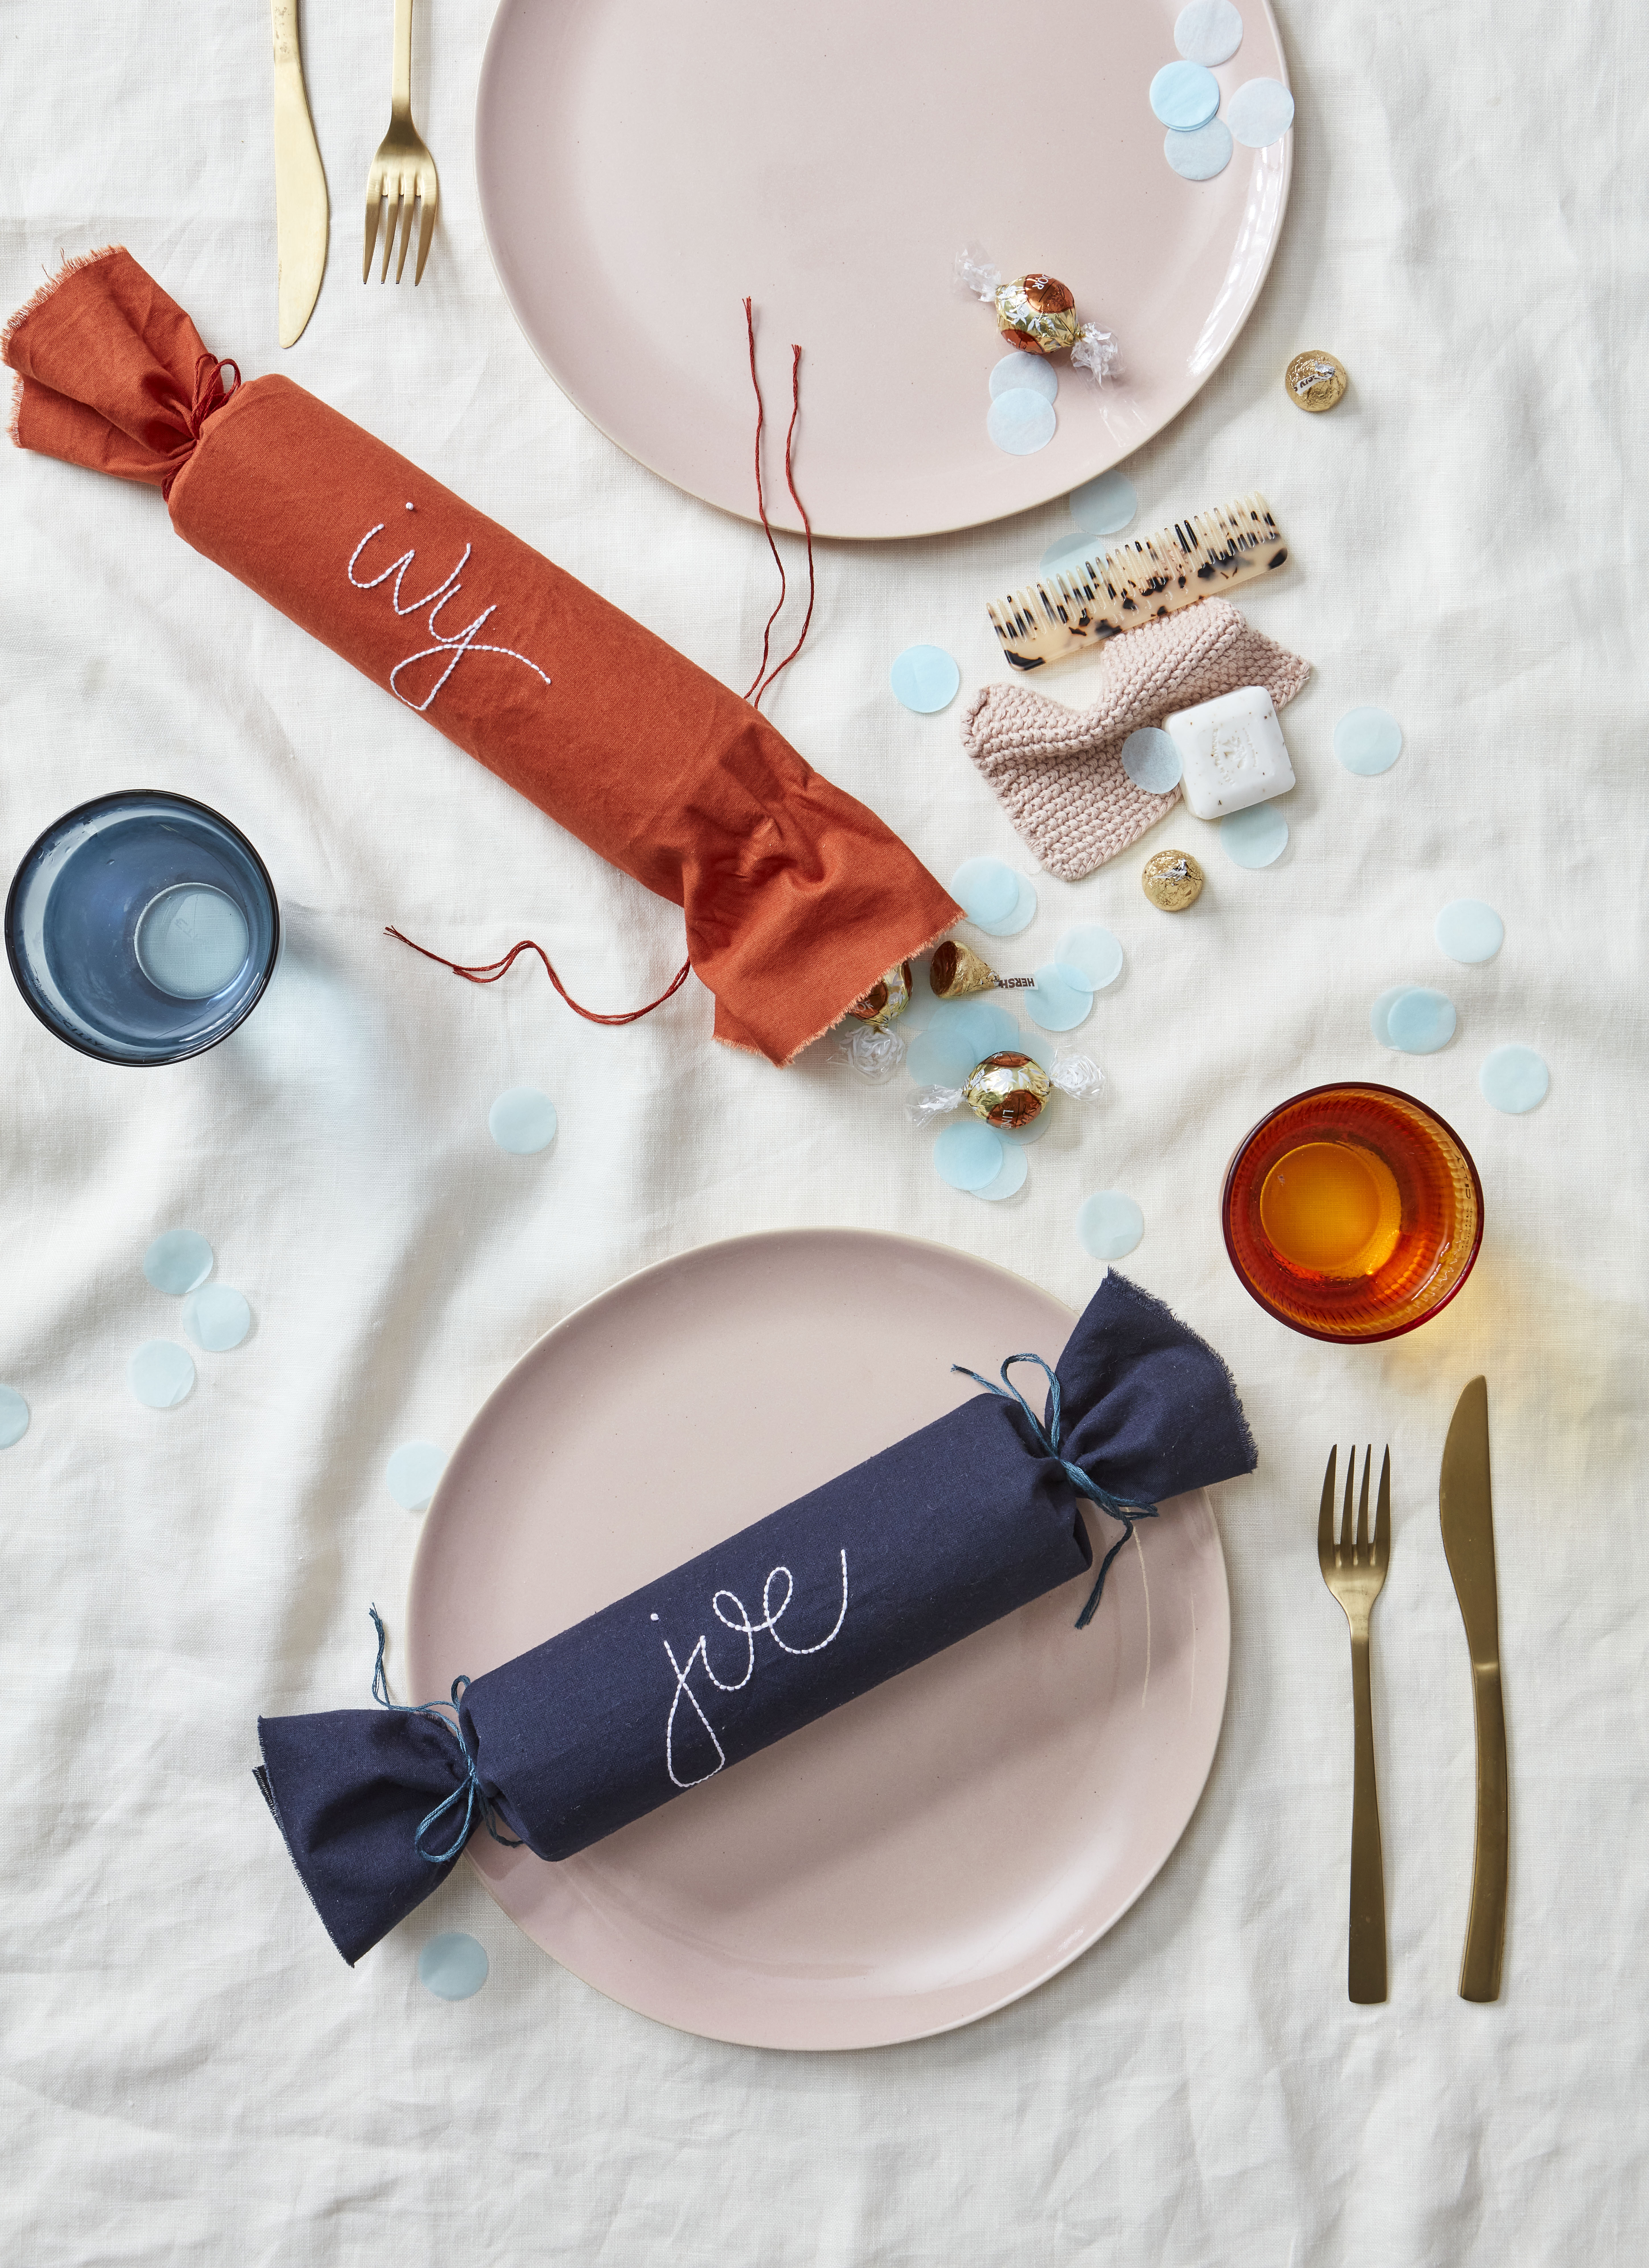
These personalised crackers might not go ‘pop’, but they will still give your guests all the festive feels. Fill each cracker with a cracking good joke, playful paper confetti and a little gift – we chose items such as brass salt spoons, chocolate and wild flower seeds. You can even reuse the linen fabric as a napkin for your Christmas feast.
You will need:
- 42cm x 42cm linen or cotton fabric, per cracker – pre-washed and hemmed or frayed around the edge
- Ruler
- Pencil
- Sewing pins
- Water soluble fabric pencil
- Embroidery hoop
- Embroidery needle
- Embroidery thread
- A4 cards
- Washi tape
- Assorted small gifts
- Ribbon (optional)
- To help centre your embroidery, mark the centre of your fabric by placing a pin 12cm from the side of the fabric and another 14cm from the bottom. Repeat this on the other side of the napkin. Place one more pin in the centre of the fabric at 21cm.
- Using a fabric pencil, write the name of the guest you are going to embroider.
- Attach the embroidery hoop to the fabric. Thread the needle and using a simple backstitch, embroider the name.
- To make a paper cylinder, measure and mark 20cm from the base of the A4 piece of paper. Draw a line across the sheet.
- Place washi tape at the base of the paper so that half of the tape is off the paper.
- Roll the paper into a cylinder and secure with tape at the marked line.
- Place the fabric upside down and roll the paper cylinder in the fabric. Ensure that the cylinder is centered and the end of the fabric with the embroidery is rolled up last.
- Cut a piece of embroidery thread or ribbon to secure one end of the cracker.
- Fill the cracker with paper confetti, chocolates and personalised gifts, then tie the other end closed with more thread or ribbon.
Day 10: Make and hang a wreath on the front door
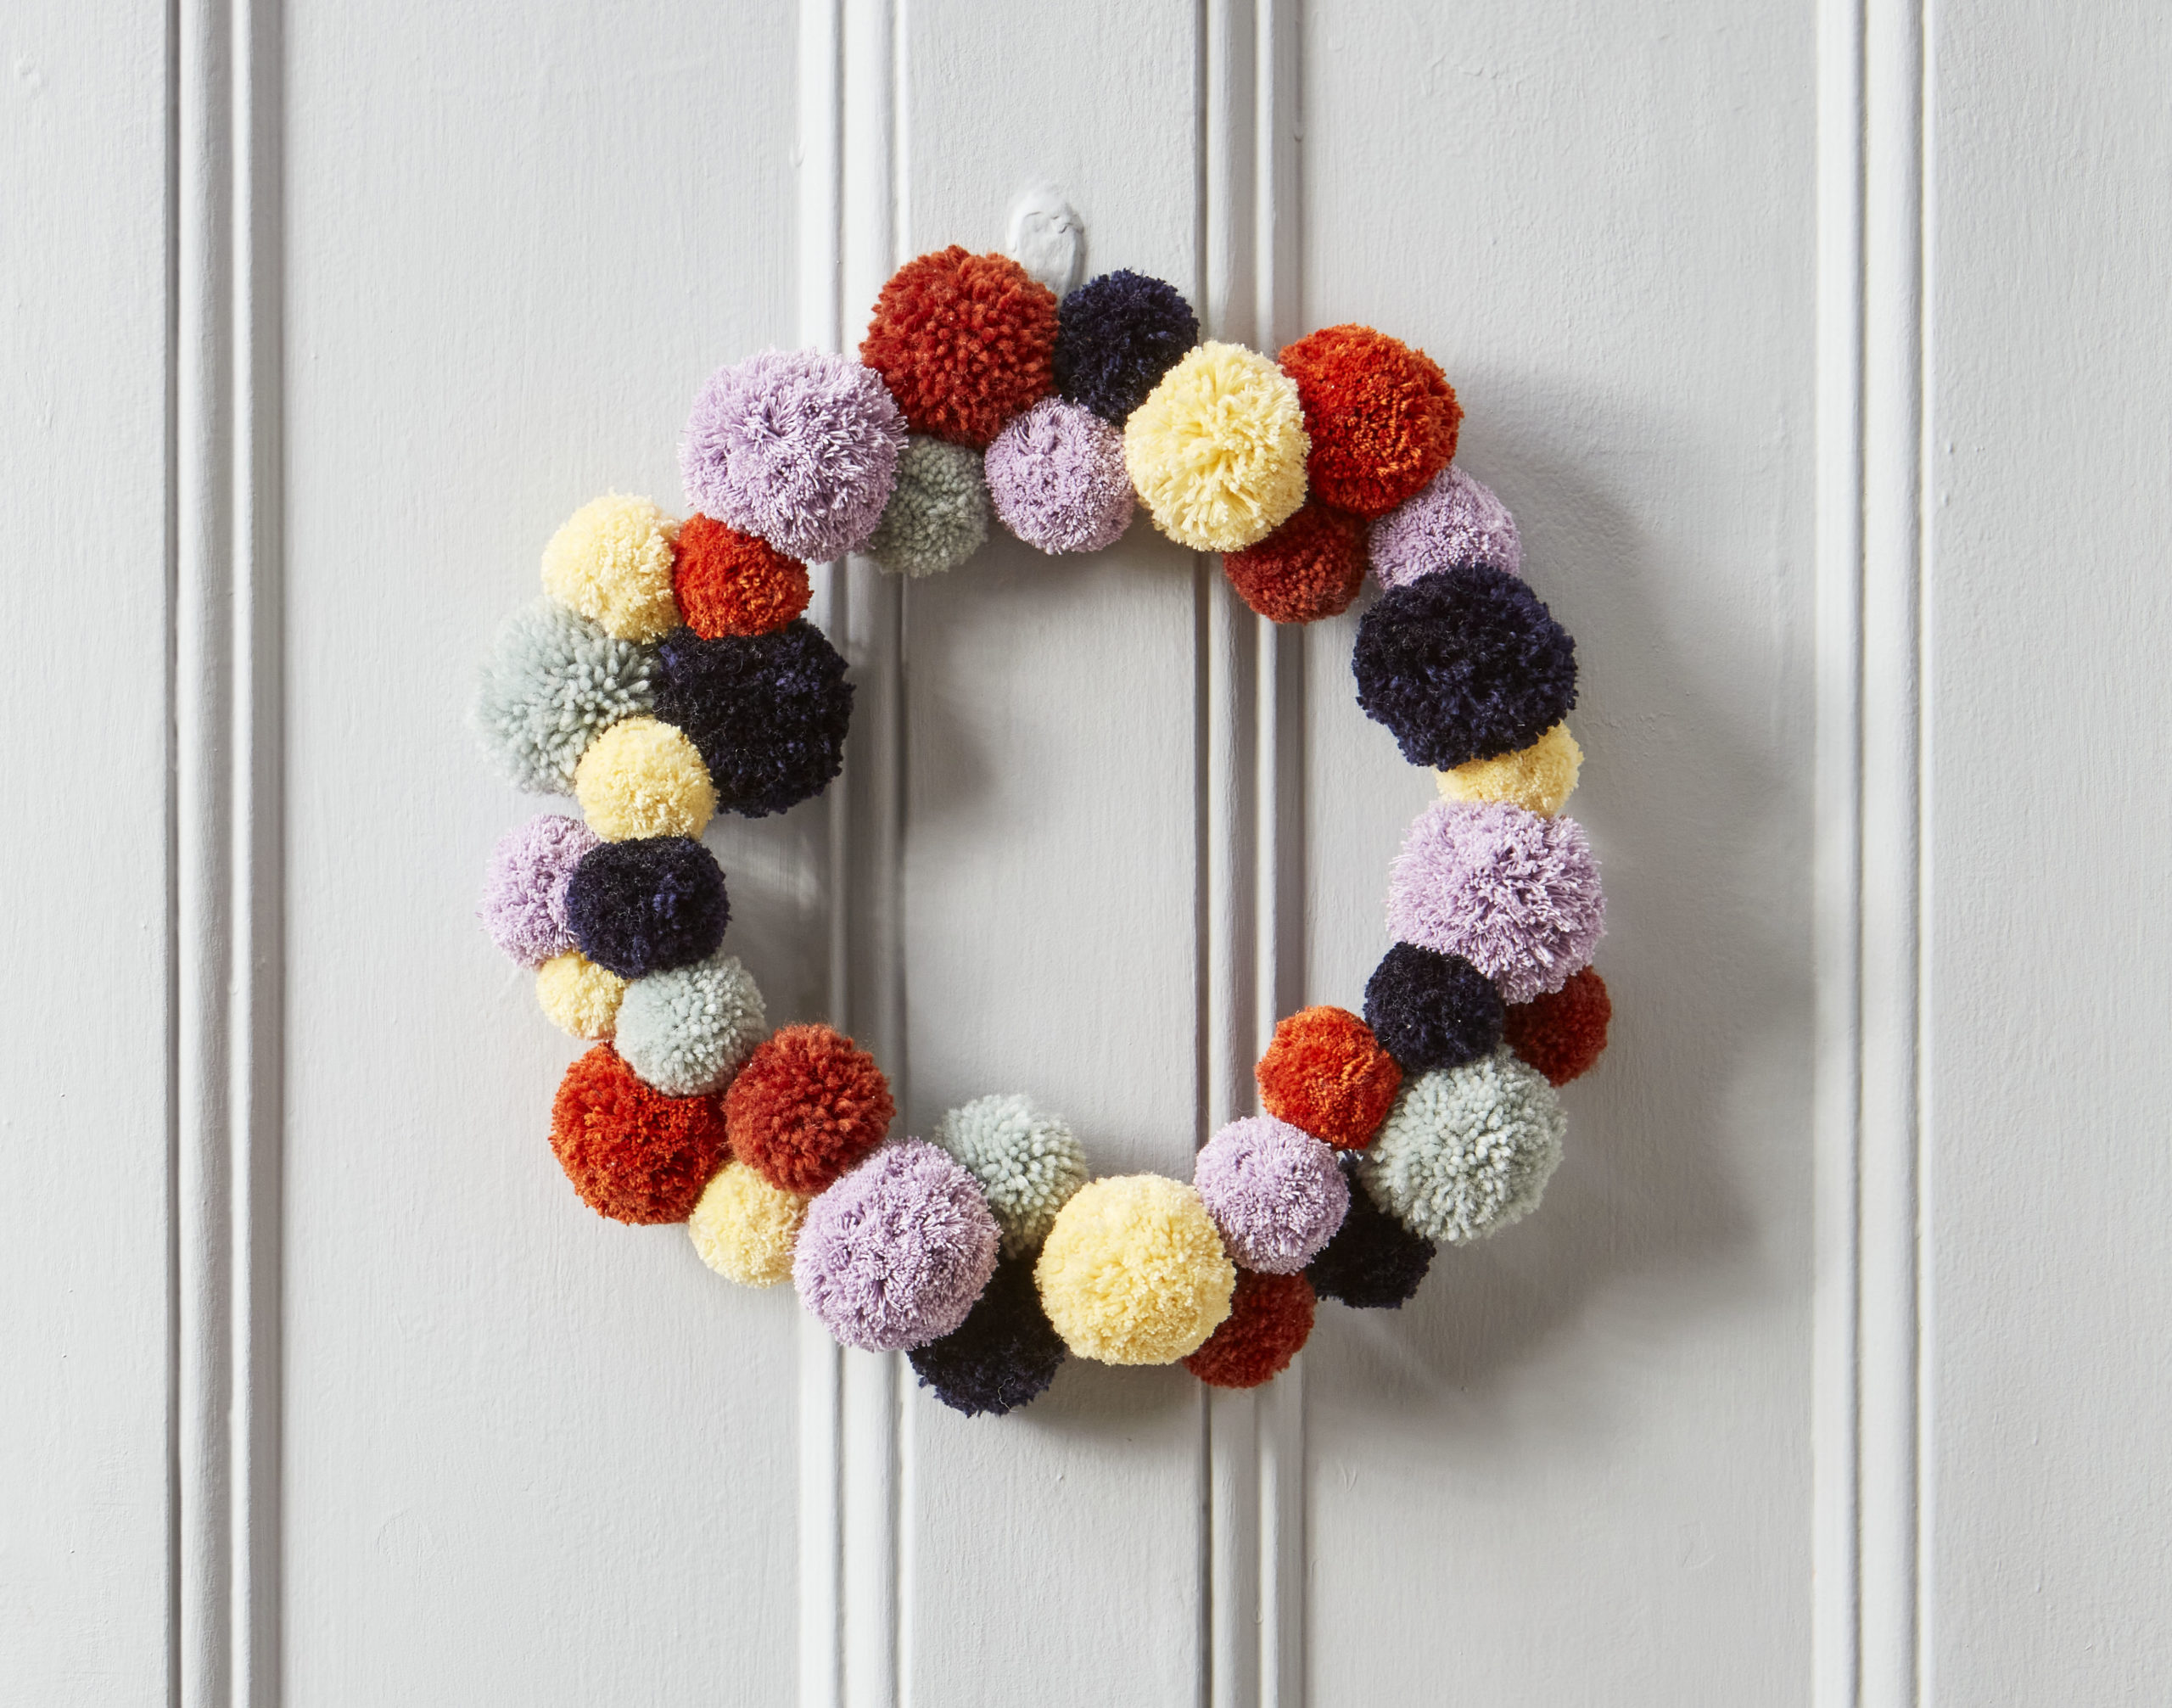
Yes, you could easily buy a wreath and there are some stunning ones around. But if you’d rather fashion one from pom poms, we’ve got you covered. You will need:
- 5 balls of wool, in various colours
- Pom pom maker
- Scissors
- 30cm diameter wire wreath
- To make the pom poms, cut a 40cm piece of wool and place through the centre of the pom pom maker. Wrap the wool around the pom pom maker. The more wool wrapped around the maker, the better the pom pom will be.
- Secure the pom pom by tying the 40cm piece of loose wool around the centre of the wrapped wool.
- Cut the sides of the wrapped wool along the ridged line of the pom pom maker.
- Remove the pom pom from the maker and trim any stray threads to make a round ball. Leave the piece of wool you used to tie to the pom pom together long, you will use this to tie the pom pom to the wire wreath.
- In alternating colours and sizes, tie the pom poms to the wreath using the long piece of wool. Trim this piece once secured.
Day 9: Wrap the presents

Santa may use the cheerful wrap with a plethora of ice-skating snowmen, jolly elves and flying reindeer and we love him for it. But if you embrace the joy of wrapping, you will doubtless have a theme, carefully selected wrapping paper or fabric and coordinated your ribbon by now. You could wrap as you go, but sometimes it’s best to have a marathon session in which you set up a station. The workhorse here will be a solid sticky tape dispenser, unless you are a perfectionist and only use double-sided tape in which case, you must have incredible fortitude and we can only admire your commitment. Remember when everything has been unwrapped on the day, collect the good grosgrain, stain and velvet ribbons and fold them ready for use next year.
Style tip: Brown paper mesh – the eco equivalent of bubble wrap is perfect for wrapping cylindrical objects like bottles. Decorate with raffia or washi tape.
Day 8: Finalise the Christmas day menu and either shop or order online
If you’re in charge of lunch, you’re bound to have your recipes sorted for the main already. Don’t leave anything to chance though and consider everything right down to the sides any nibbles you’ll serve when people arrive. Don’t do it all yourself. Instead, assign guests a side or the dessert so you cut your workload down dramatically.
Day 7: Make a Santa sack
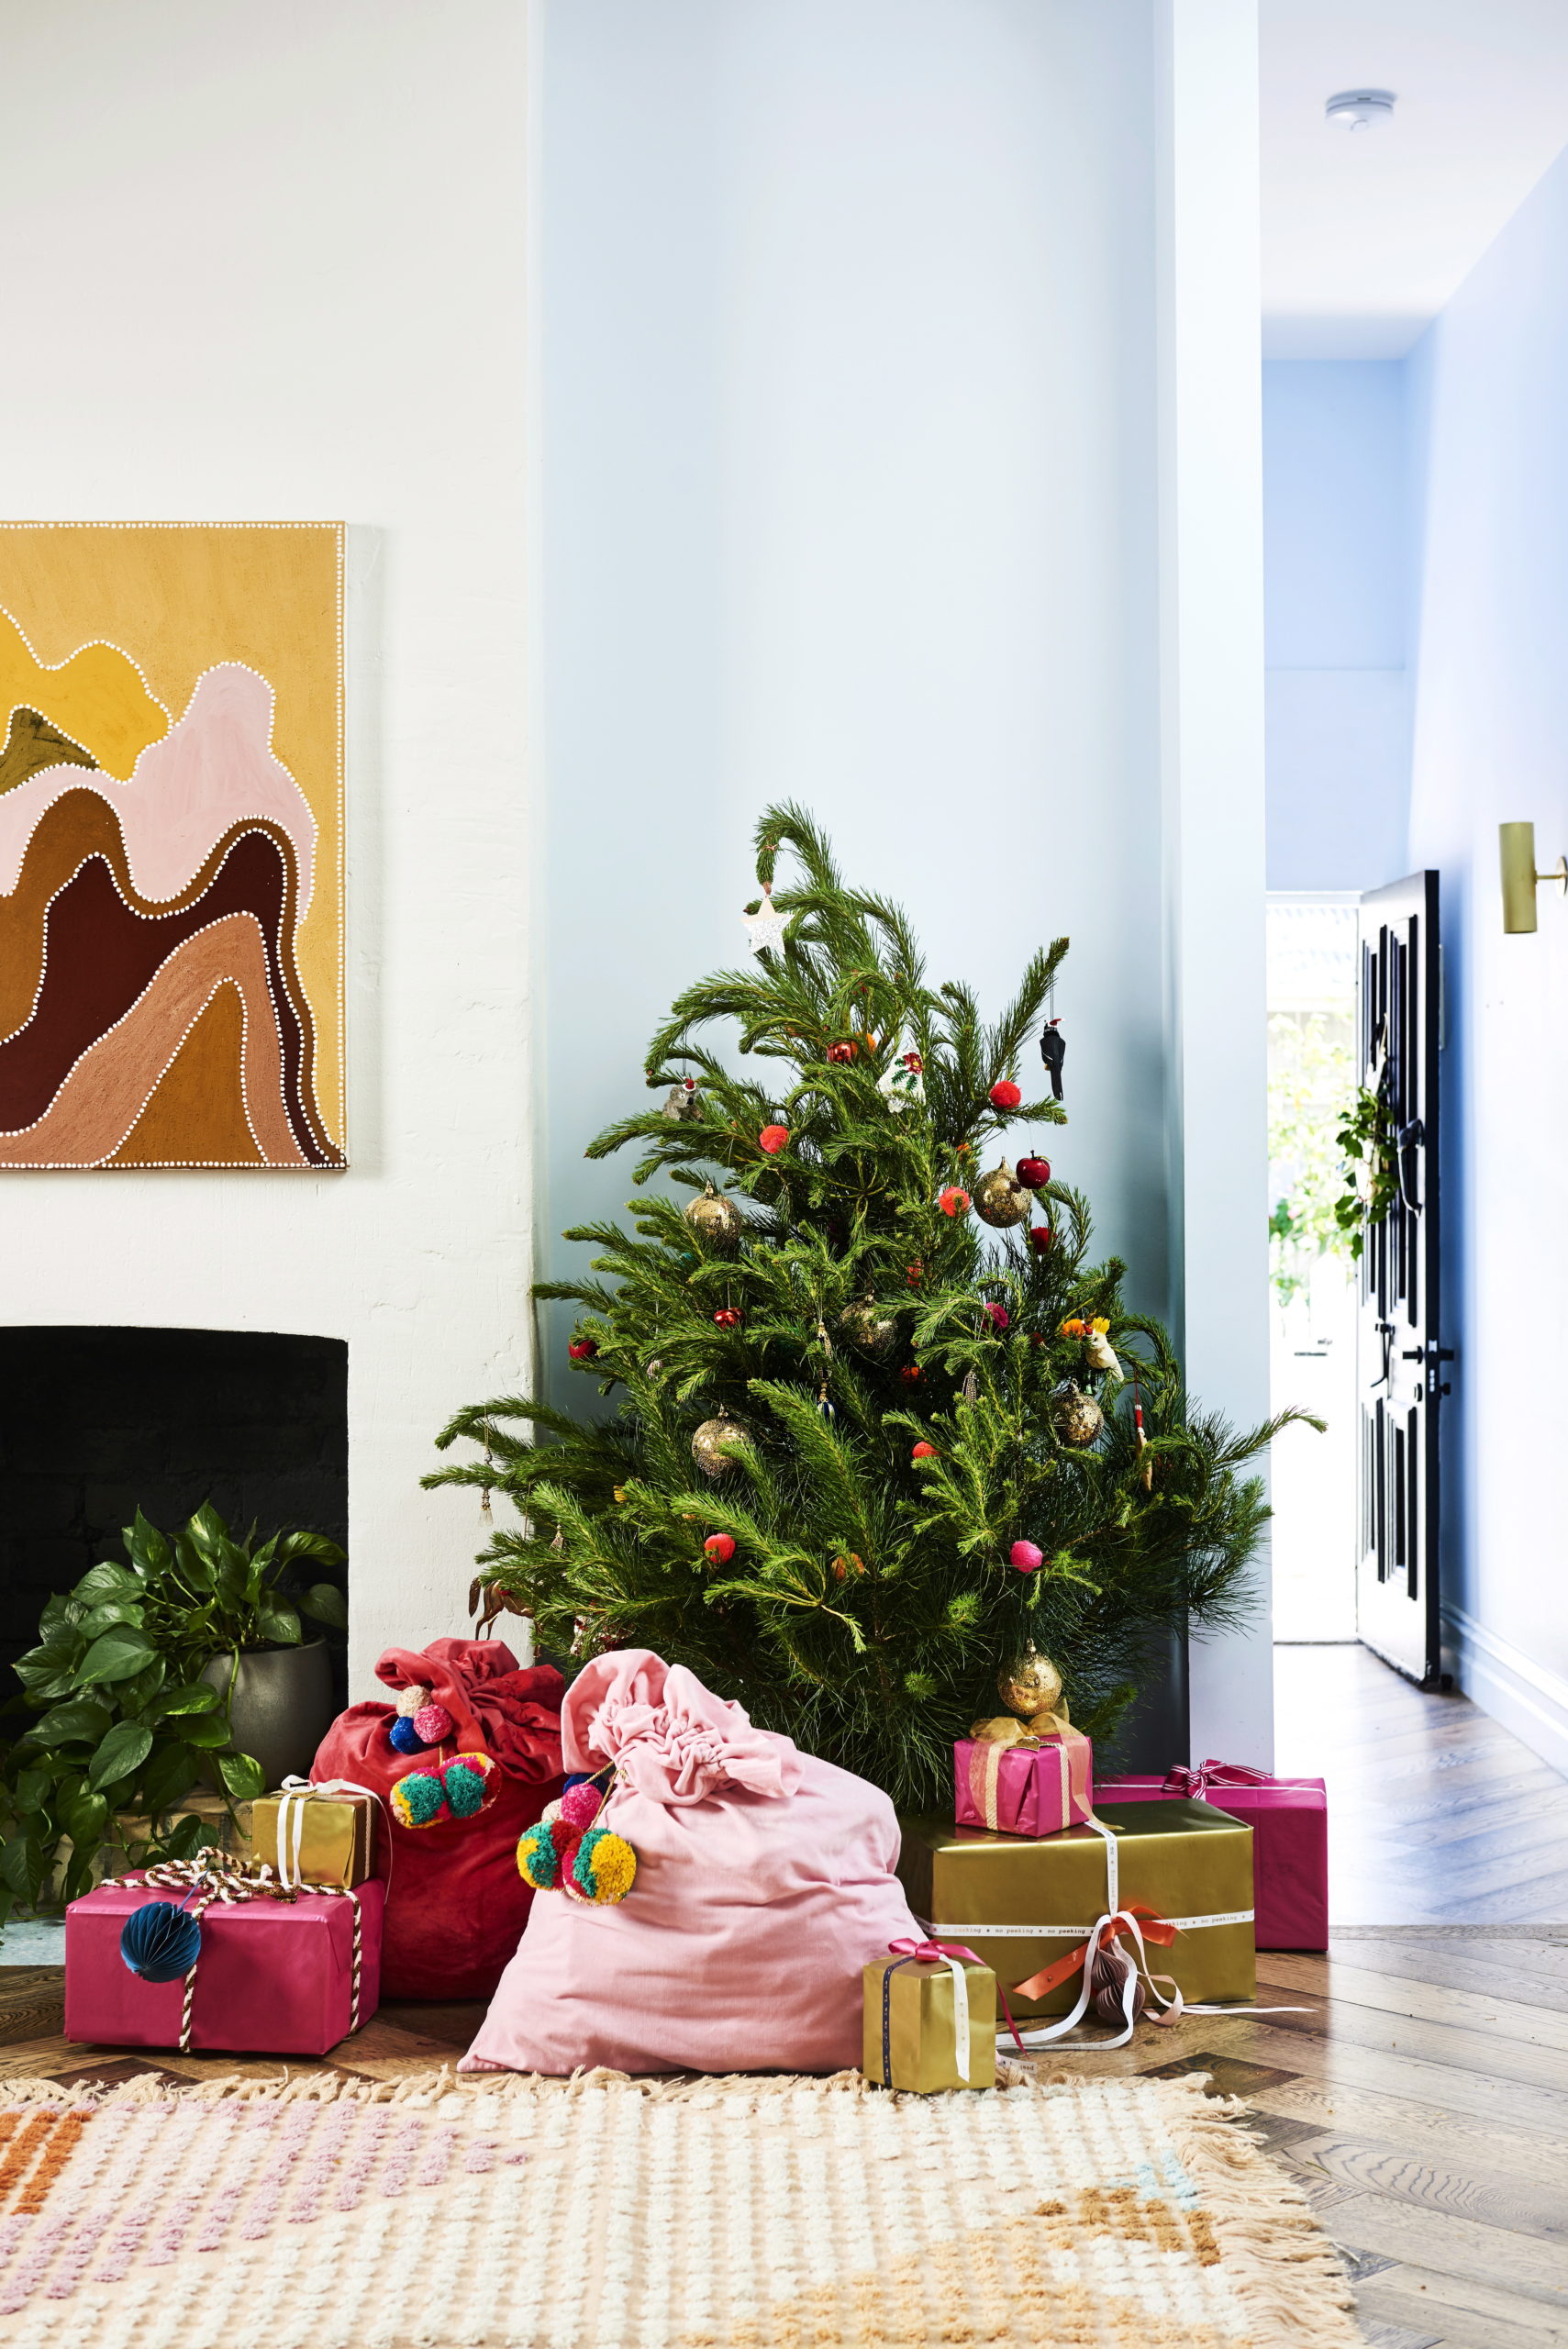
Sewing two rectangles of your chosen fabric (something sturdy such as linen) together doesn’t need instructions. It’s how you decorate it that matters though. Attaching pompoms to a length of twine is a simple way to jazz up the sack and keep Christmas current.
Day 6: Treats for Saint Nick

These Giant Macadamia, White Chocolate and Cranberry Cookies will be an energy hit for Santa.
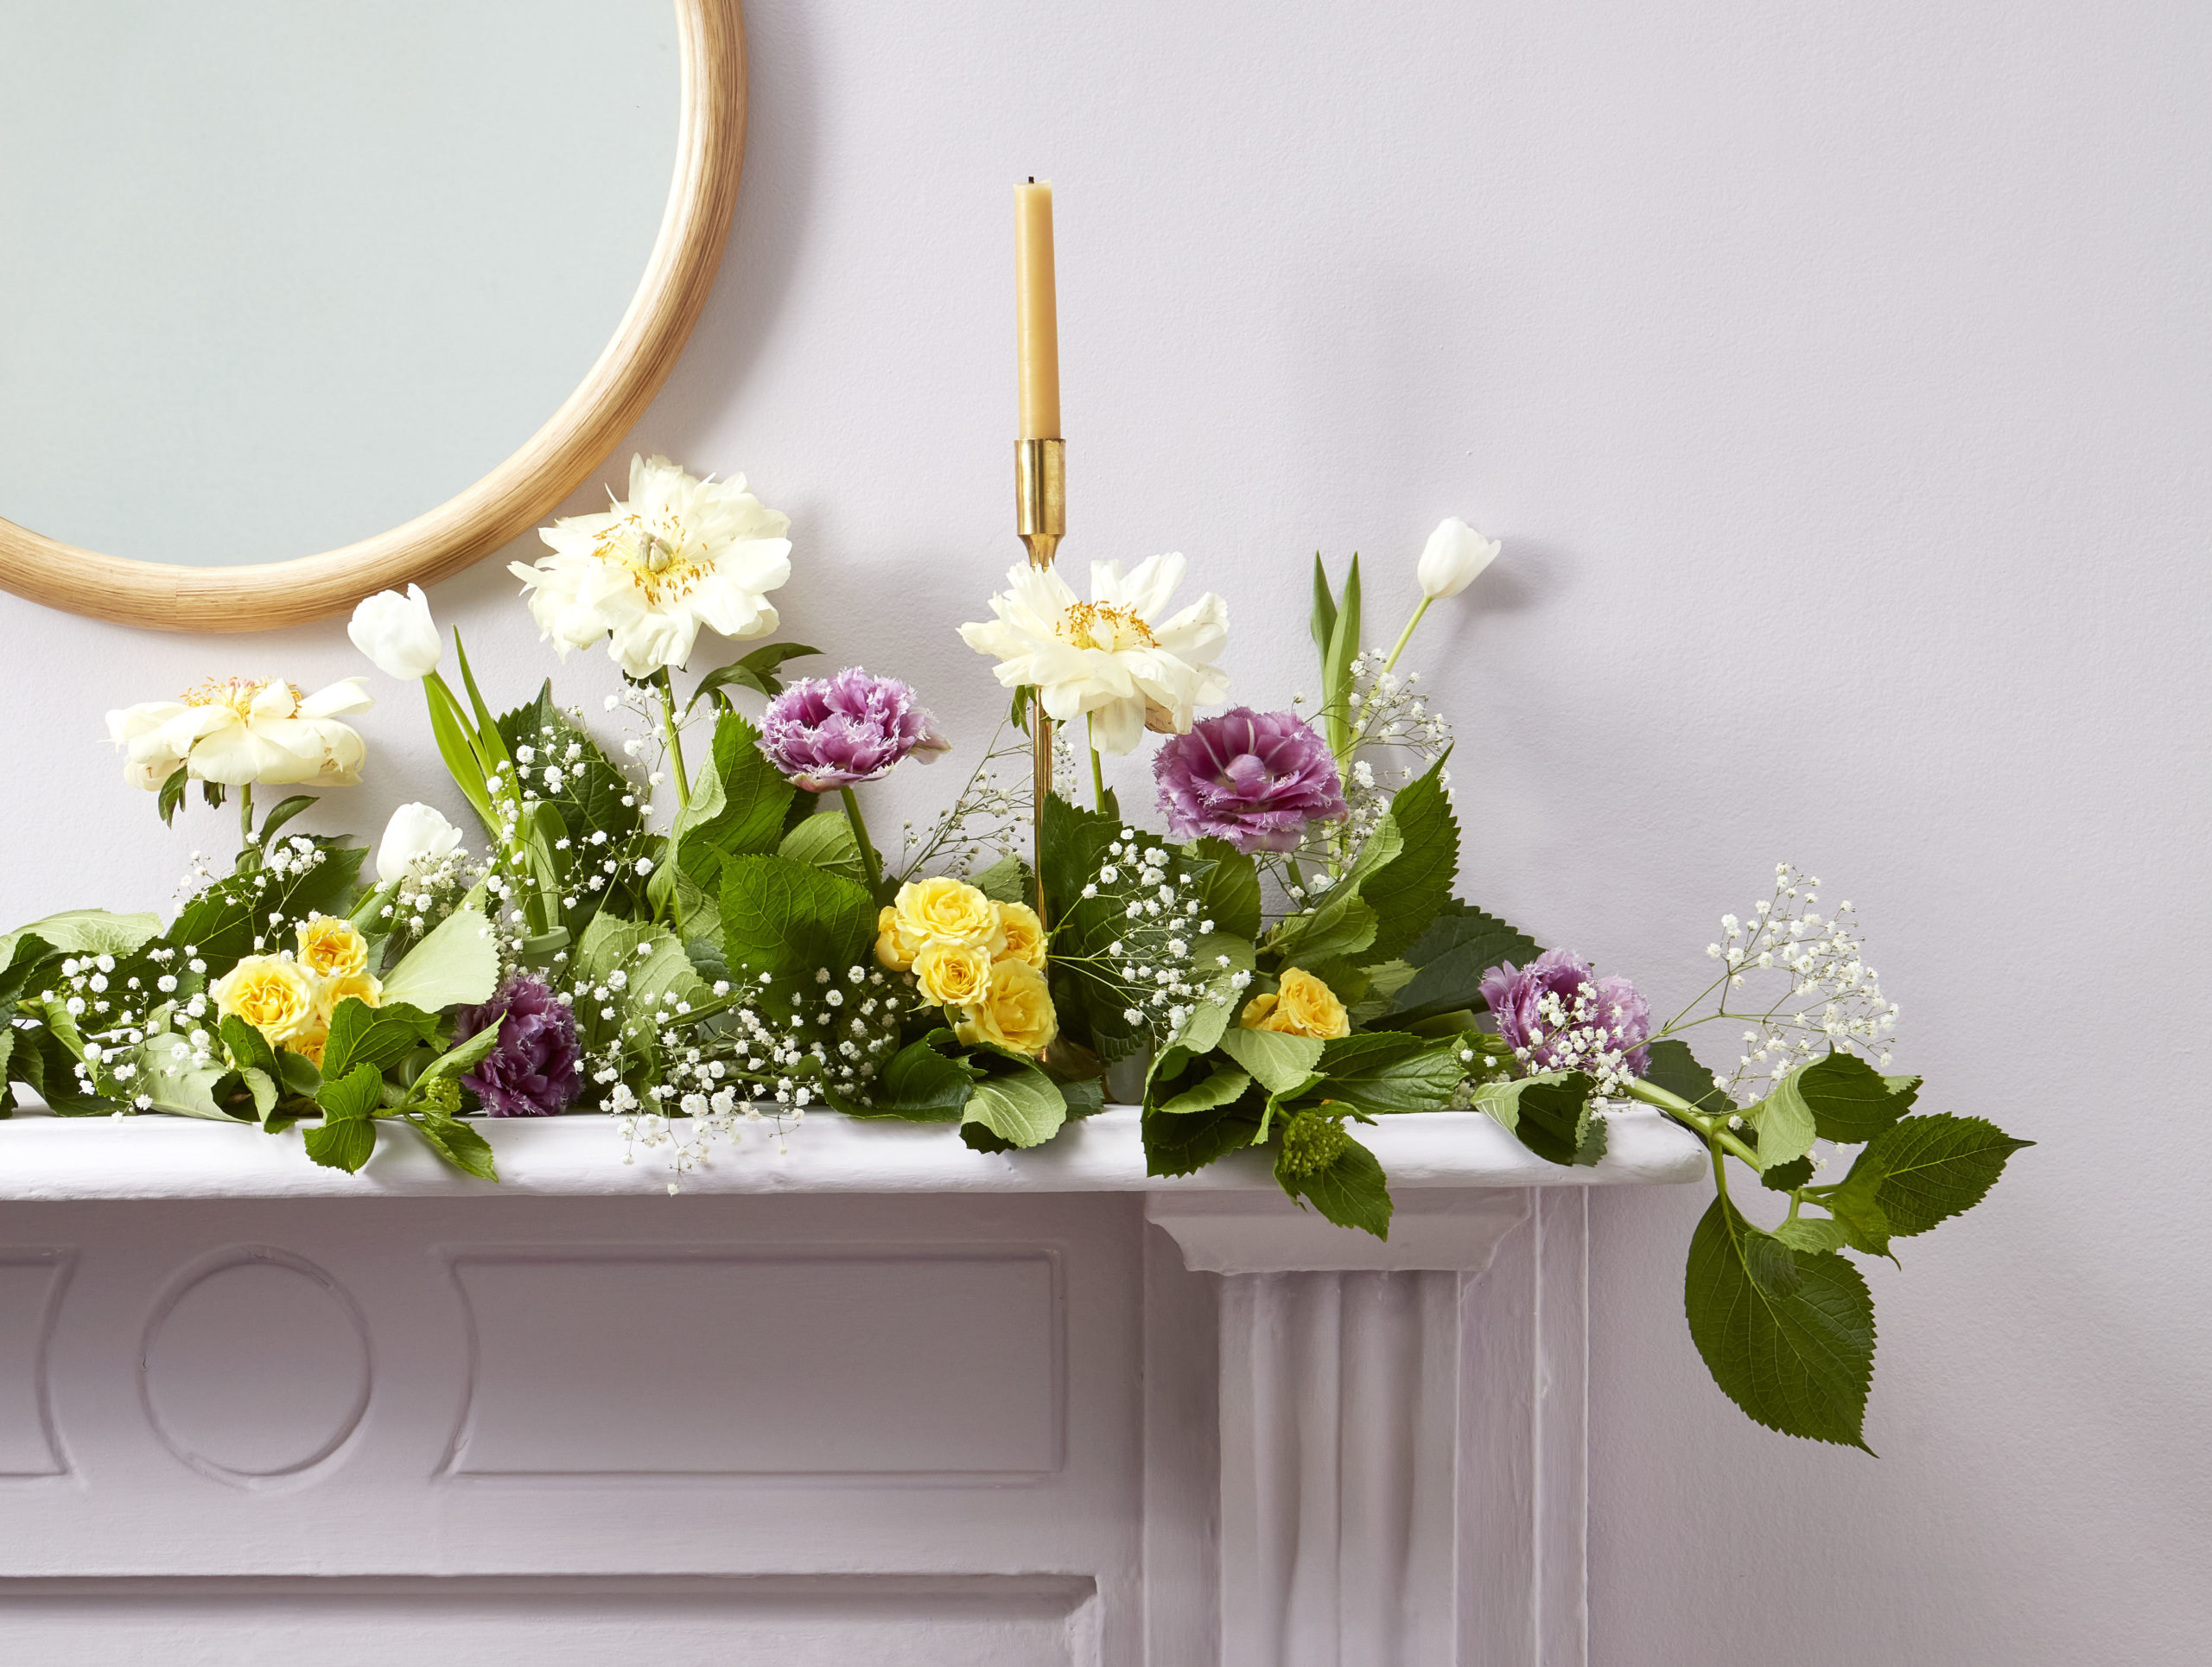
Day 5: Assemble a garland for the mantlepiece, sideboard or table.
You will need:
- Foliage
- Secateurs
- Floristry wire
- Flowers
- Water vials
- To make the base of the garland, snip the ends of the foliage to just below the leaf line.
- Take the longest piece of foliage and attach the next piece of foliage to the end of the stem using floristry wire. Continue to add more foliage until you reach your desired length. When you reach the end, secure the last piece of foliage facing the opposite way
to the others. This will mean your garland ends with a bunch of leaves rather than the stems. Built up your base by securing smaller pieces of foliage to the garland to add texture and body. - Place the garland on a mantelpiece or down the centre of a table. Trim the ends of the flowers and place in vials filled with water. Secure the flower-filled vials in the garland with floristry wire.
Day 4: Hang a botanical garland
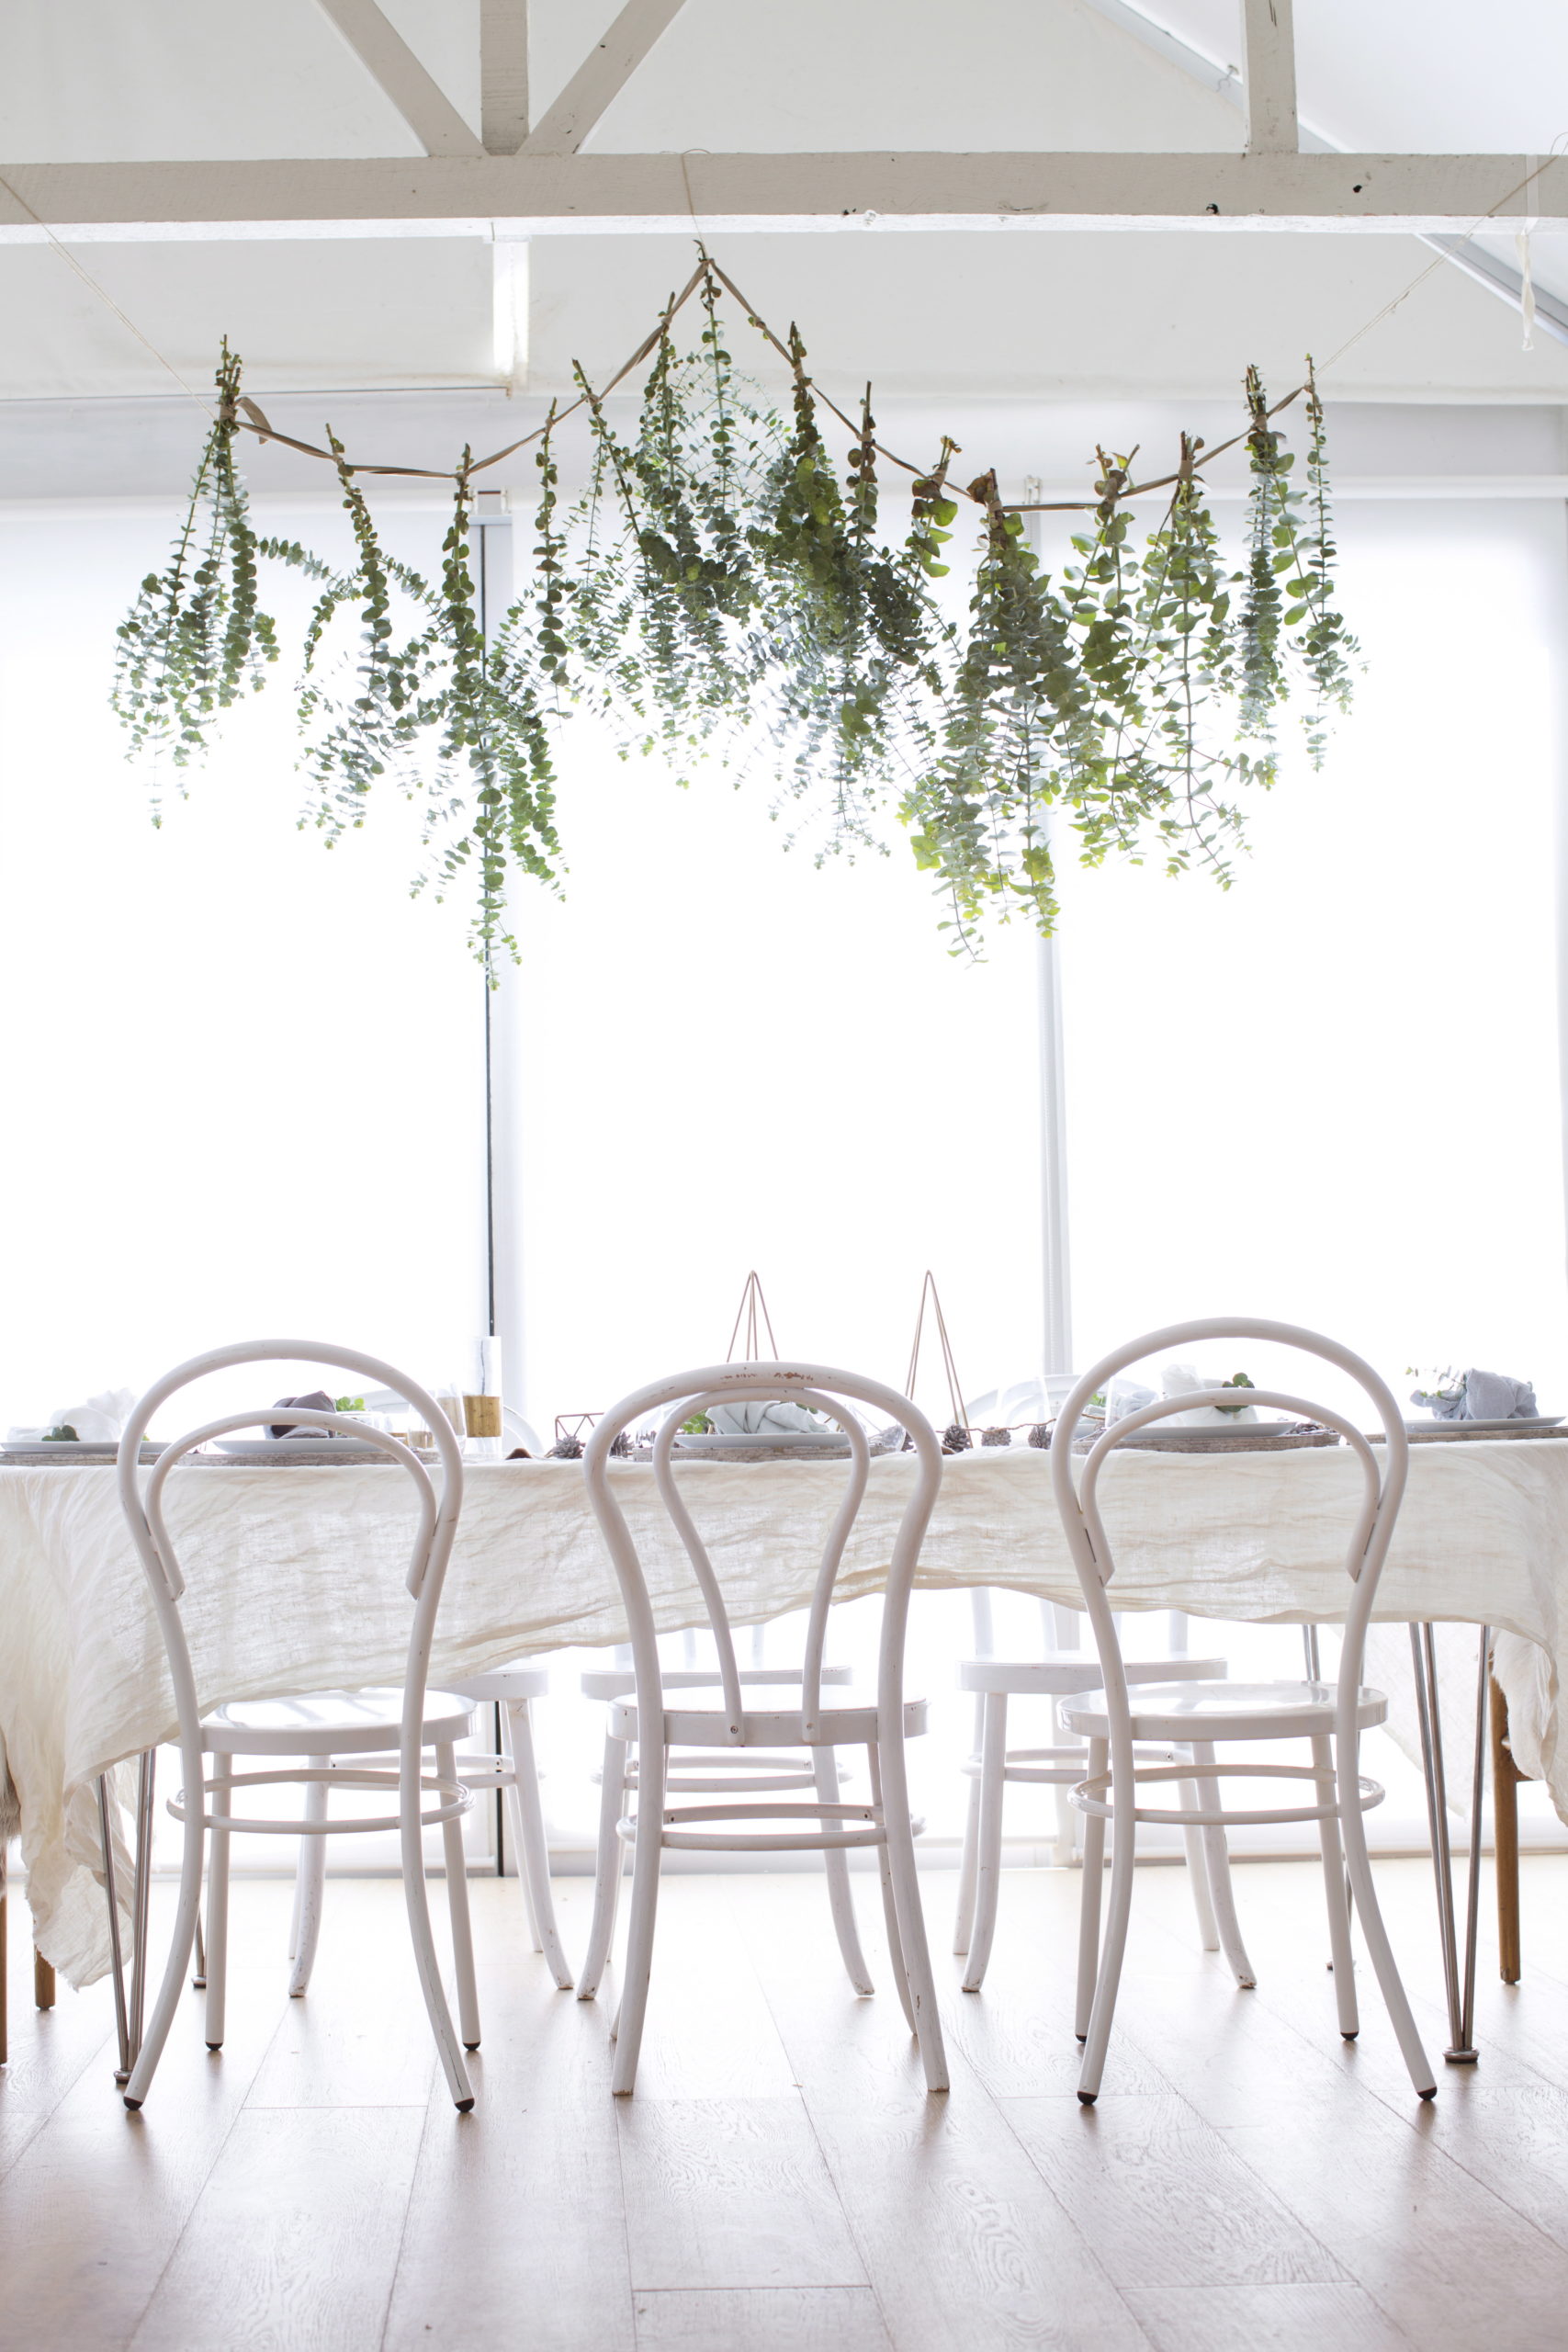
If you’re an aspiring florist, a floral chandelier would be a triumph suspended over the dining table. However, something as simple as tying some greenery you’ve foraged from the garden onto a length of twine and suspending over the table from the ceiling is just as effective.
Day 3: Have friends over for drinks and festive nibbles

Keep it simple with some spinach and cheese twists and a Classic Margarita or a mulled wine mocktail.
Day 2: Make a Yule Log for Christmas Eve festivities
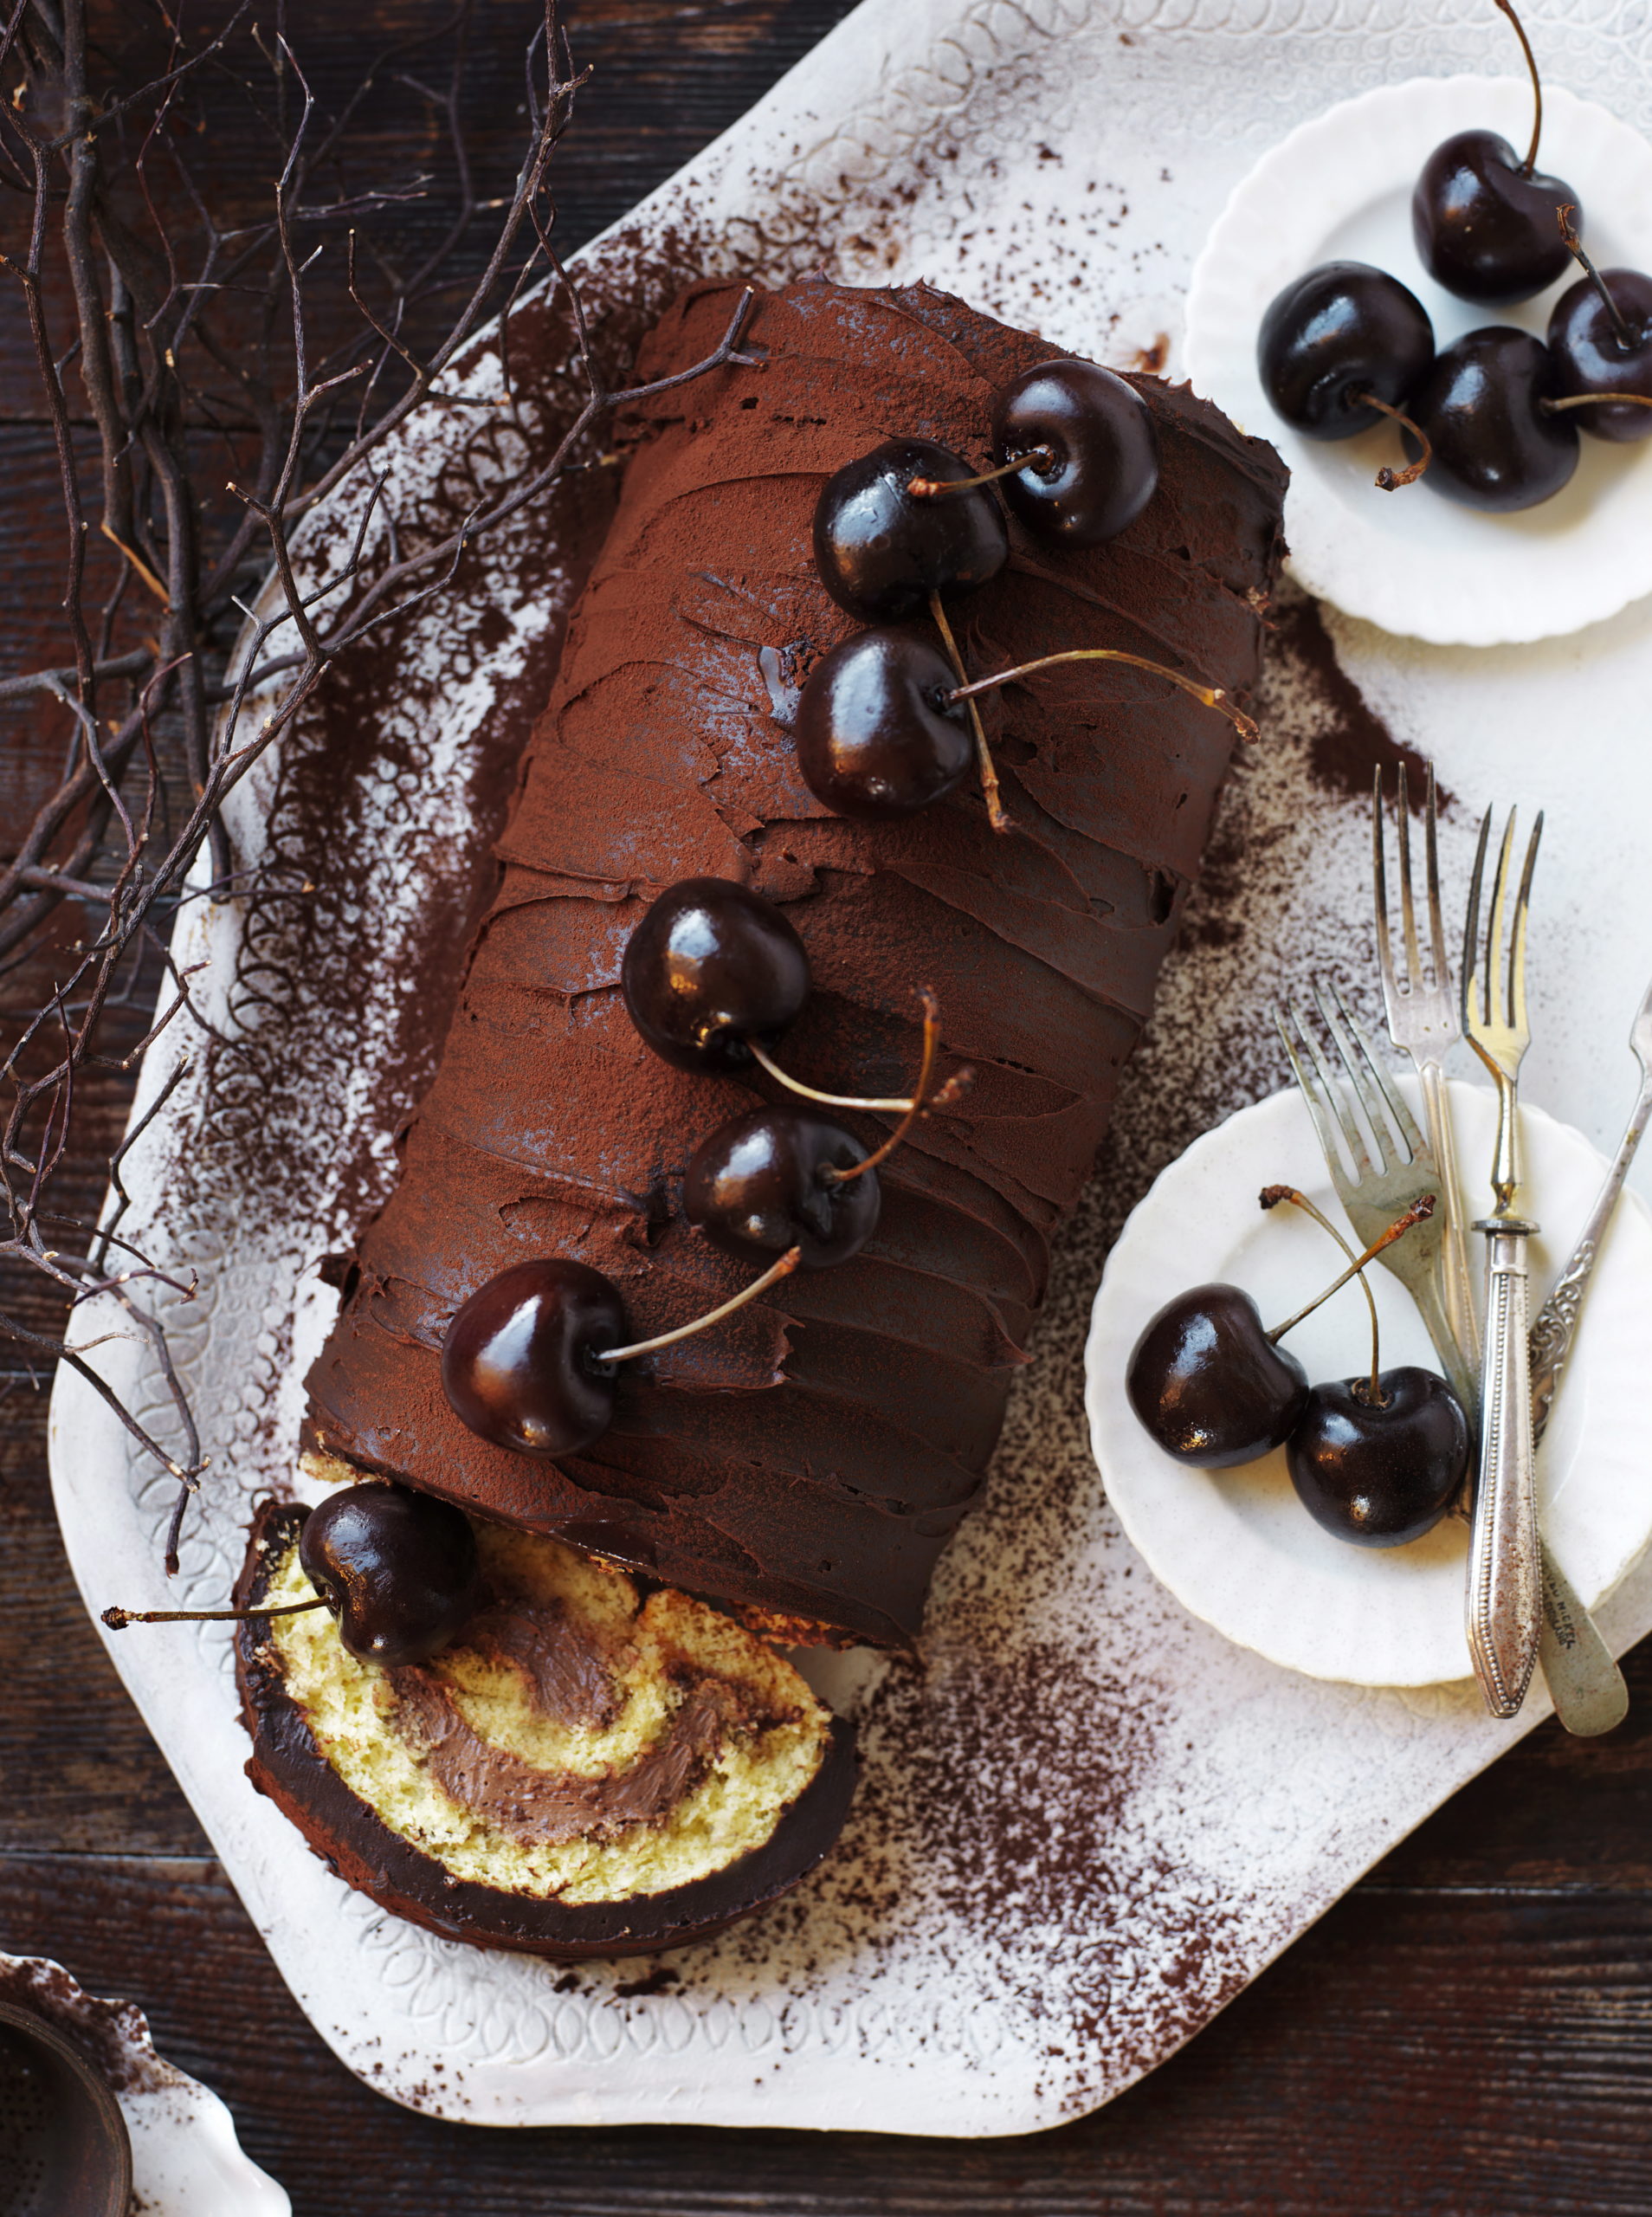
Yule Logs are huge in Europe around Christmas so why not adopt a new tradition here and make one for the night before Christmas dinner. This dark chocolate and hazelnut filling version is a beauty.
Day 1: Christmas starts here

Cin Cin. Celebrate with a Bellini
Serves 1
Place 45ml peach nectar, 15ml peach schnapps and 15ml lime juice in a chilled champagne flute glass, stir gently. top with 150ml chilled dry white sparkline wine. Garnish with a peach wedge.
EXPERT PROJECTS


Create the home of your dreams with Shop Your Home and Garden
SHOP NOW


