With a little trepidation and a lot of excitement, building has begun on the My New Home site. Oliver and Ella choose curtains, tapware, the kitchen design and install fibre. We get the lowdown on stage three: The build start
See how the My New Home site is starting to take shape
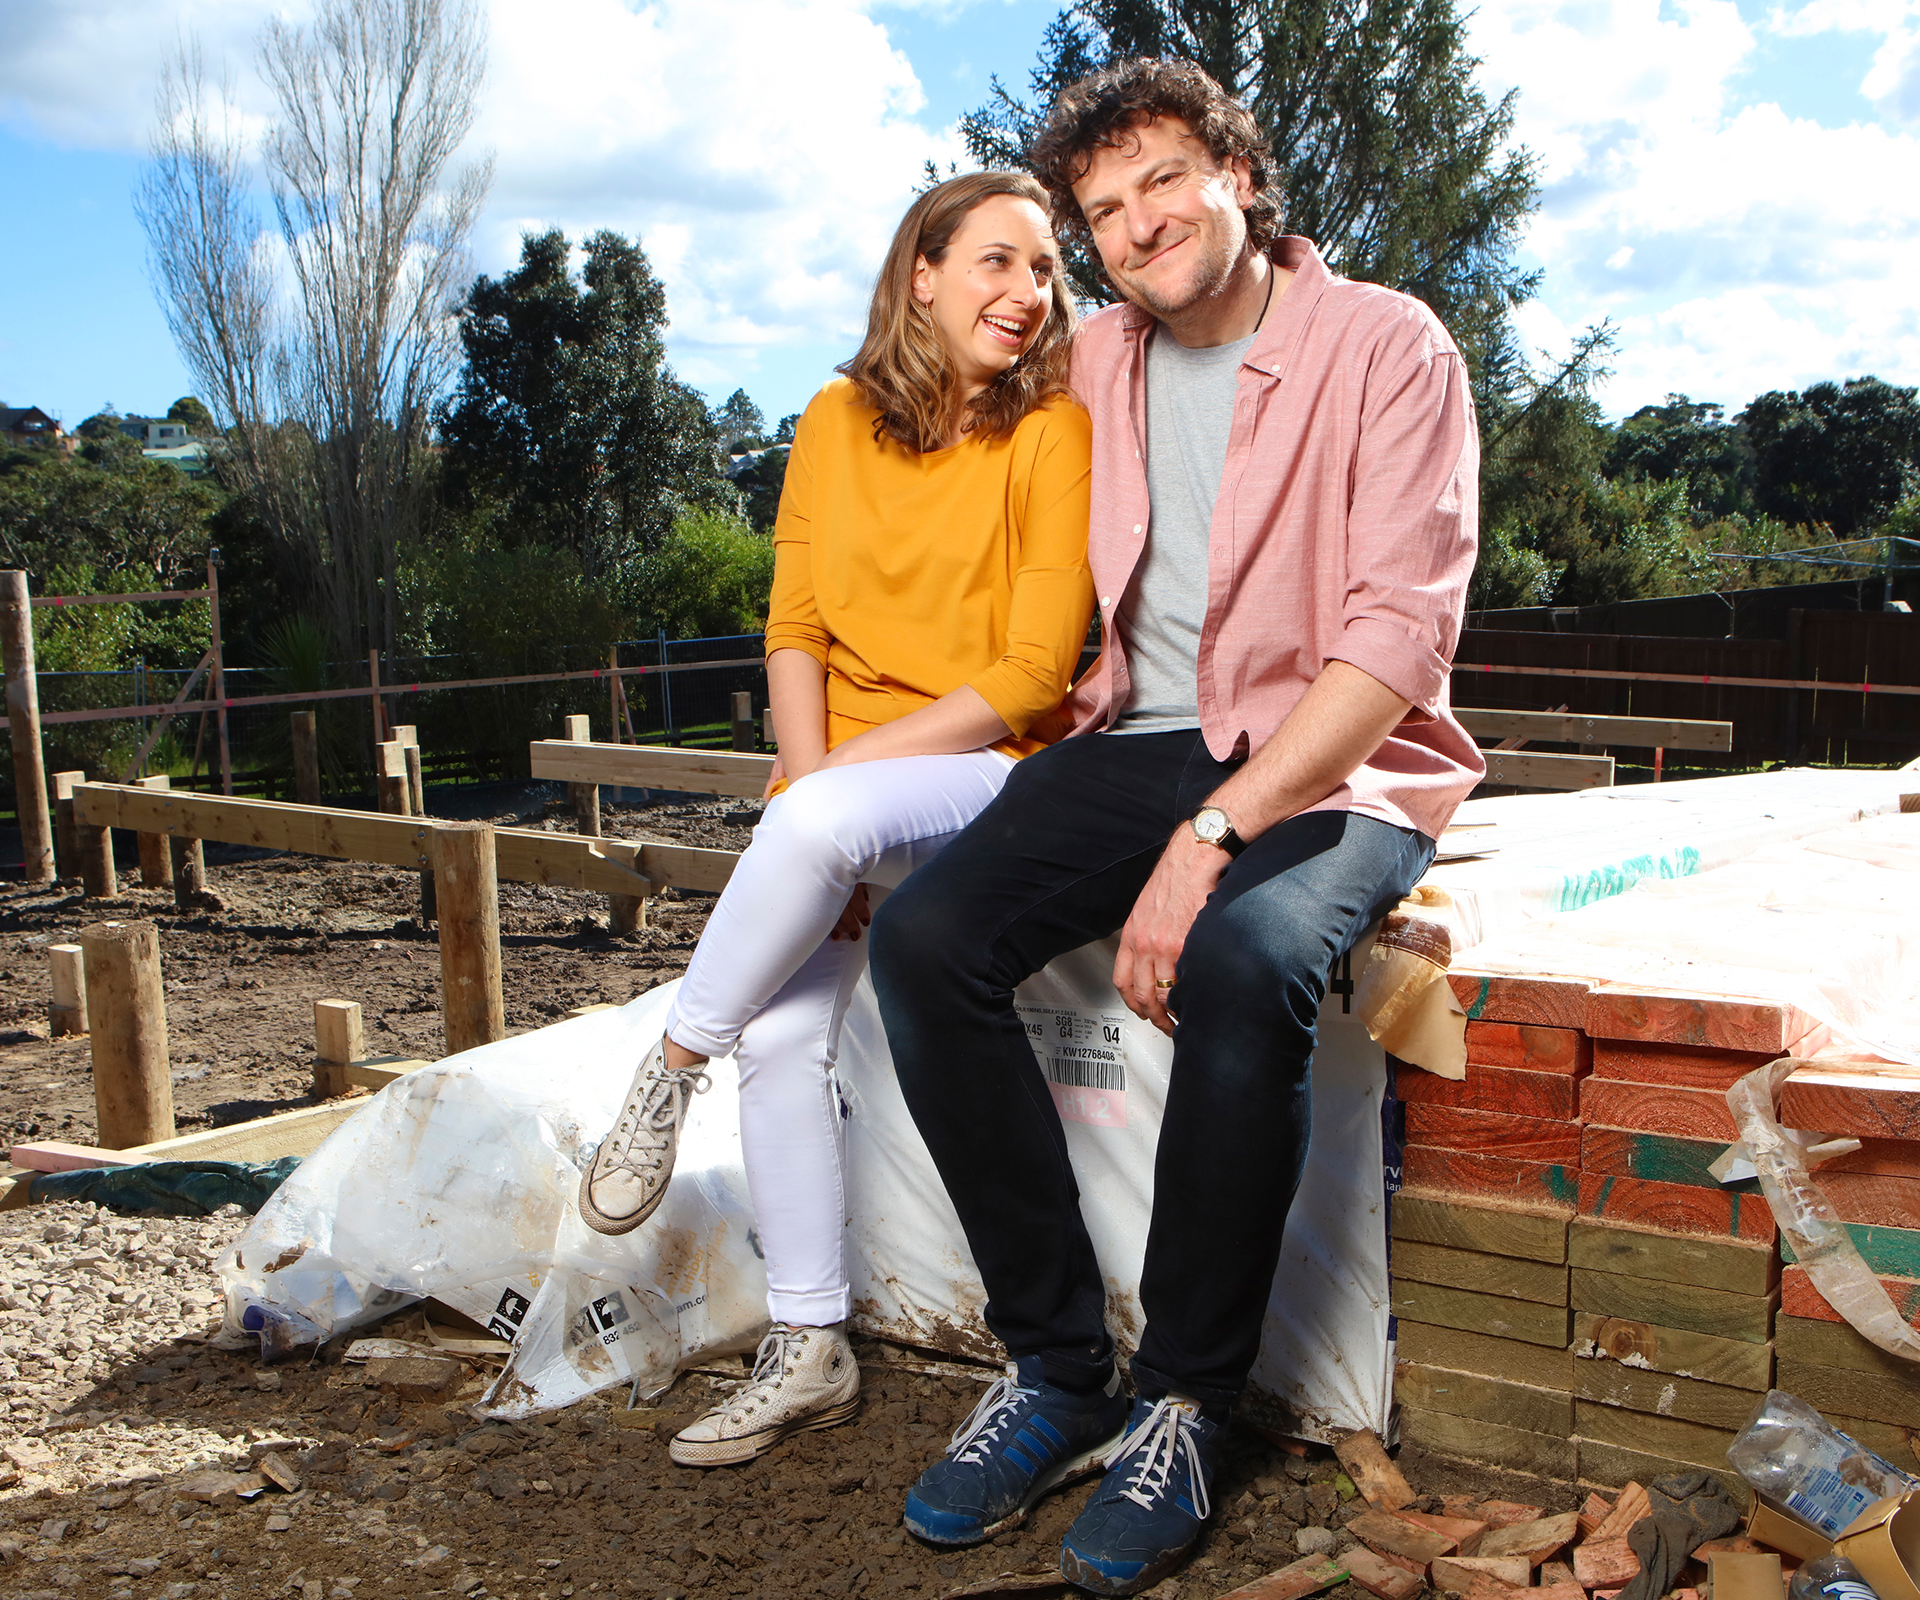
Our homeowners Oliver and Ella have taken their time to get their planning right. It’s three years since they committed to buying a small subdivided section near the water in Auckland’s Te Atatu, but after lots of back and forth with their architect their plans are finally perfect and they’re ready to send in the diggers.
Build start
The section has been cleared, a surveyor has been in to place marking pegs where the corners of the house will be and the builders have set up profile lines showing the correct levels for the build. With years of planning and tens of thousands of dollars at stake, Oliver and Ella are understandably feeling a little anxious in the days before the foundations go in.
“The big first step is the earthworks and we won’t know until we’re doing it whether that will be yet more money,” says Oliver. “It’s the only part of building a new house that’s a mystery. When you do renovations there’s that scary part where you go to replace a tiny bit of the deck, then you open it up and find you need to replace the entire deck because everything’s rotten. In new builds, the last scary moment is the earthworks – because who knows what’s under there. But once that’s done and the foundations are complete then it should all be pretty quick.”

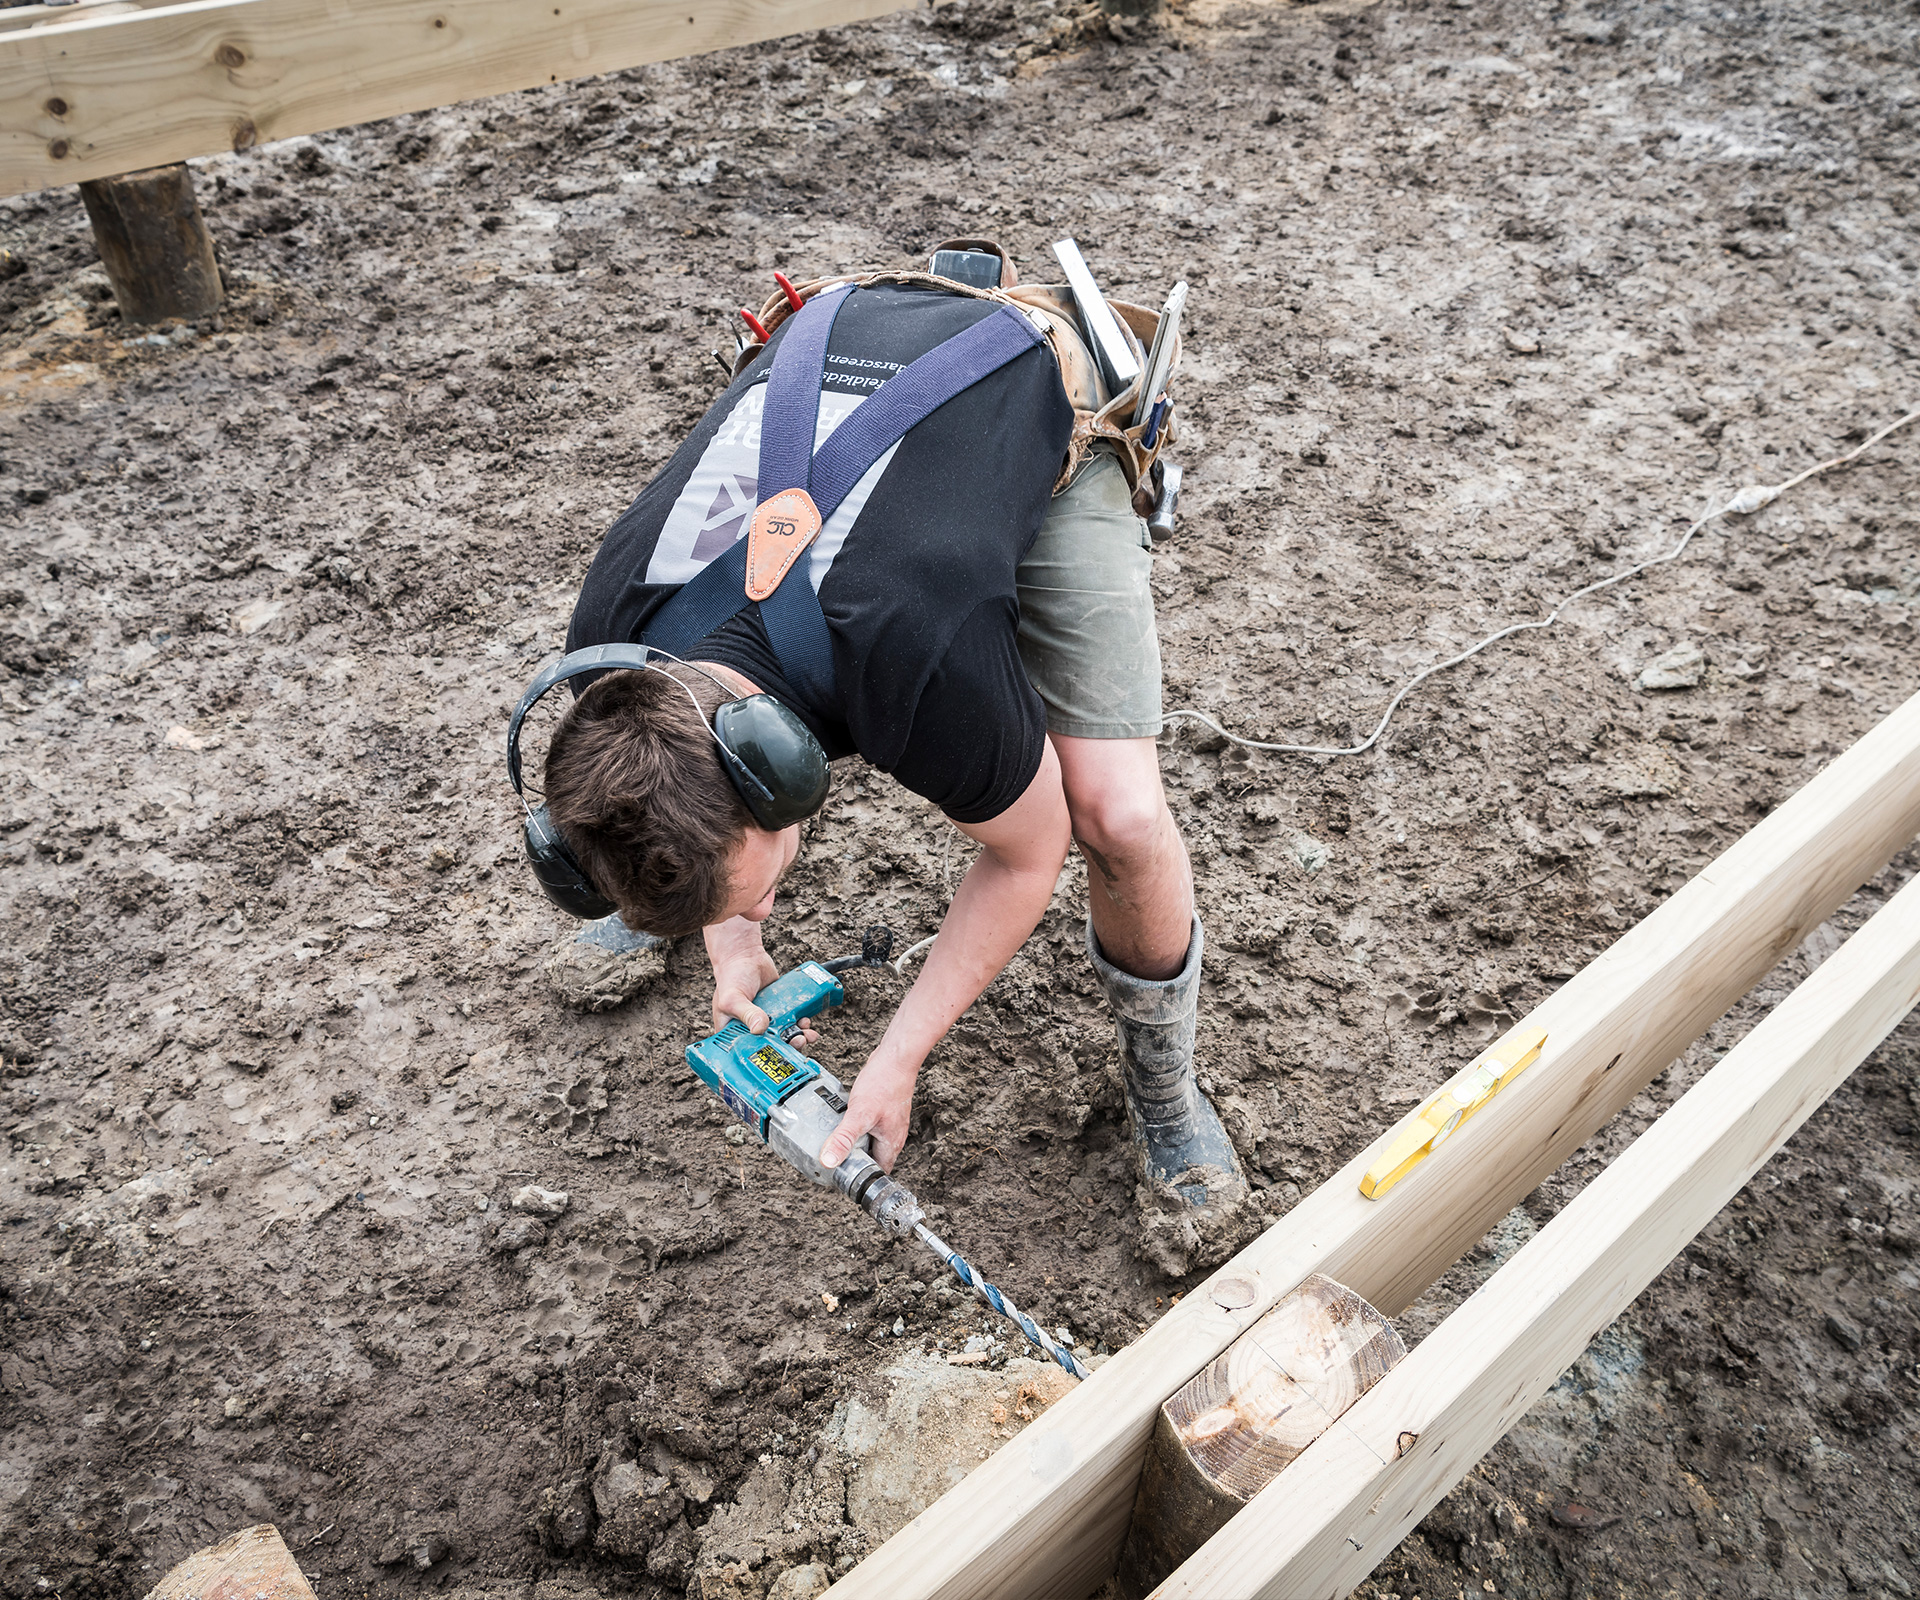
Builder James Hosking says foundations are difficult to schedule because the job is so weather-dependent, and the riverside My New Home site has unique challenges because it is boggy, with a very high water table. This means the piles have to be much deeper than usual to make sure the house is on solid ground. “Normally we’d use 900mm piles, but here we’re using 3.6 metre piles,” he says.
The site also has the added complication of having a council sewer line running through it, so this is one dig that will need to proceed very carefully!
Happily, James’ well-laid plans make the very busy dig day run smoothly. “It was crazy here,” he says. “We had the digger to dig the holes for the piles, a hydro excavation truck to put a big hose down and suck up the water from the holes and six builders to get the 25 piles in and braced up and plum. Everything then had to be checked by a geotechnical engineer and structural engineer and Auckland Council before we could bring in the concrete pump and concrete the piles in.

It was very stressful but it all went really well for something so complex,” he says. “We were stoked.” Still more, deeper piles were driven directly into the earth by a huge pile driver.
Next, under the guidance of site foreman Mana McKenzie, the team from JR Hosking Carpenters put down bearers and joists for the floor framing, followed by high-density Strandboard wood chip panels for the subfloor.
There’s only been one hitch in the giant online spreadsheet James has created to guide the six-month build. The wall frames, which he initially planned to have pre-built off-site, will now be built on-site. “There was going to be a delay,” says Mana. “So we decided to do it ourselves.”

The job is like a giant three-dimensional jigsaw puzzle, as the team make the sections of wall frame lying down, then stand them up to fit them together. “The doors are all 2.4m high because Oliver’s so tall, so it will feel a bit grander than your standard home,” says James.
Once the giant roof trusses are craned into place, the form of the house begins to emerge. “We’re out of the ground, and it’s super exciting,” says Oliver. “We’ve been a bit freaked out. I’m not very good at looking at two dimensions and imagining three, and neither is Ella, so while we were planning we had to draw out the entire house on a tennis court to understand what it would be like. But now we can really see how big everything is and that it’s a good-sized home.”

Getting connected
It’s important to this creative couple that they can work from home, so Oliver paid a visit to the Chorus Fibre Lab in Auckland to find out how to get connected.
Chorus tech expert Kurt Rodgers says it’s a good idea to talk to Chorus very early in the new build process, so if fibre is available in your neighbourhood you can get it delivered from the street to your site efficiently. “If you’re putting in a new driveway we advise to have a telco duct laid at the same time,” he says.
Fibre is just as important as power”
so you have to consider it from the early planning stages
Fibre is available at Oliver and Ella’s Te Atatu site, but Kurt recommends that homeowners wire their new home to cope with the highest level of technology, even if they can’t connect to it immediately. “It’s all about futureproofing,” he says.
“Fibre and ethernet cables are all you need to worry about, then you can choose what you want to add on later.”
“Fibre is just as important as power,” says Kurt. “It’s the fourth utility, just like electricity, gas and water, so you have to consider it from the early planning stages of your build.”

Kurt recommends asking your electrician to install two ethernet jackpoints in the living area, kitchen, main bedroom and study, then if you need more than one wifi router you can plug them in wherever you go. “Every room should have power sockets, a couple of USB sockets and a couple of ethernet ports,” he says.
“Once you’ve got those it’s really easy to add things in, like wifi hotspots so you can stream anywhere in the house. Then there’s no need for satellite dishes, aerials or lots of ugly cables everywhere.”
Designing a dream kitchen
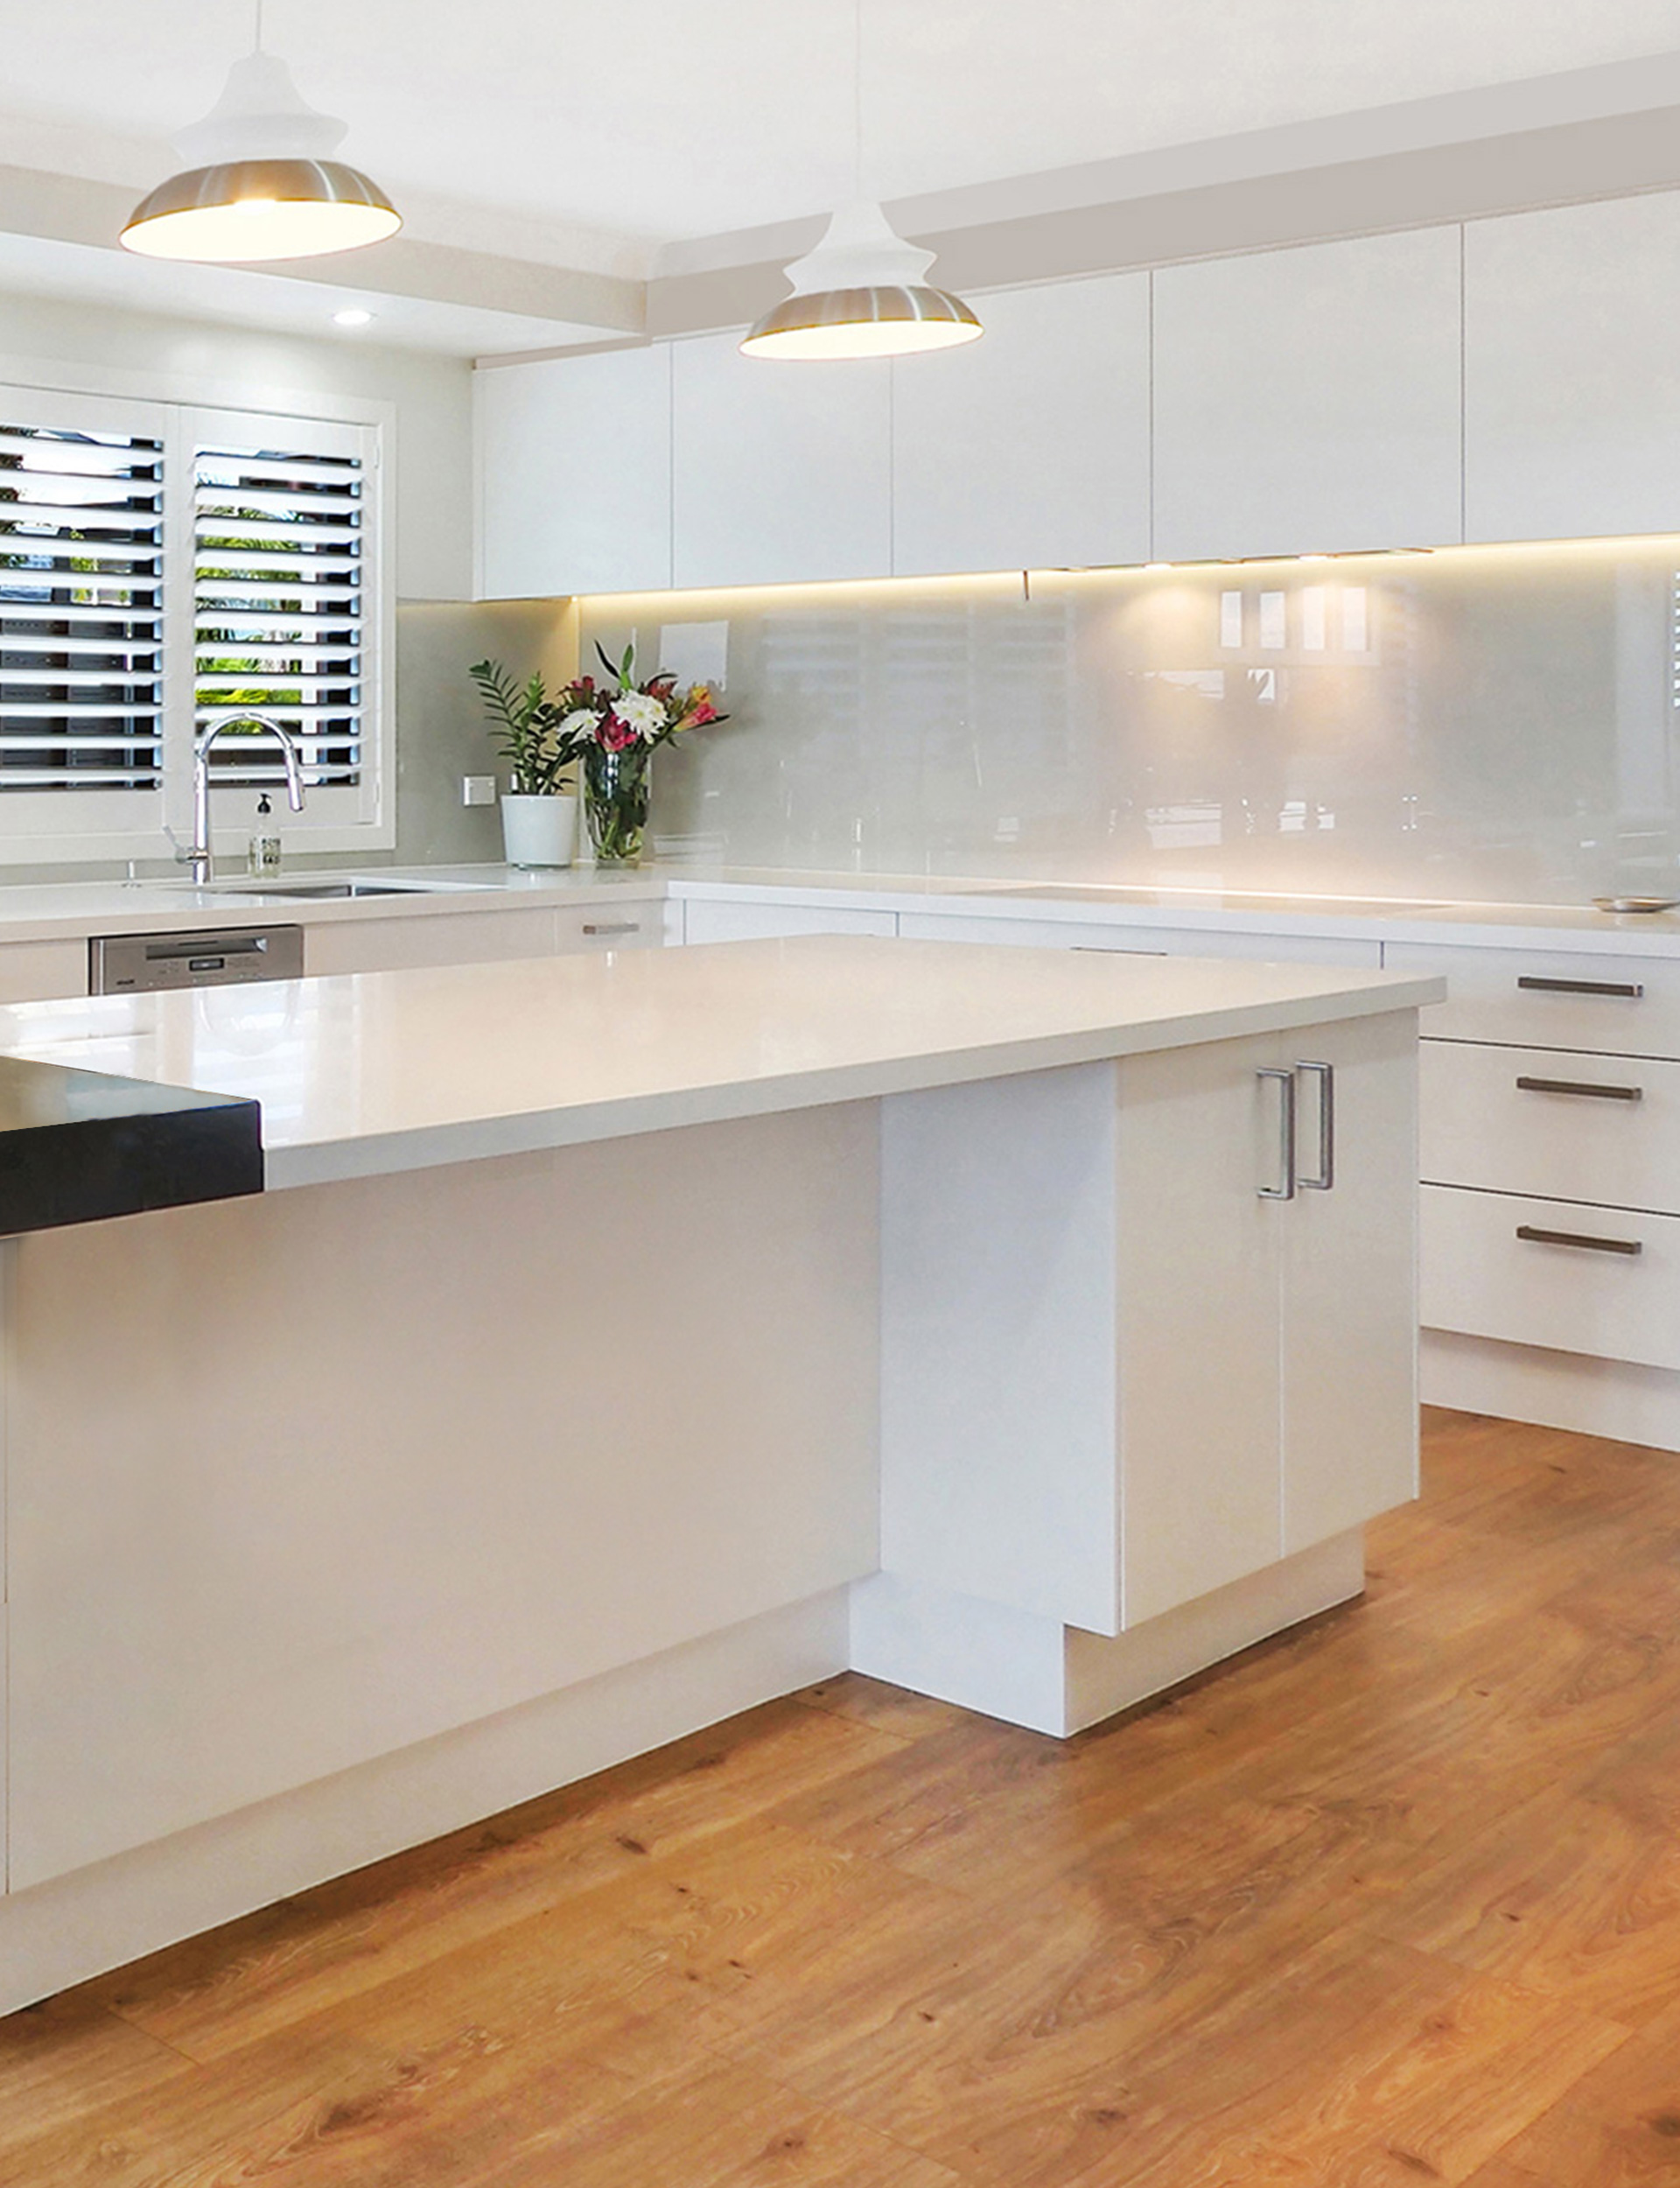
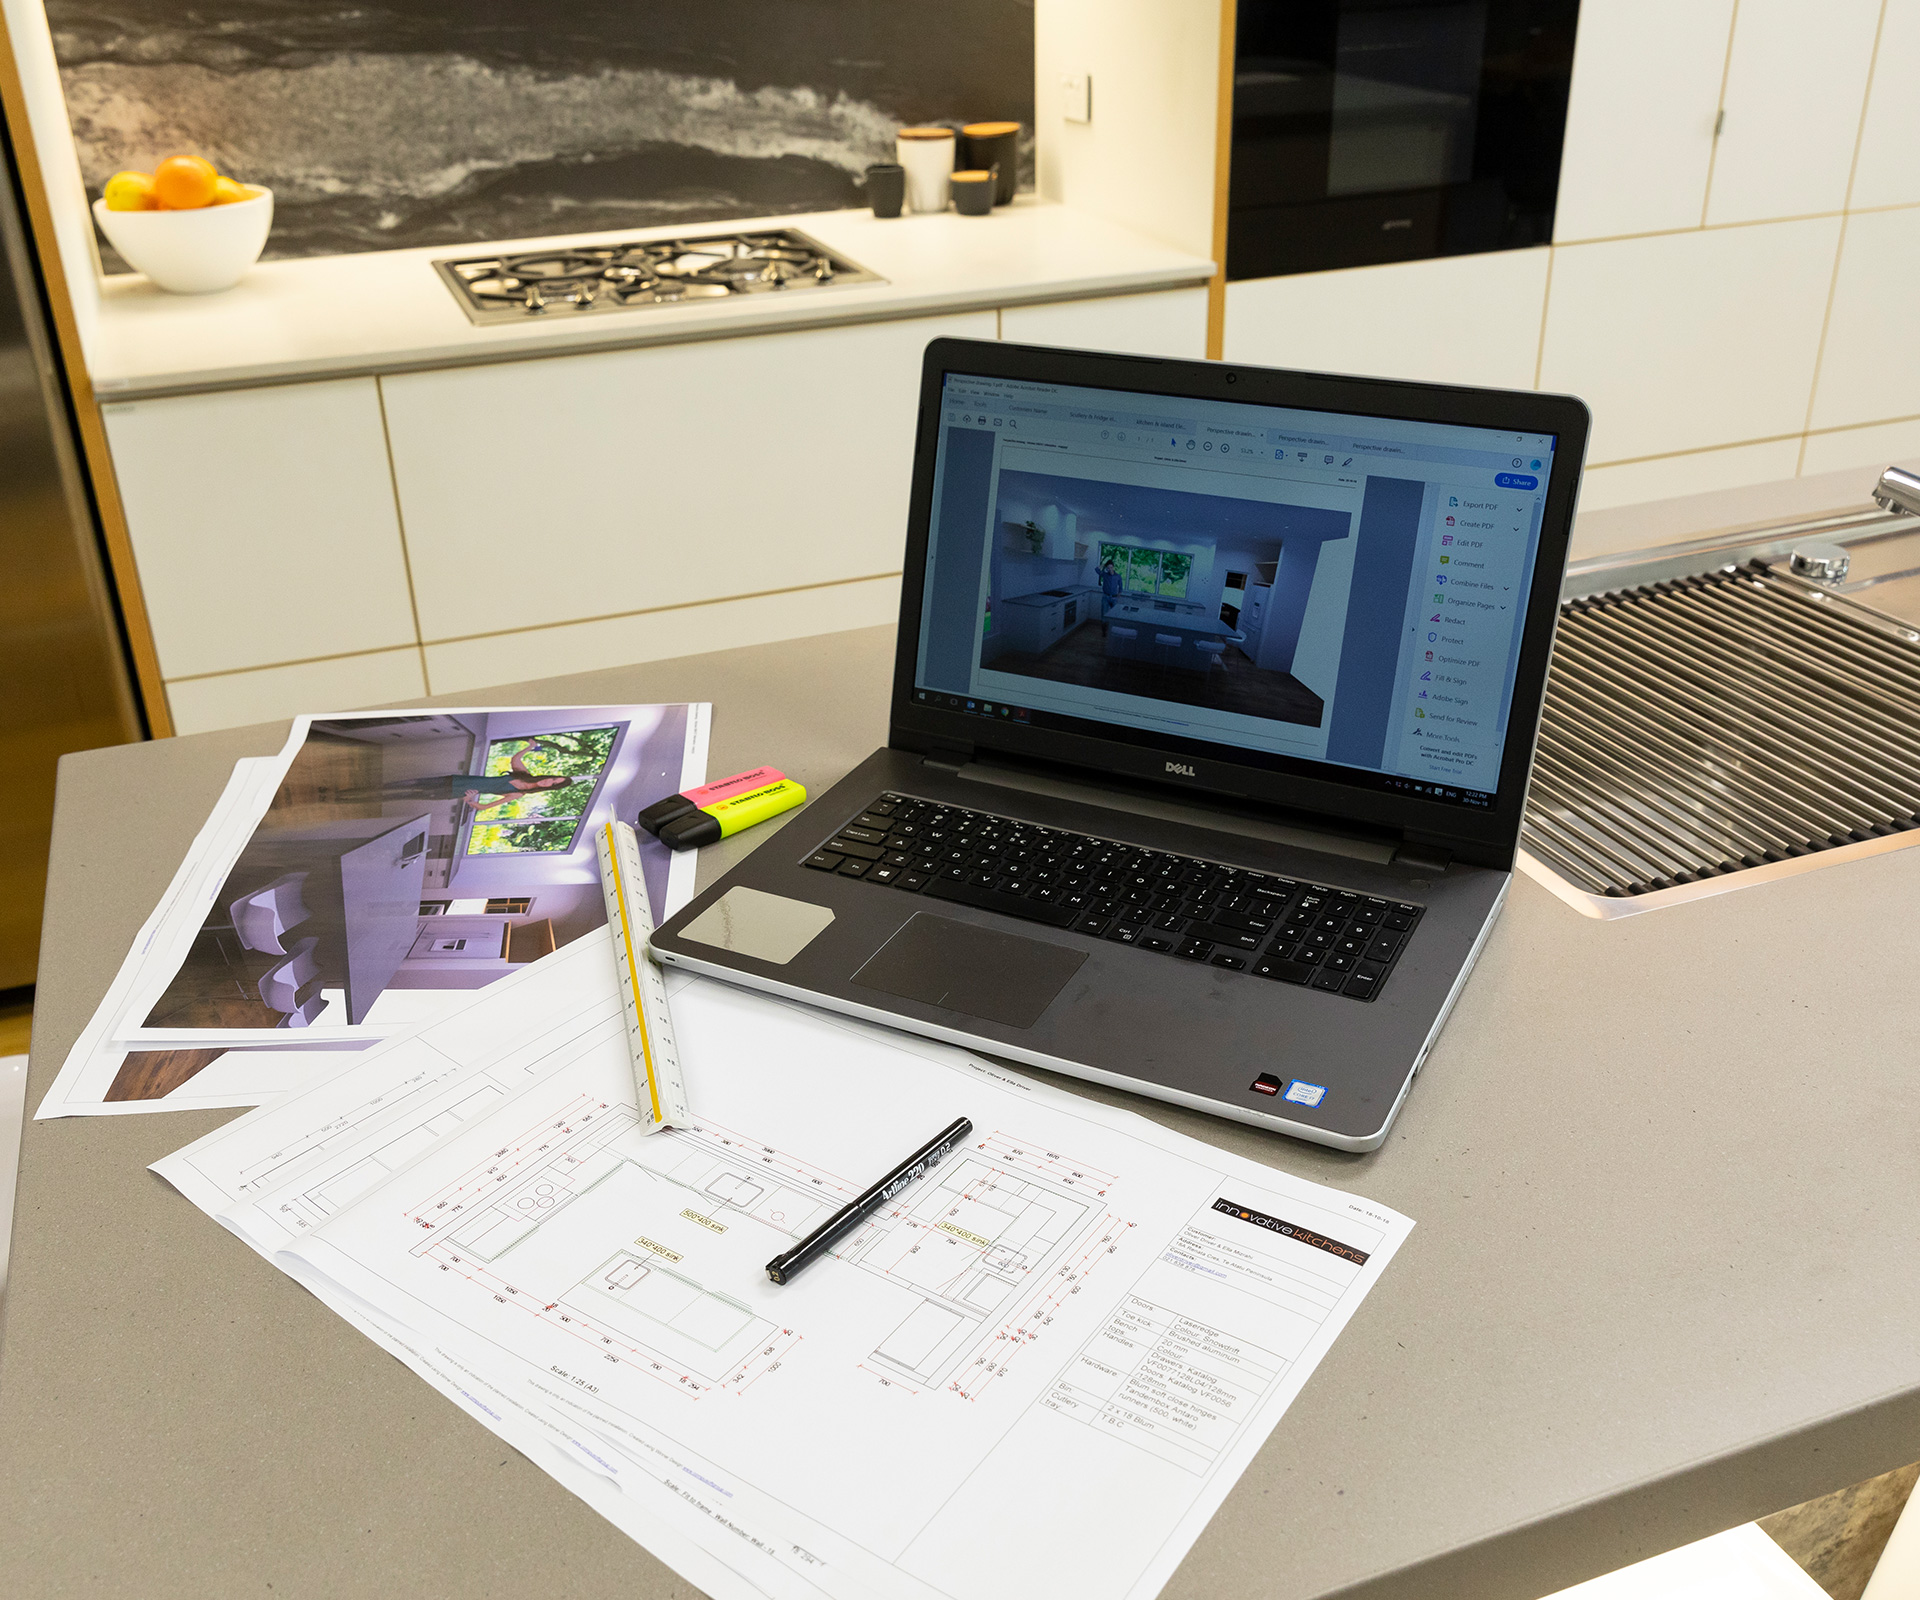
Oliver and Ella are also being kept busy making hundreds of decisions about the furnishings and fittings in their new home. They’ve been working on their kitchen plans with John van Doormaal from Innovative Kitchens for more than a year, refining their layout as their vision for their new home becomes clearer.
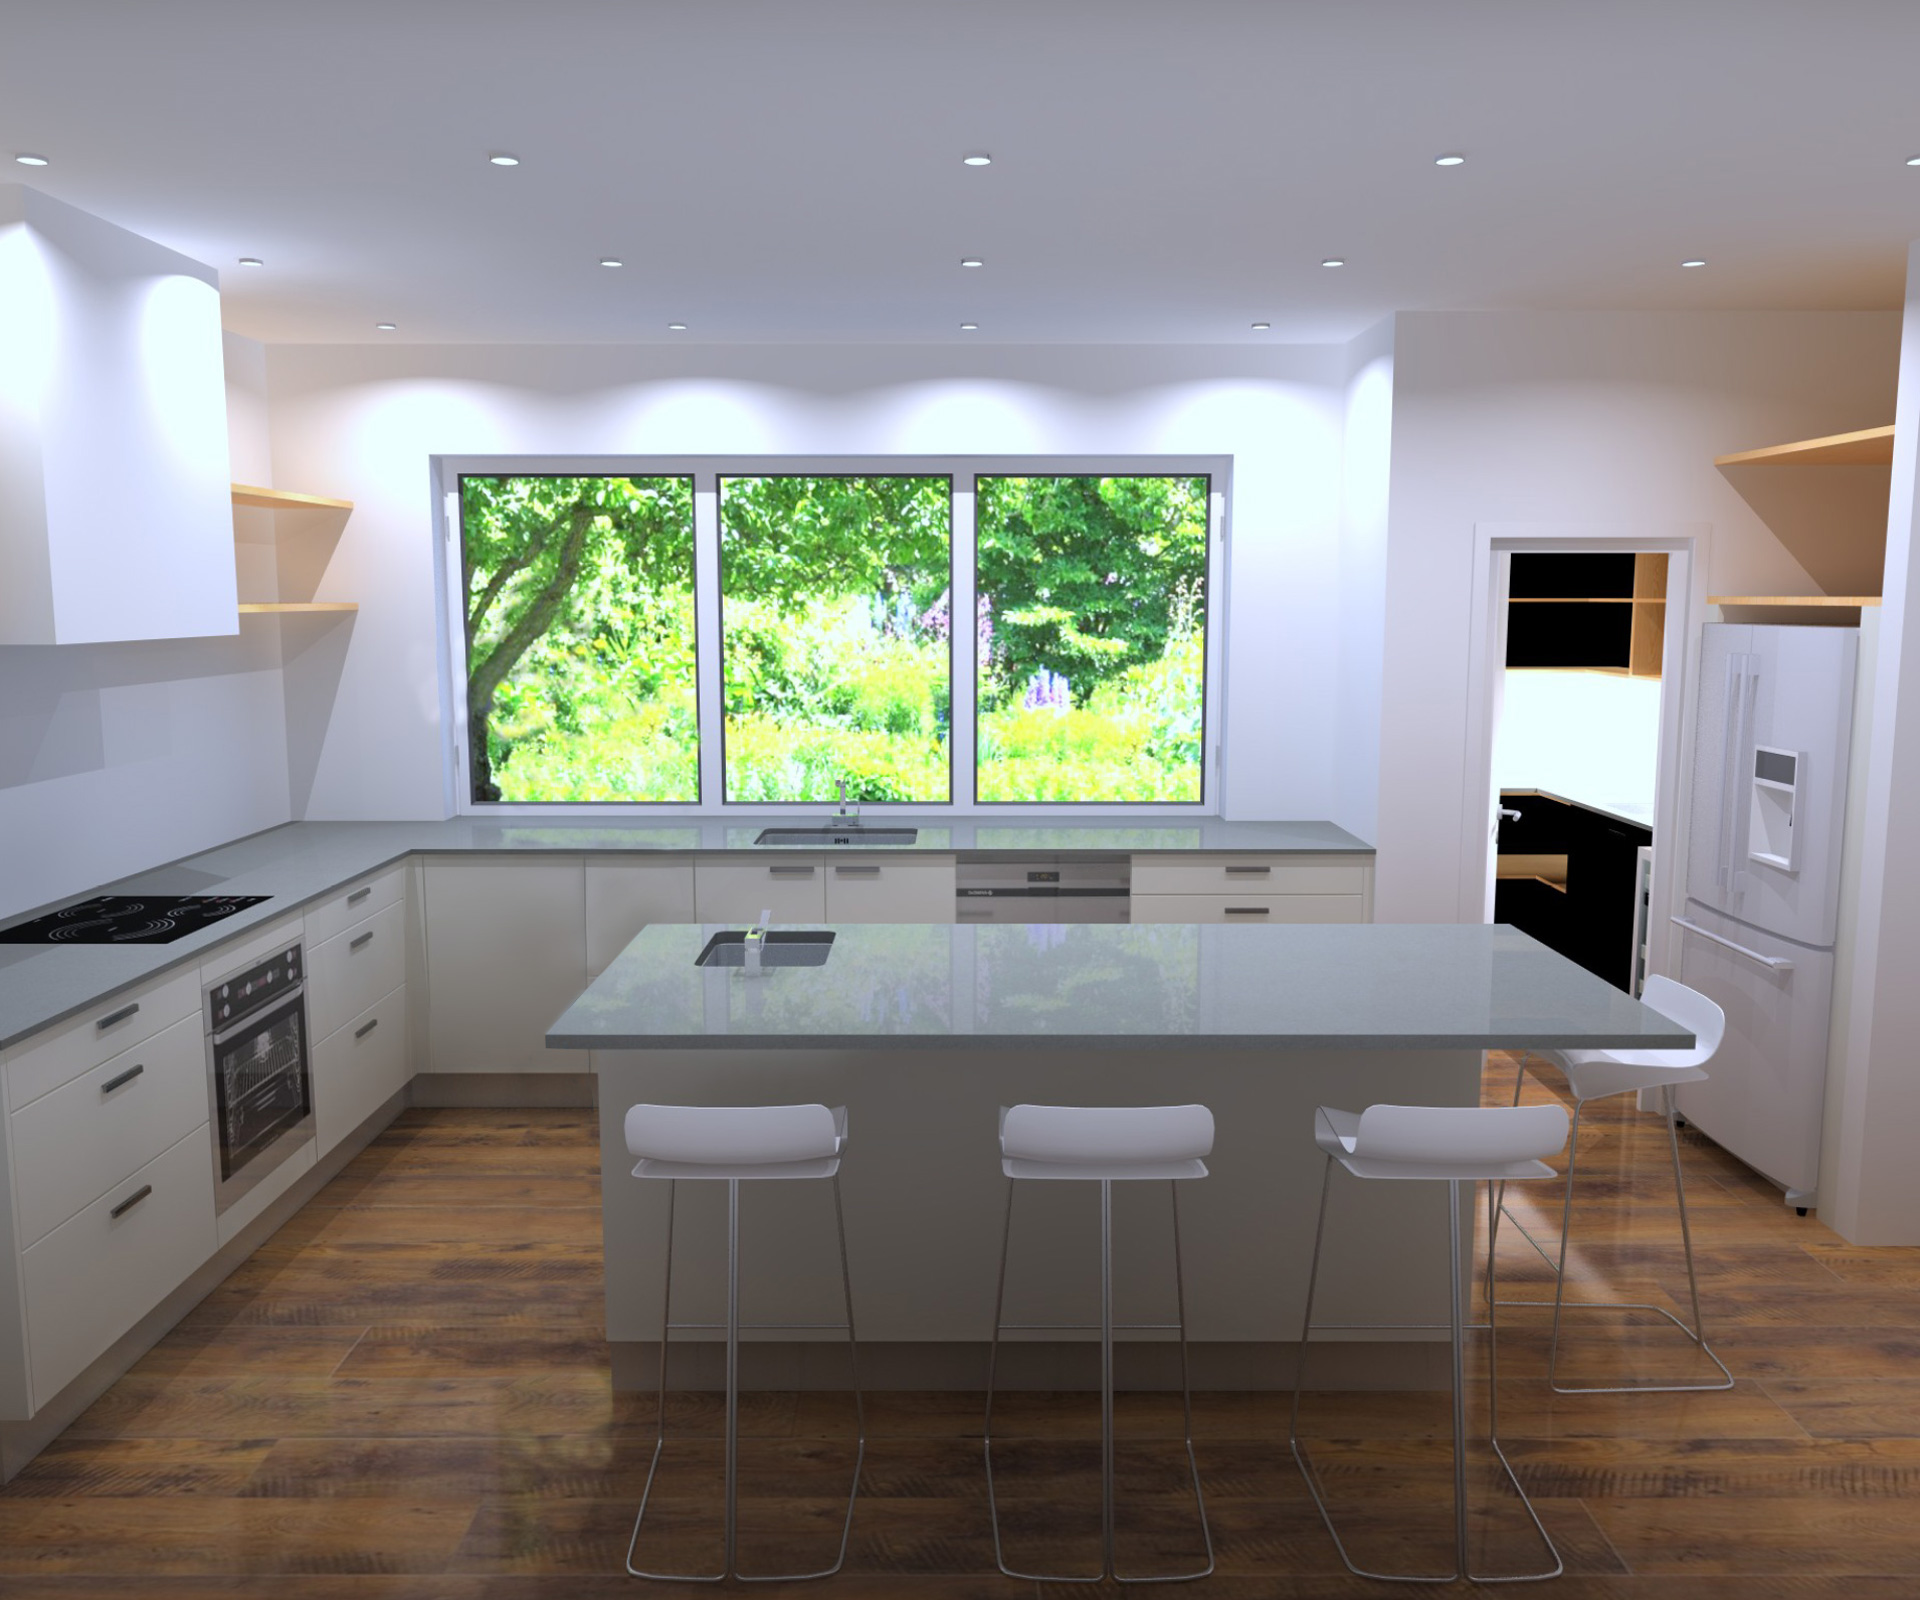
The resulting kitchen, located in the north-eastern corner of the house to catch the morning light, has a simple L-shaped bench and a large central island. “They’ve got a long bench with a big window, which draws the outside in,” says John.
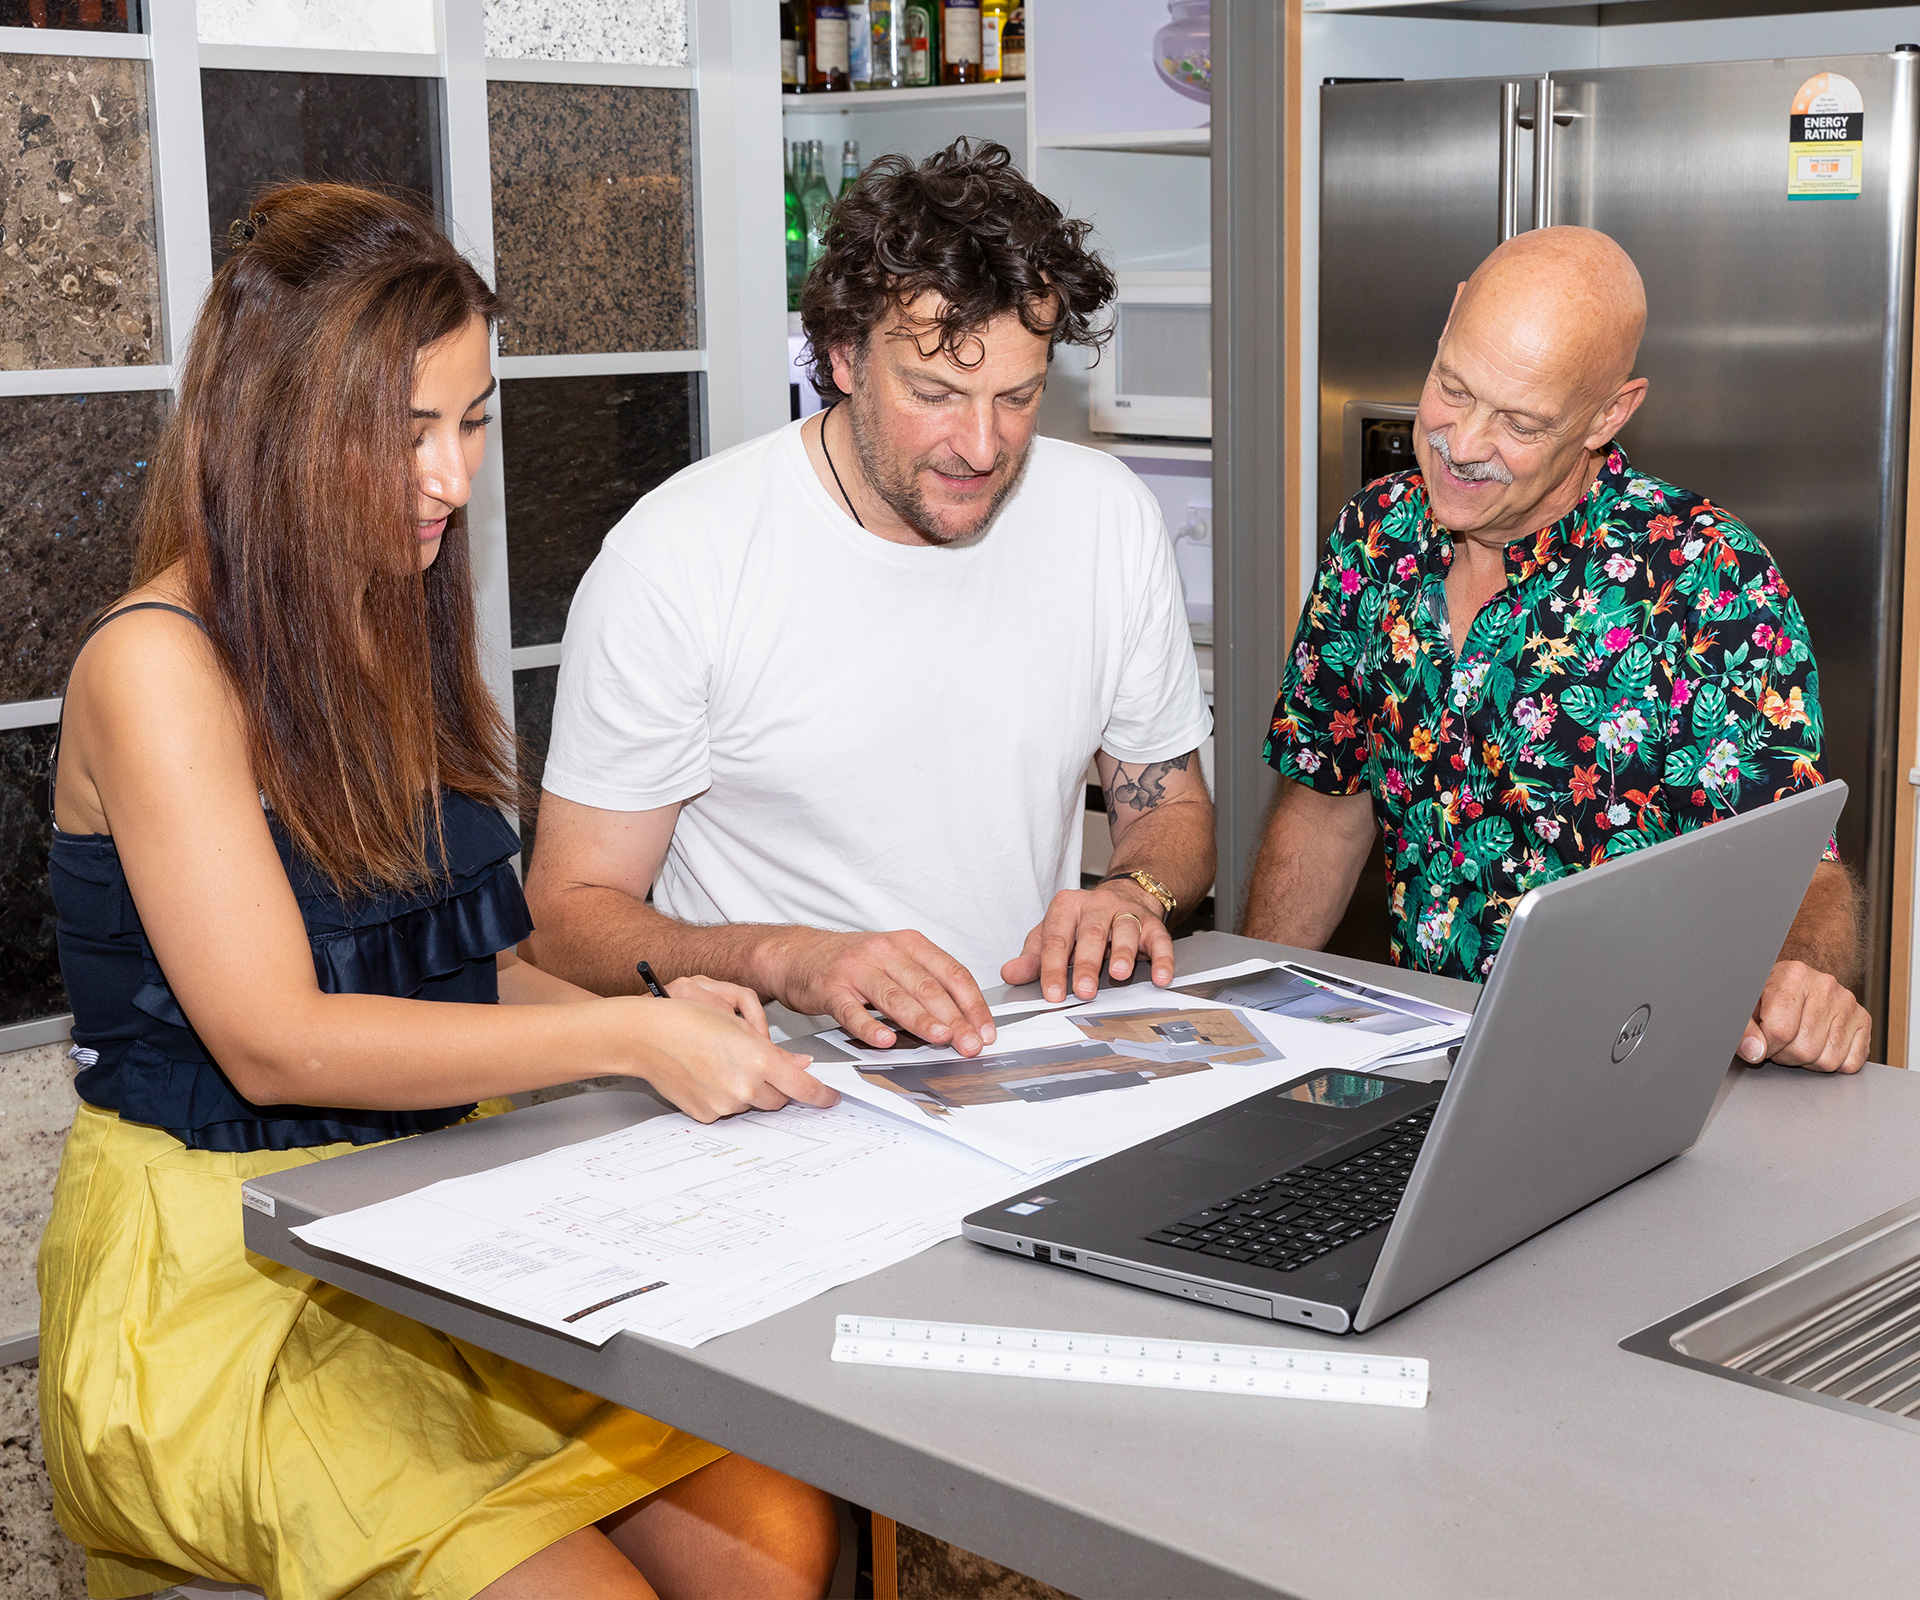
Just as the house plans were being finalised, Ella saw the opportunity to transform an under-utilised corner into a walk-in scullery like the one she’d seen in the Innovative Kitchens showroom, so John happily revised the plan to make it work.
“We had a really good footprint to work with,” says John, “not too big and not too small. Because it’s part of an open-plan lounge and dining area, and the house is quite modern with black corrugated iron cladding and joinery, we are thinking we’ll keep the kitchen a matte white with some wood detailing.”
It’s a nice modern, light kitchen. Spacious with a good flow”
it will work well for a growing family
John says the biggest challenge was what height to make the kitchen bench and island. With Oliver a lofty 198cm and Ella just above the average at 168cm, there was a lot of debate about whether the working surfaces needed to be higher than normal. In most homes the bench is between 900mm and 950mm from the floor, with the exact measurement often determined by the height of a free-standing range. However, as Oliver and Ella are installing a built-in stainless steel Haier oven with a separate gas-on-glass hob, they had the luxury of choice when it came to the bench height.
“The rule of thumb is that if you are standing at the bench with your forearm parallel to the benchtop, it should be 120mm below your elbow,” explains John, who has been designing and manufacturing custom kitchens for more than 30 years. “If you did that with Oliver and Ella you’d have a wide variation in height!”
In the end, the couple went for a 940mm high benchtop, only fractionally above the average. “I’ve told Oliver I’m going to give him a 50mm-thick chopping board to put on the bench when he’s chopping things up,” says John.
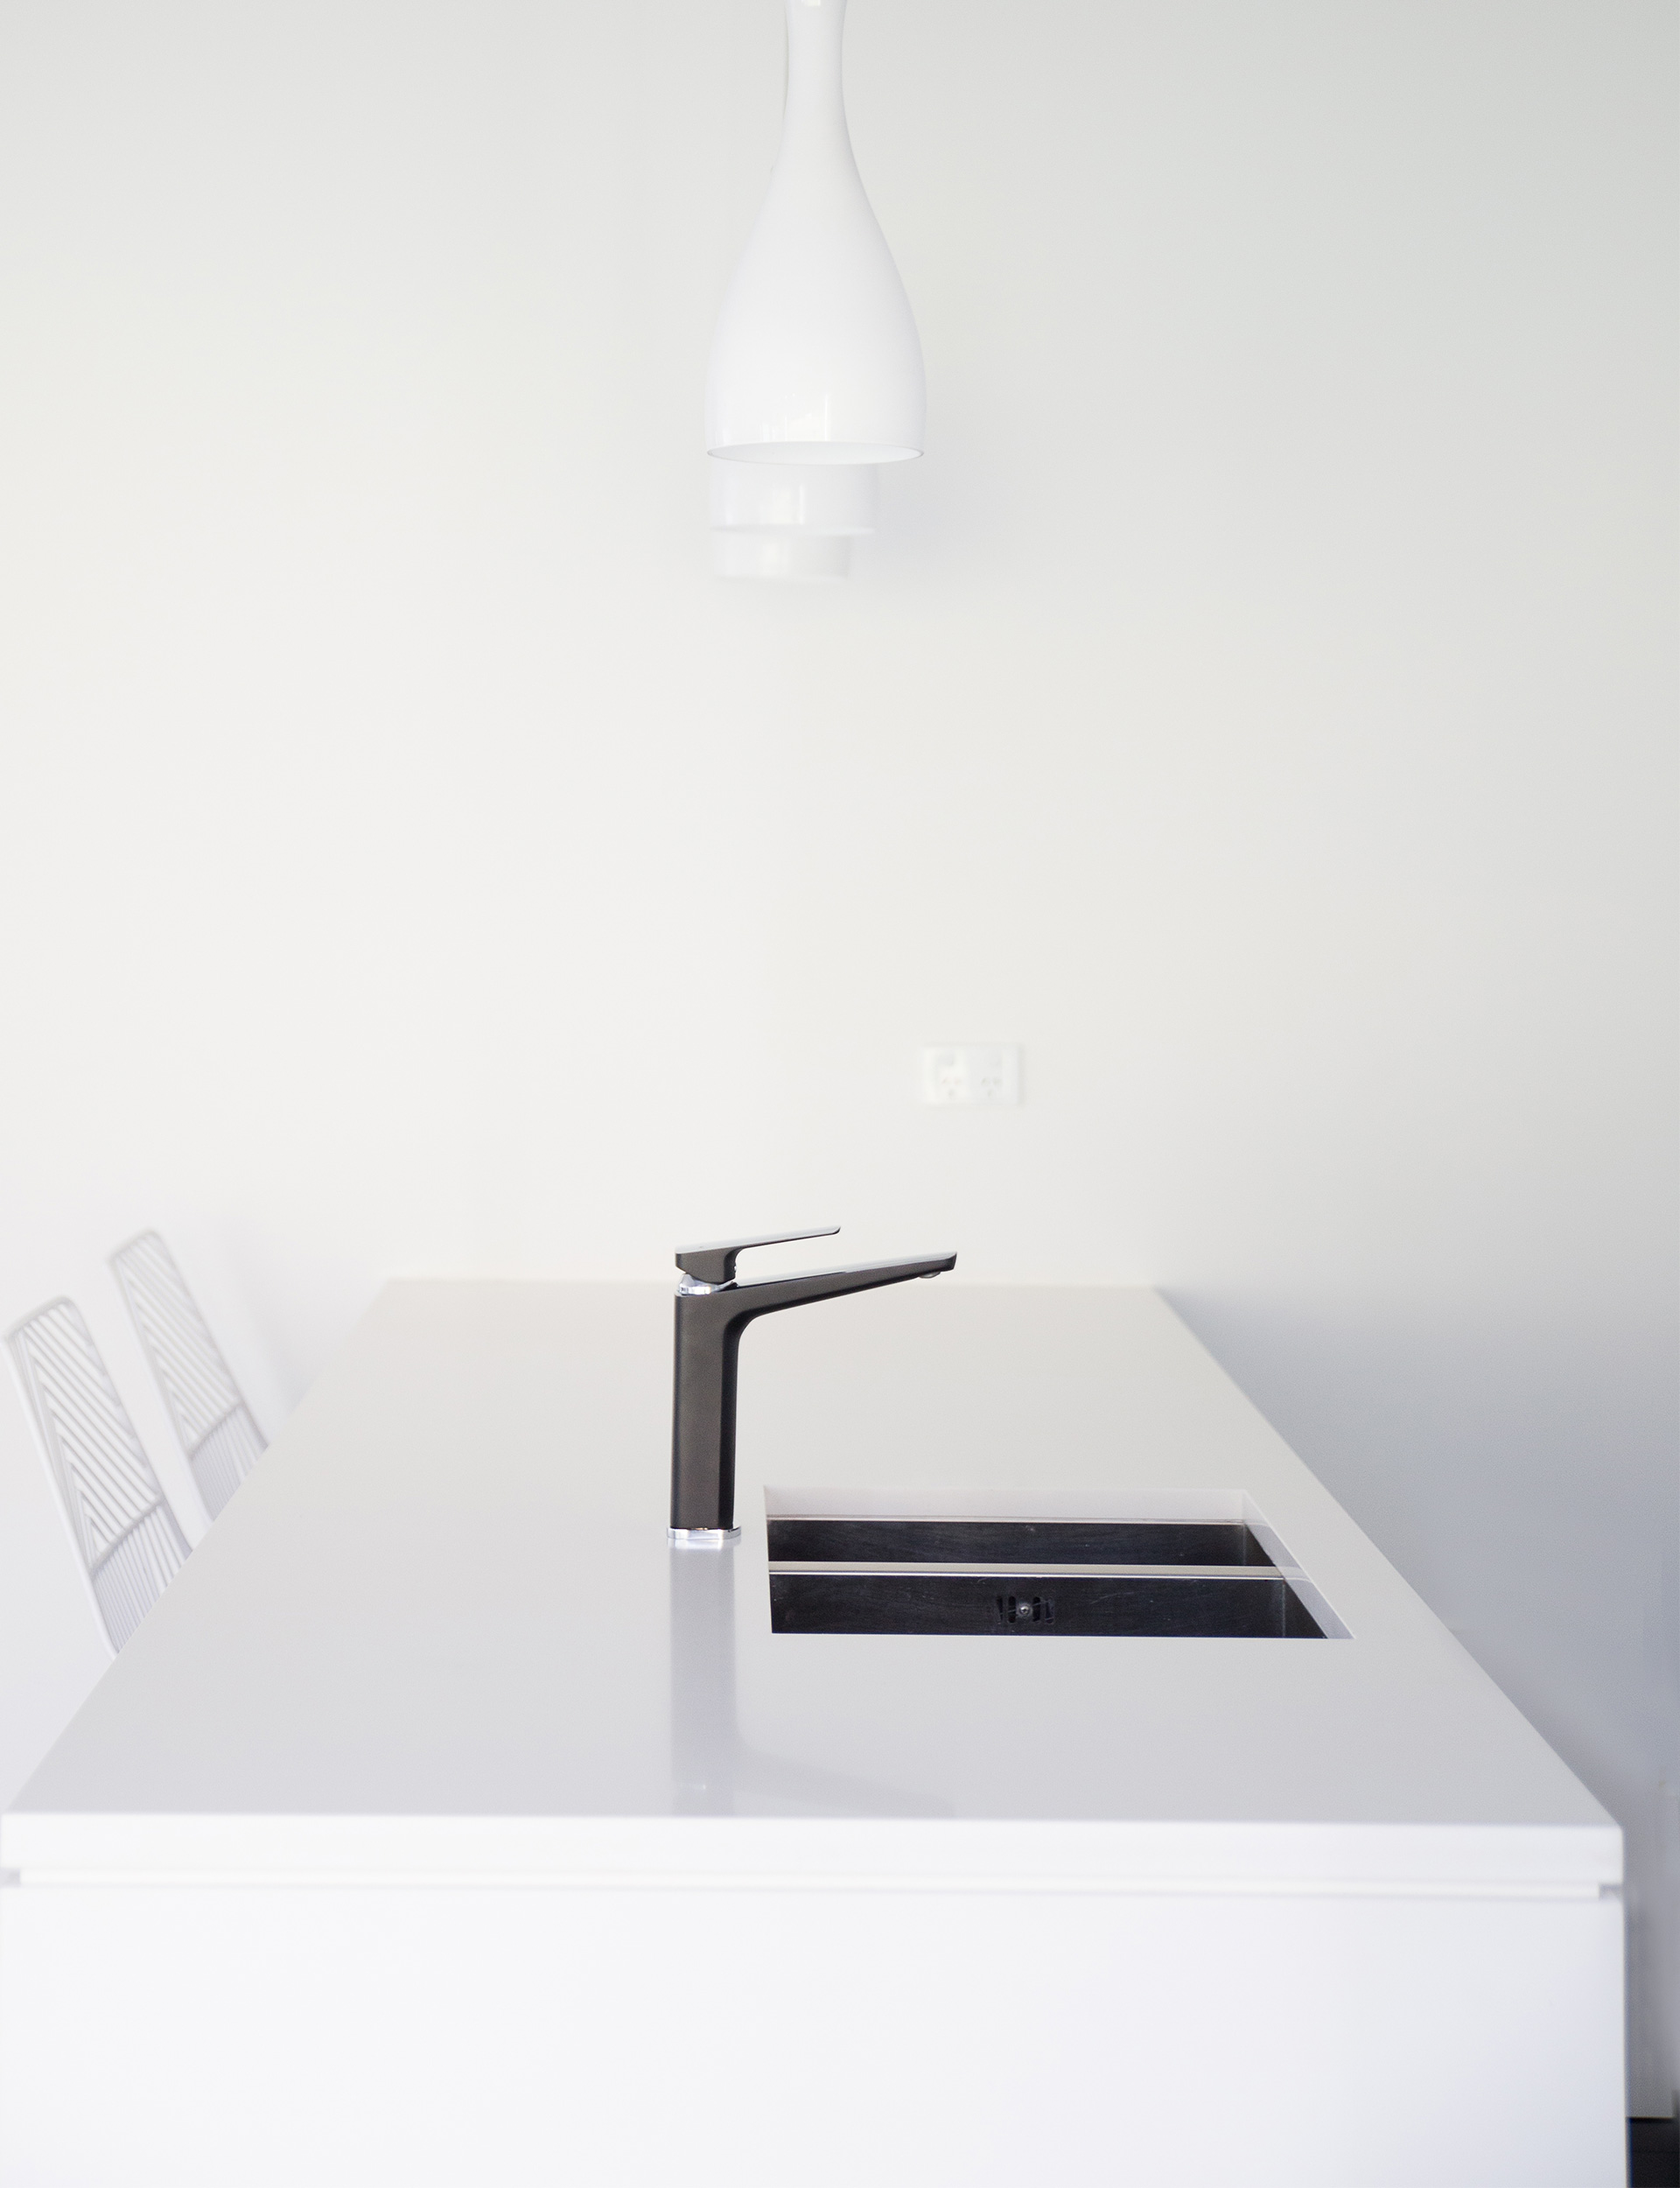
Oliver did get his way, however, when it came to including three sinks – one in the main bench, one in the island and one in the scullery. “They’ve got lots of working areas, so they can easily have three or more people working in the kitchen,” says John.
John says adding the scullery has allowed the kitchen to feel crisp, clean and open. “We don’t need too many tall units because all the storage is in the scullery. As soon as you’ve got a lot of tall units it can close in the feel of the kitchen.”
“It’s a nice modern, light kitchen. It’s going to feel spacious with a good flow and it will work really well for a growing family in years to come.”
Choosing the right fixtures and fittings
With all those sinks, it was important to choose stylish tapware that would act as a focal point of the kitchen. The couple spotted the team from Voda Plumbingware at the Auckland Home Show and decided to use their tapware, which includes models that are designed in New Zealand incorporating European ceramic cartridges, throughout the house.
“They visited us to get inspiration and advice,” says John Doherty from Voda Plumbingware. “So we worked with them to ascertain how their family lives day to day, and what tapware would work best for their style and personal use.”
Ella and Oliver knew they wanted stainless steel tapware in the kitchen, and John agrees this is a great choice for durability, longevity and quick clean-ups.
“A very exciting thing that happened during this process was that we created especially for them a new product that will be used in their scullery,” says John. “We created a custom basin mixer with a handle so that it would match their larger sink mixers, and this product has now been added to our stainless collection.”
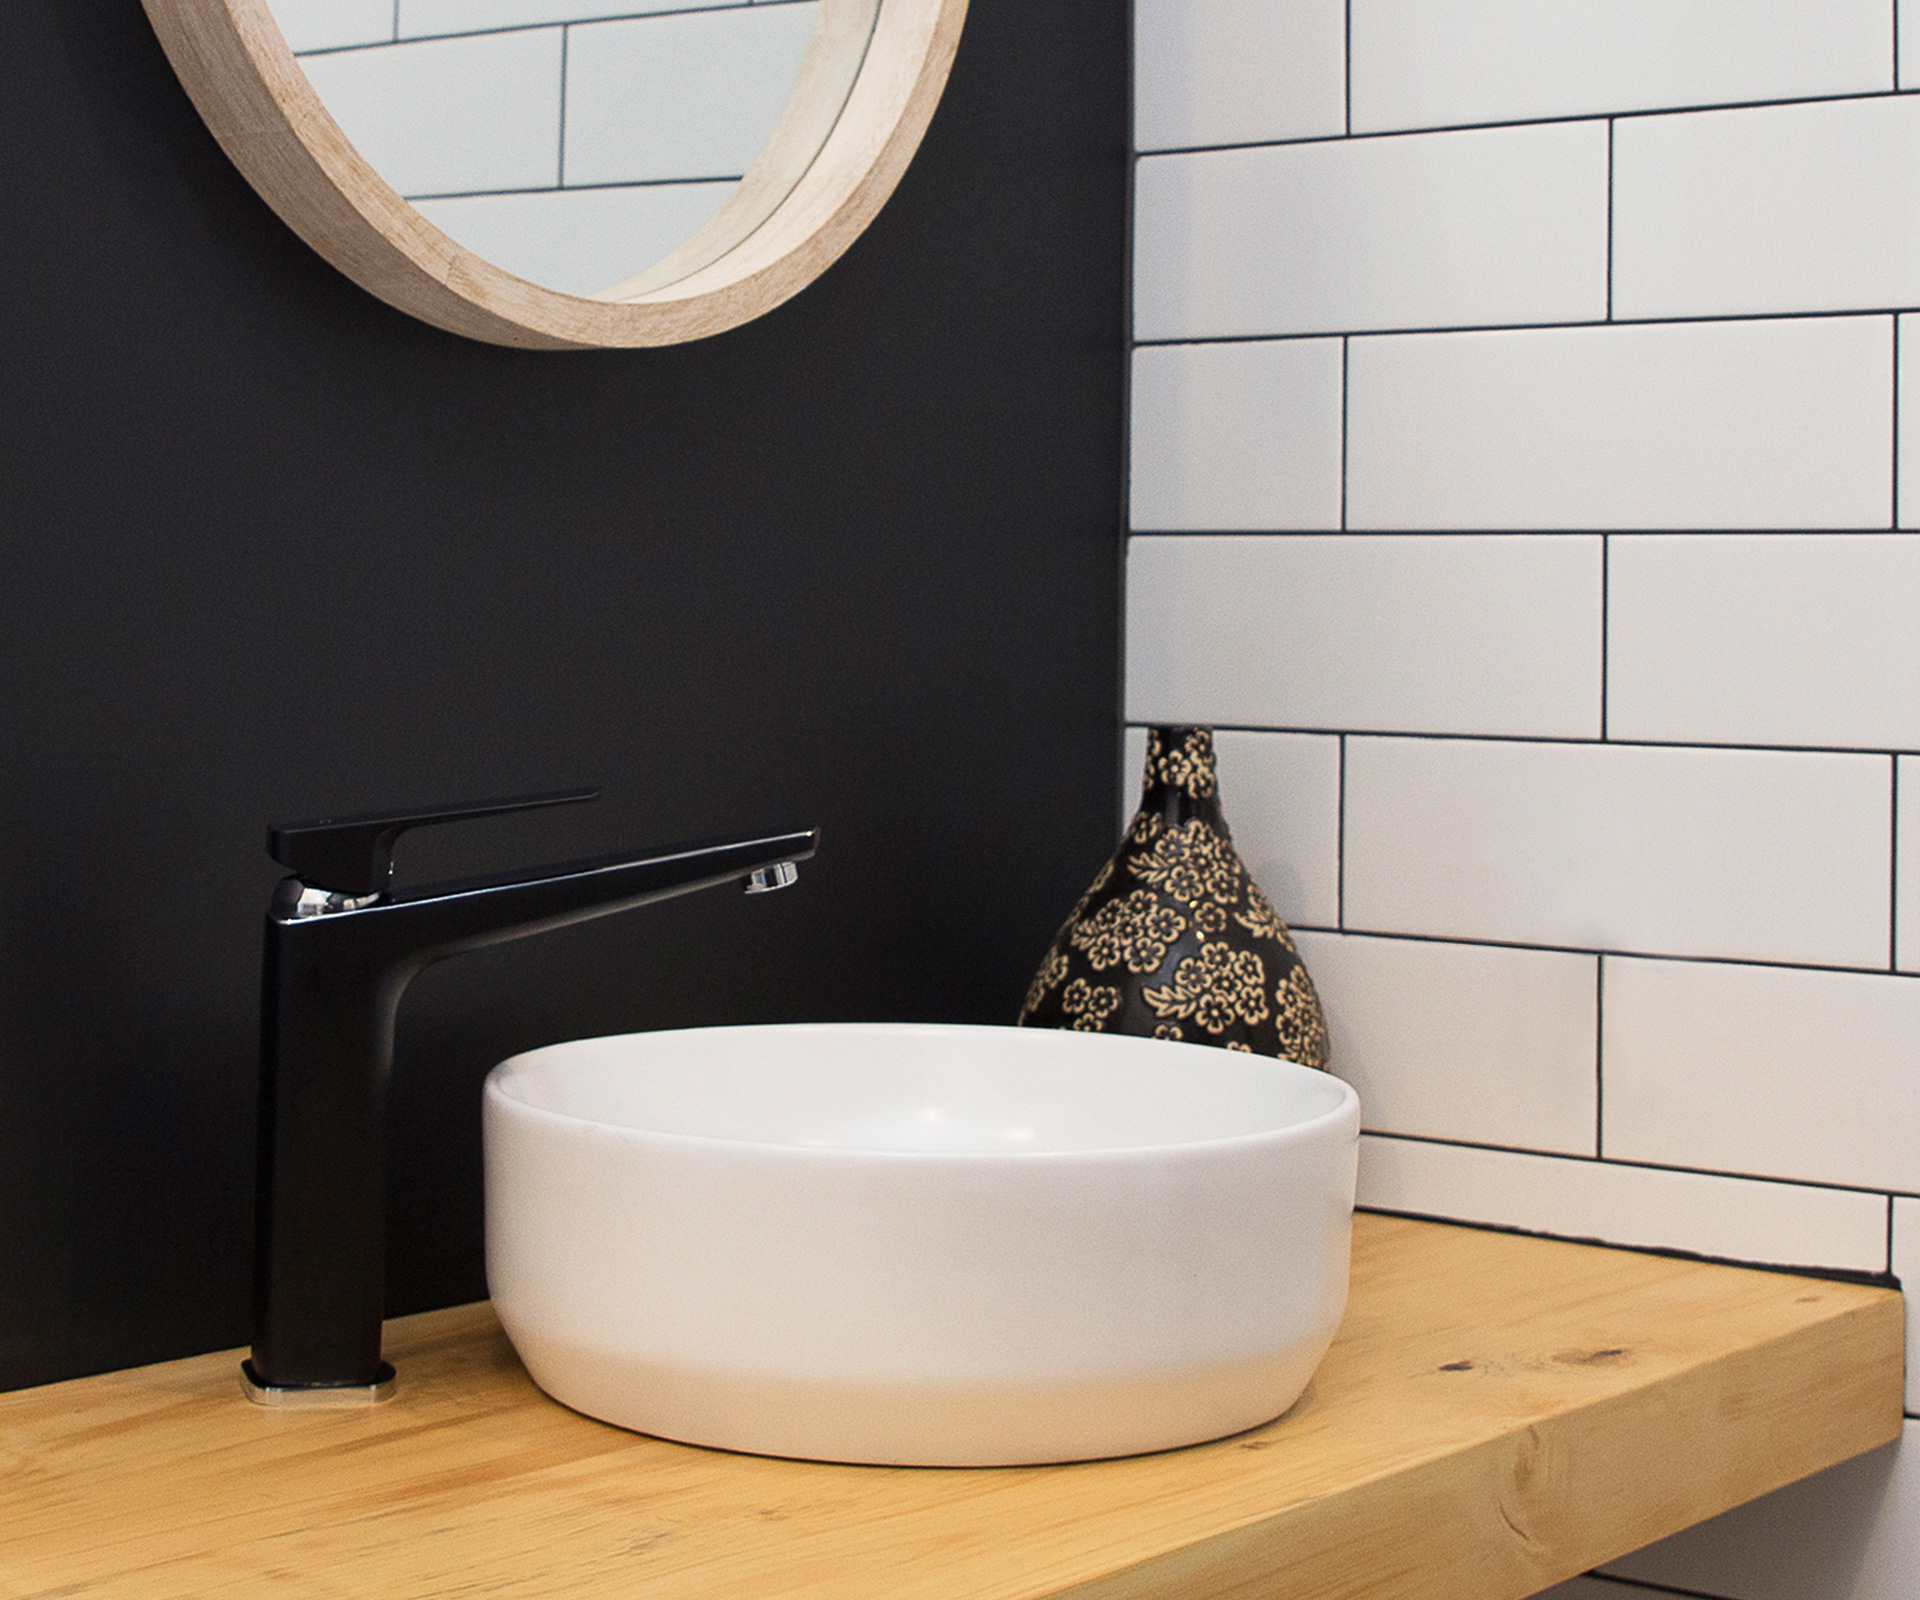
During their design research, Oliver and Ella had seen matte black tapware coming through, so they decided to use that in the main bathroom. “It’s modern and right on-trend,” says John. “The Eclipse collection is our most popular design and the Eclipse double drencher showers are outstanding – I have recently installed two in my own home!”
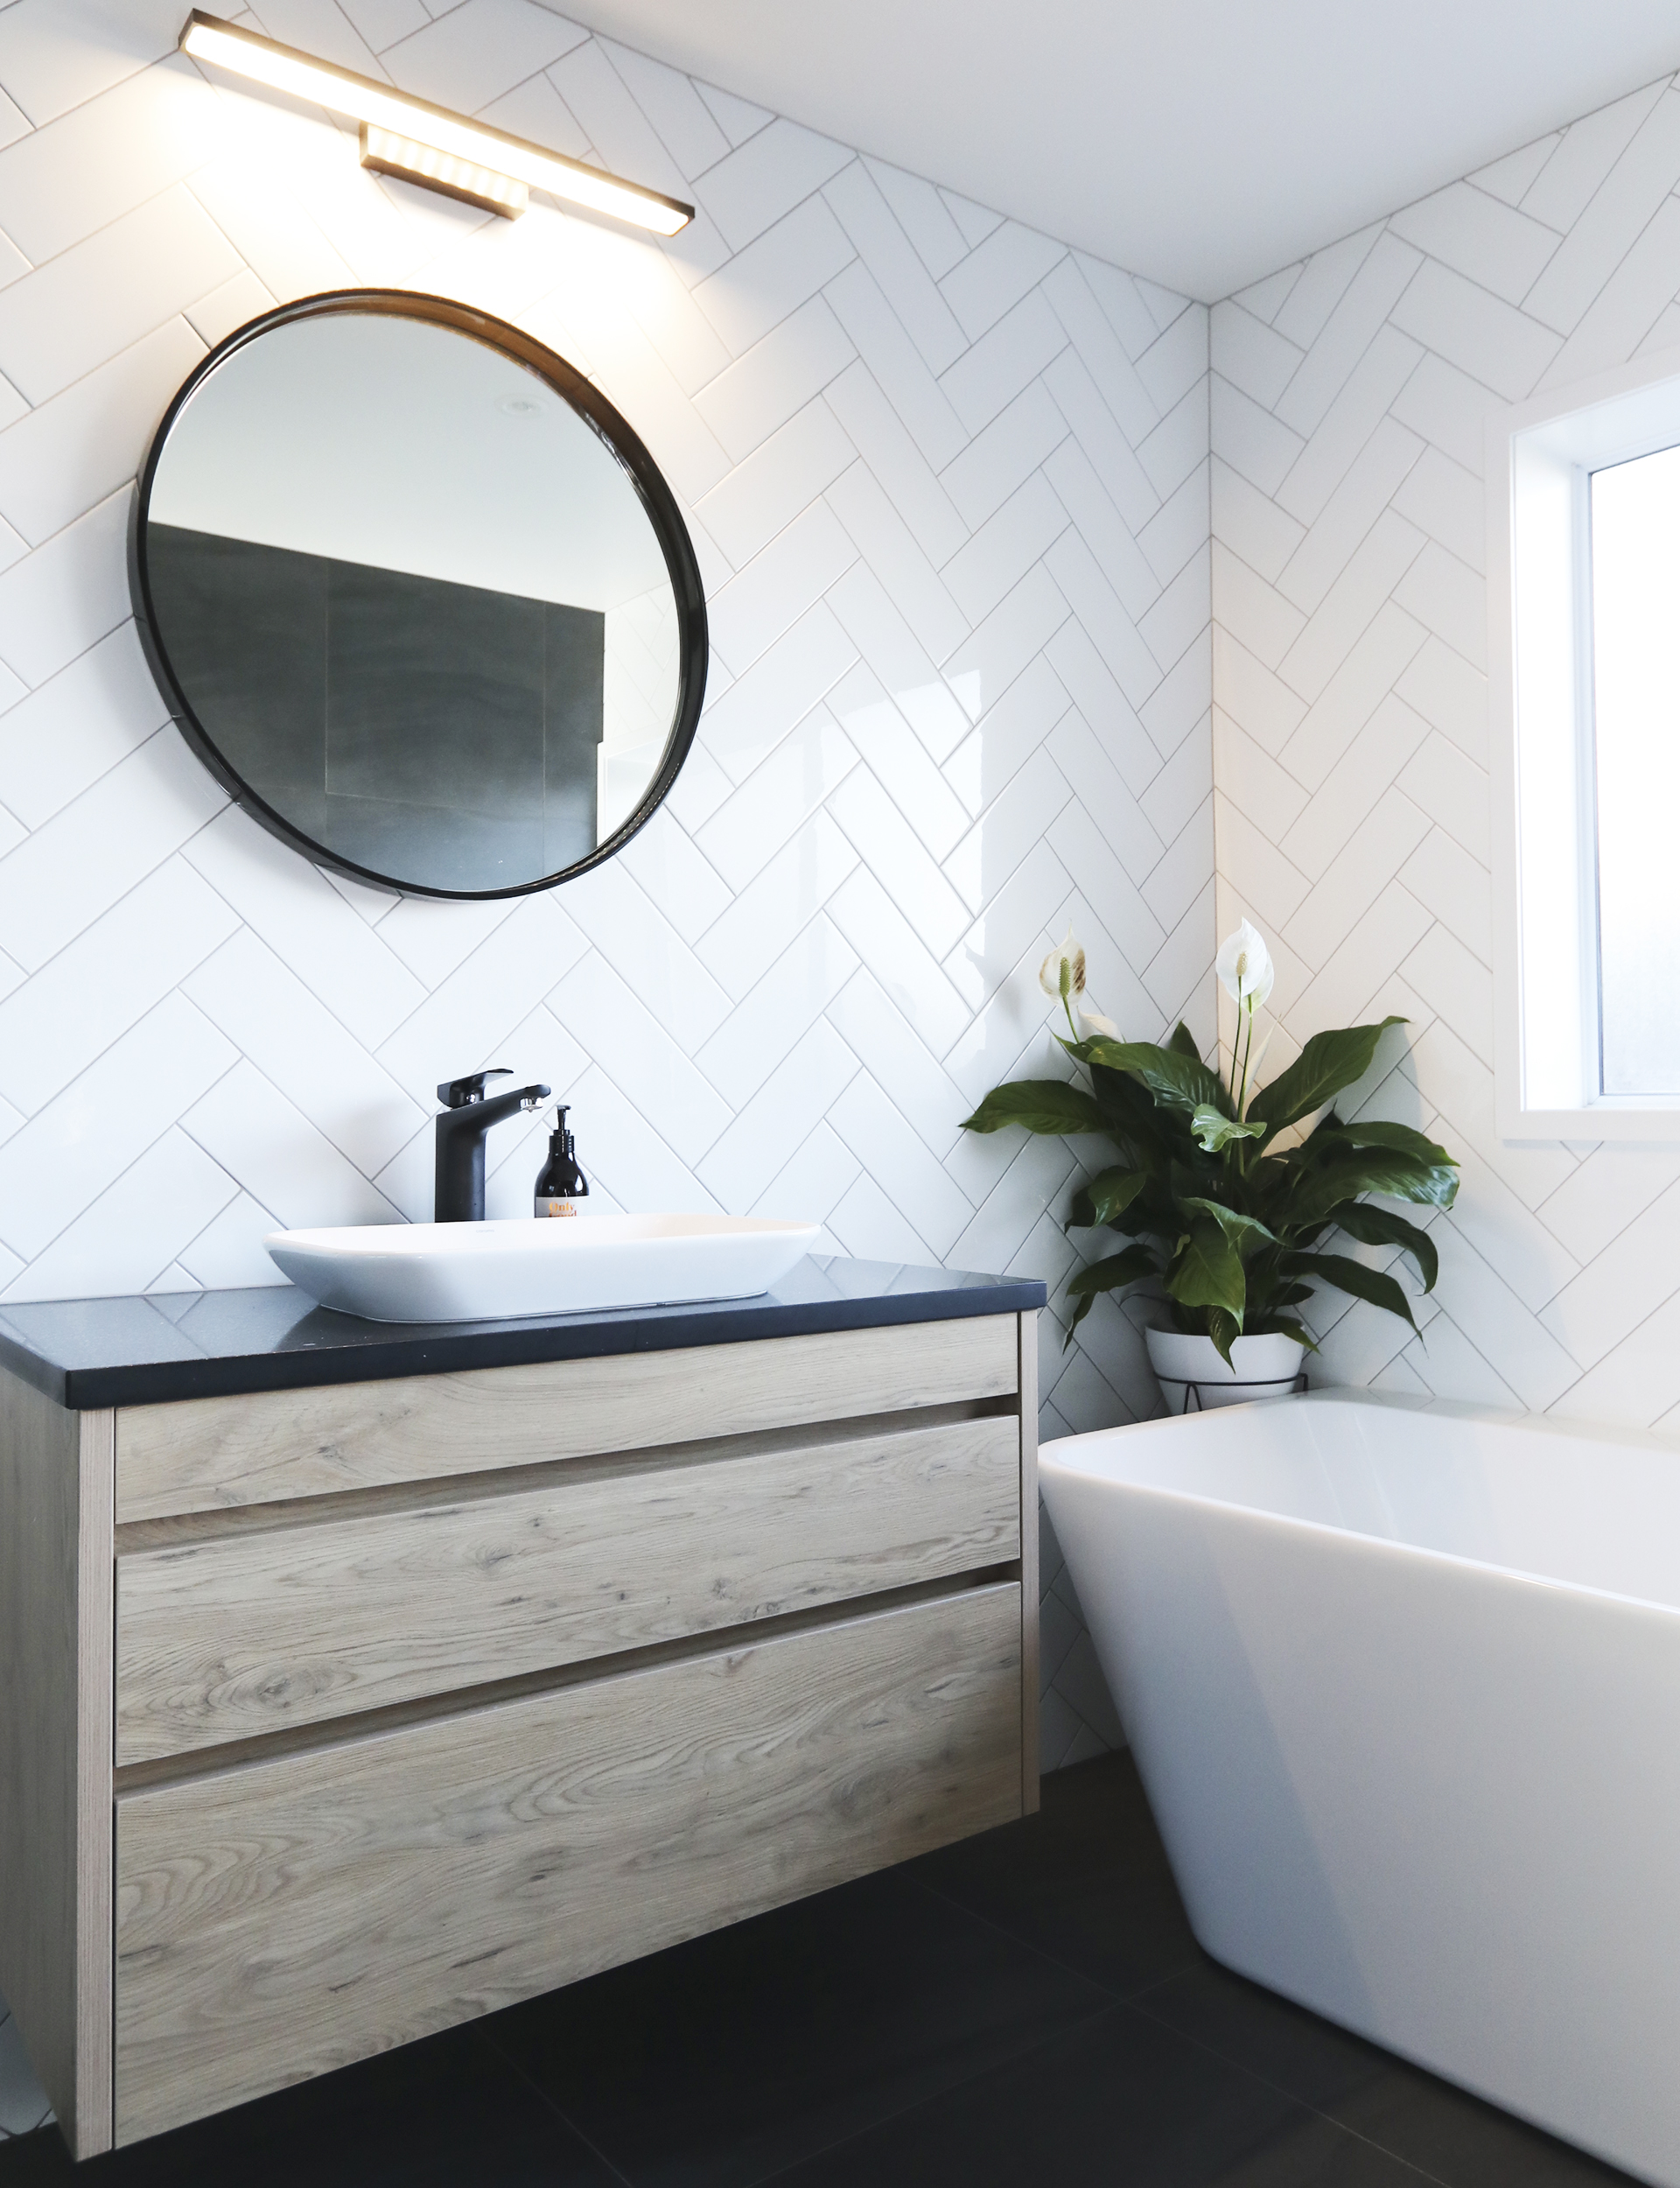
The couple wanted sleek, modern bathroom fittings to complement the tapware, so John put them in touch with Marcus Wycherley at bathroomware manufacturer and supplier Newtech. A quick spin around the Newtech showroom with Marcus brought them up to speed with current bathroom trends and helped them choose basins, vanities, toilets, accessories and a beautiful freestanding Lexington bath.
“With two kids under three, baths are a daily occurrence,” says Oliver. “We’re resigned to the fact that the bathroom door will probably be left open a lot of the time, so we’ve chosen the most beautiful bath we could find, since you’ll see it from the hallway.”
“The theme of the Lexington bath is that it’s stone-shaped,” says Marcus. “It’s an absolute statement of a bath. You’ll want to have the door open all the time because the bath looks so good!”

For the main bathroom, they also chose a Newtech-designed integrated basin that, at 130mm, is slightly deeper than most basins to be practical for family use. It’s paired with a sleek minimalist vanity in stained plywood.
With Oliver’s height in mind, the couple chose a slightly overheight Sorano toilet pan. With its small footprint, rimless technology and removable seat it’s been specifically designed to be easy to clean. “I’m excited about the overheight toilet,” says Oliver. “I’ve got two kids so it’s my only safe space.”
Winning with your windows
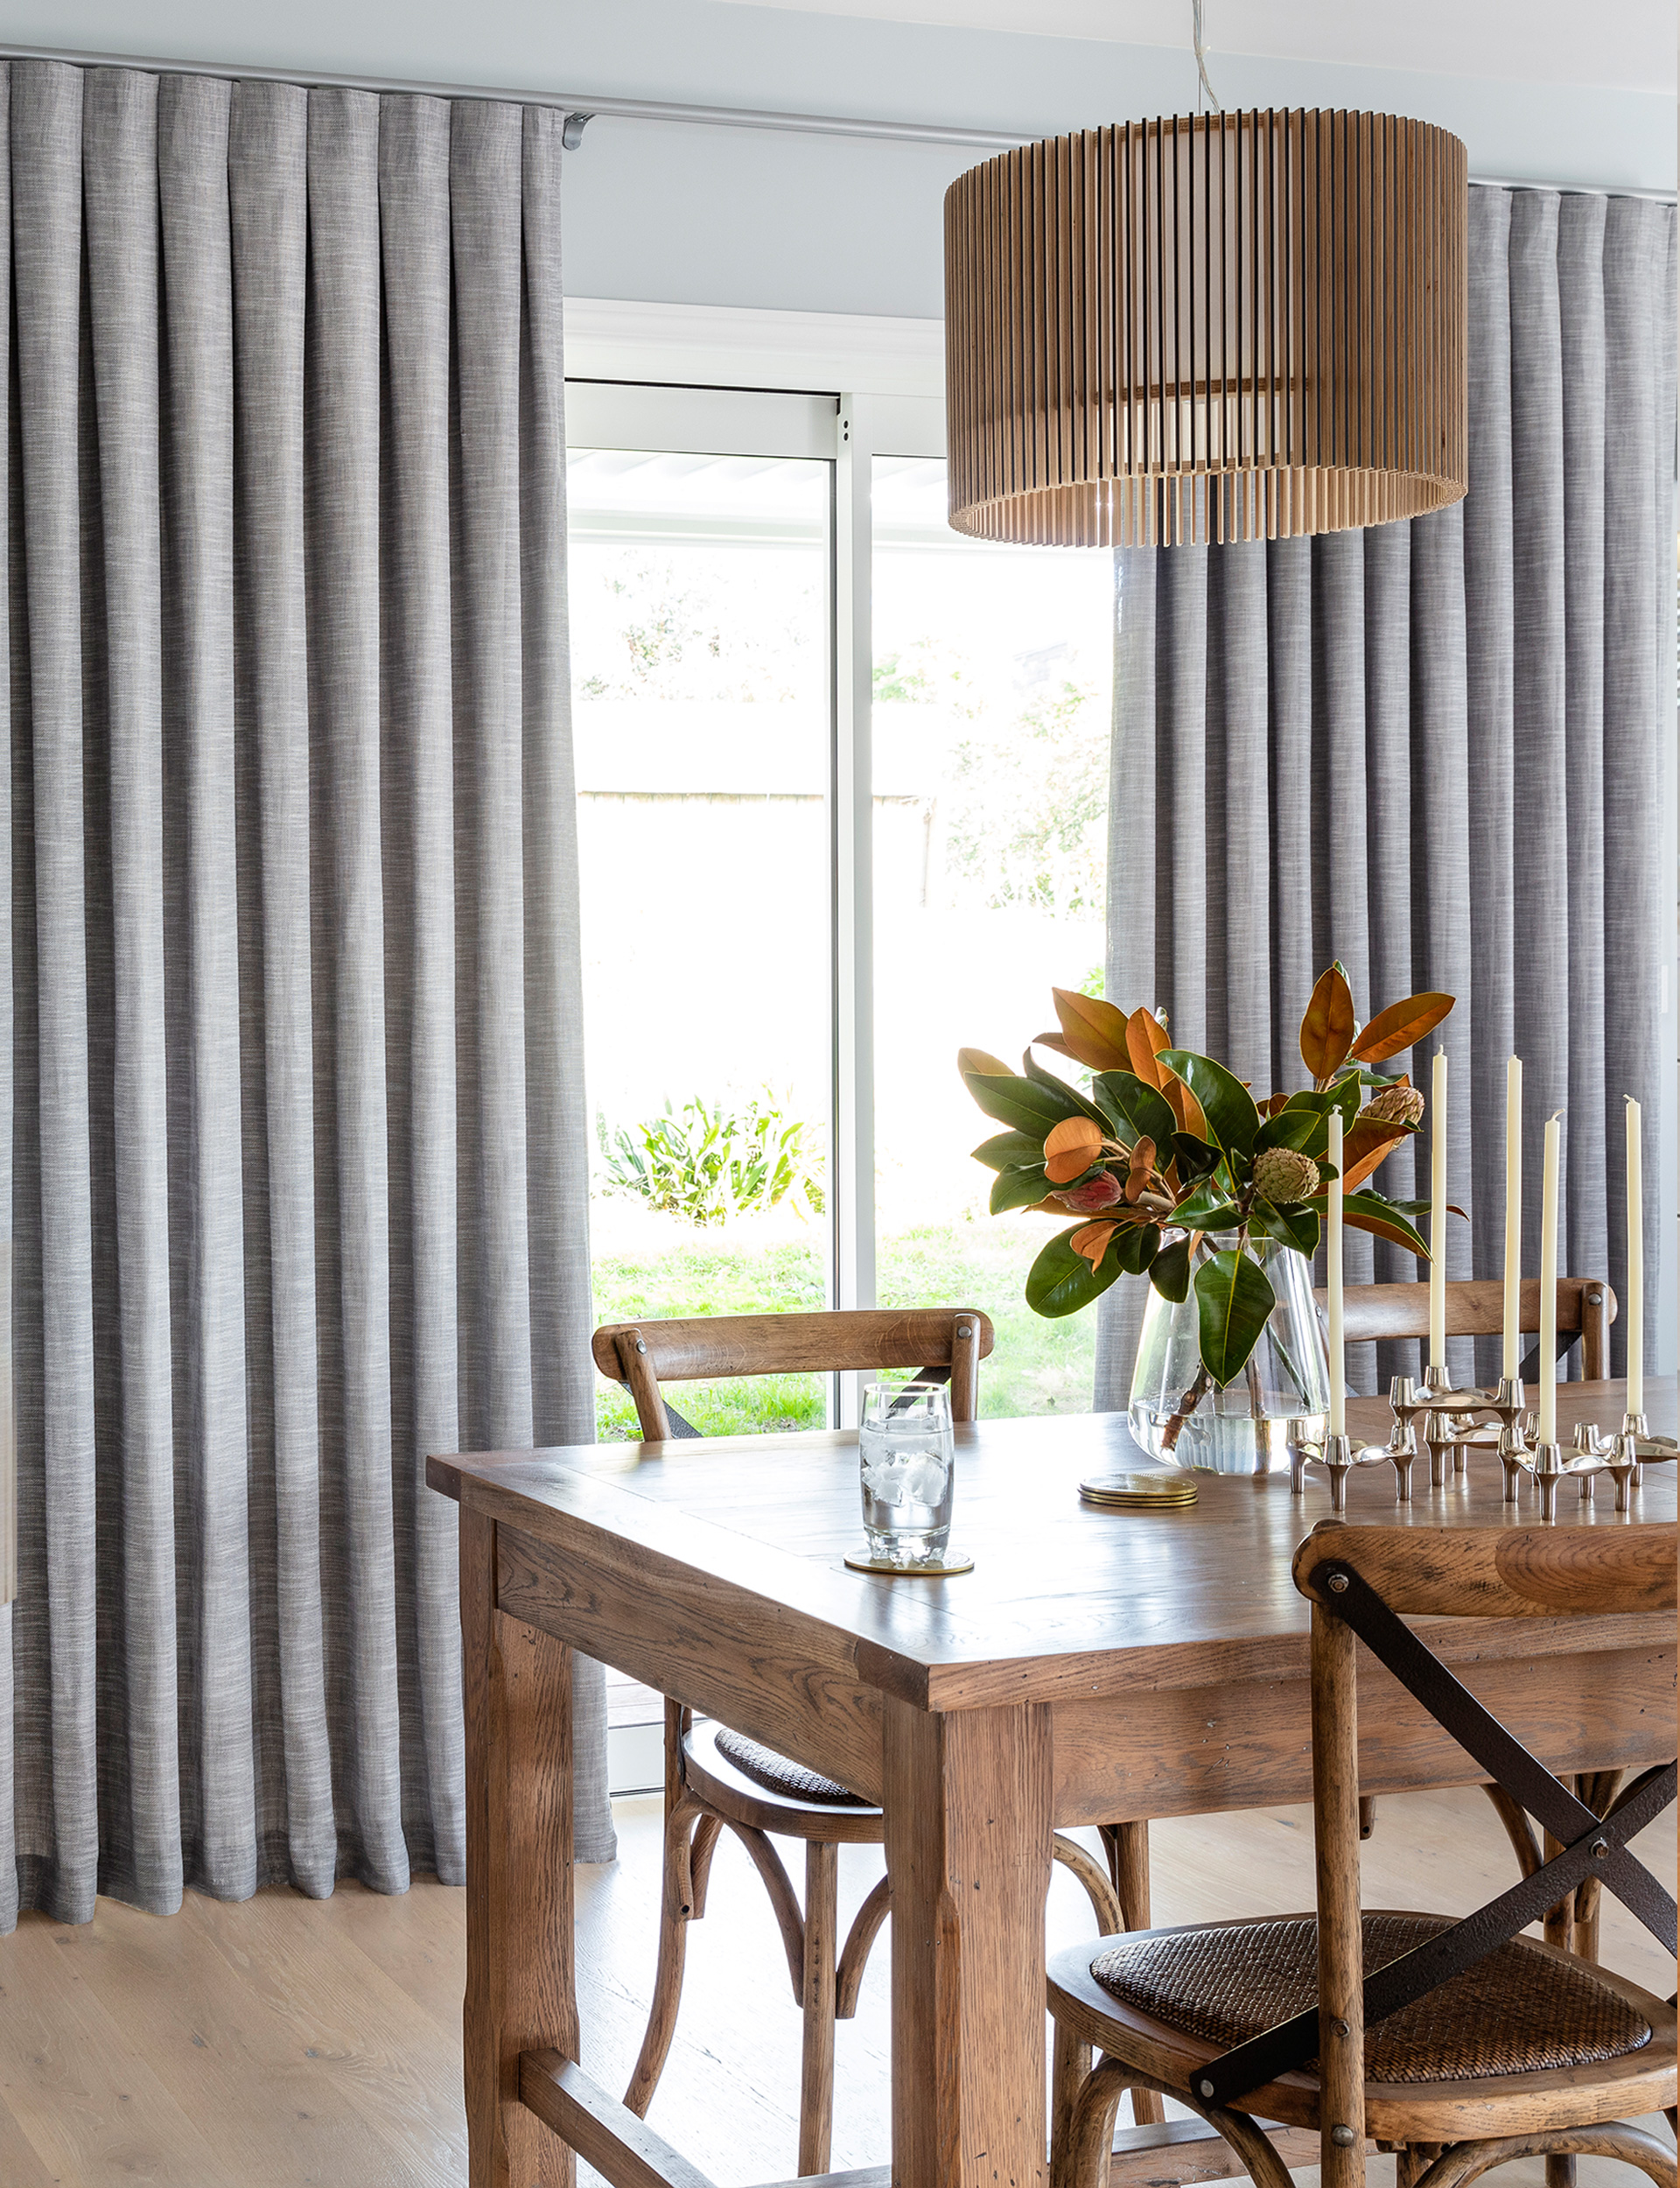
Oliver and Ella thought they knew what they wanted for window treatments, but a meeting with Teresa Butler from Curtain Studio sent them down a different track.
“They had pictured venetian blinds at the kitchen window,” says Teresa, “But the window is 170mm bigger than any blinds or venetians, which means they would have needed two sets of blinds with a gap in the middle. So shutters were a great option because you do them in panels and you can tilt the shutters to let in as much of the light and the view as you like.”
The huge sliding doors between the living area and the deck were another challenge, measuring more than 8m wide and 2.7m high from floor to ceiling. “That’s a big window,” says Teresa. “They wanted a heavy, fully lined curtain, but that would have covered nearly a metre of window space when it was pulled back. If you want to do that you need a wall on one side so you can stack the curtain back.”

Teresa recommended they install a sleek blackout roller blind with a sheer linen-look curtain over the top for daytime sun control and privacy. The black blind fits inside the window frame so it almost disappears into the dark joinery, and can be automated by wifi from a smartphone or device. For the curtain Ella chose a sheer linen-look fabric called Biella, which is half linen and half polyester.
“People love the linen look but 100 per cent pure linen is difficult to maintain and keep its looks,” says Teresa. “It moves and shrinks with the heat and light and also crushes, whereas you can get a lovely linen look at a more affordable price that’s also more durable, fade resistant and low maintenance. It’s a really practical solution for busy people that still gives them the dramatic but soft floor-to-ceiling look they want.”
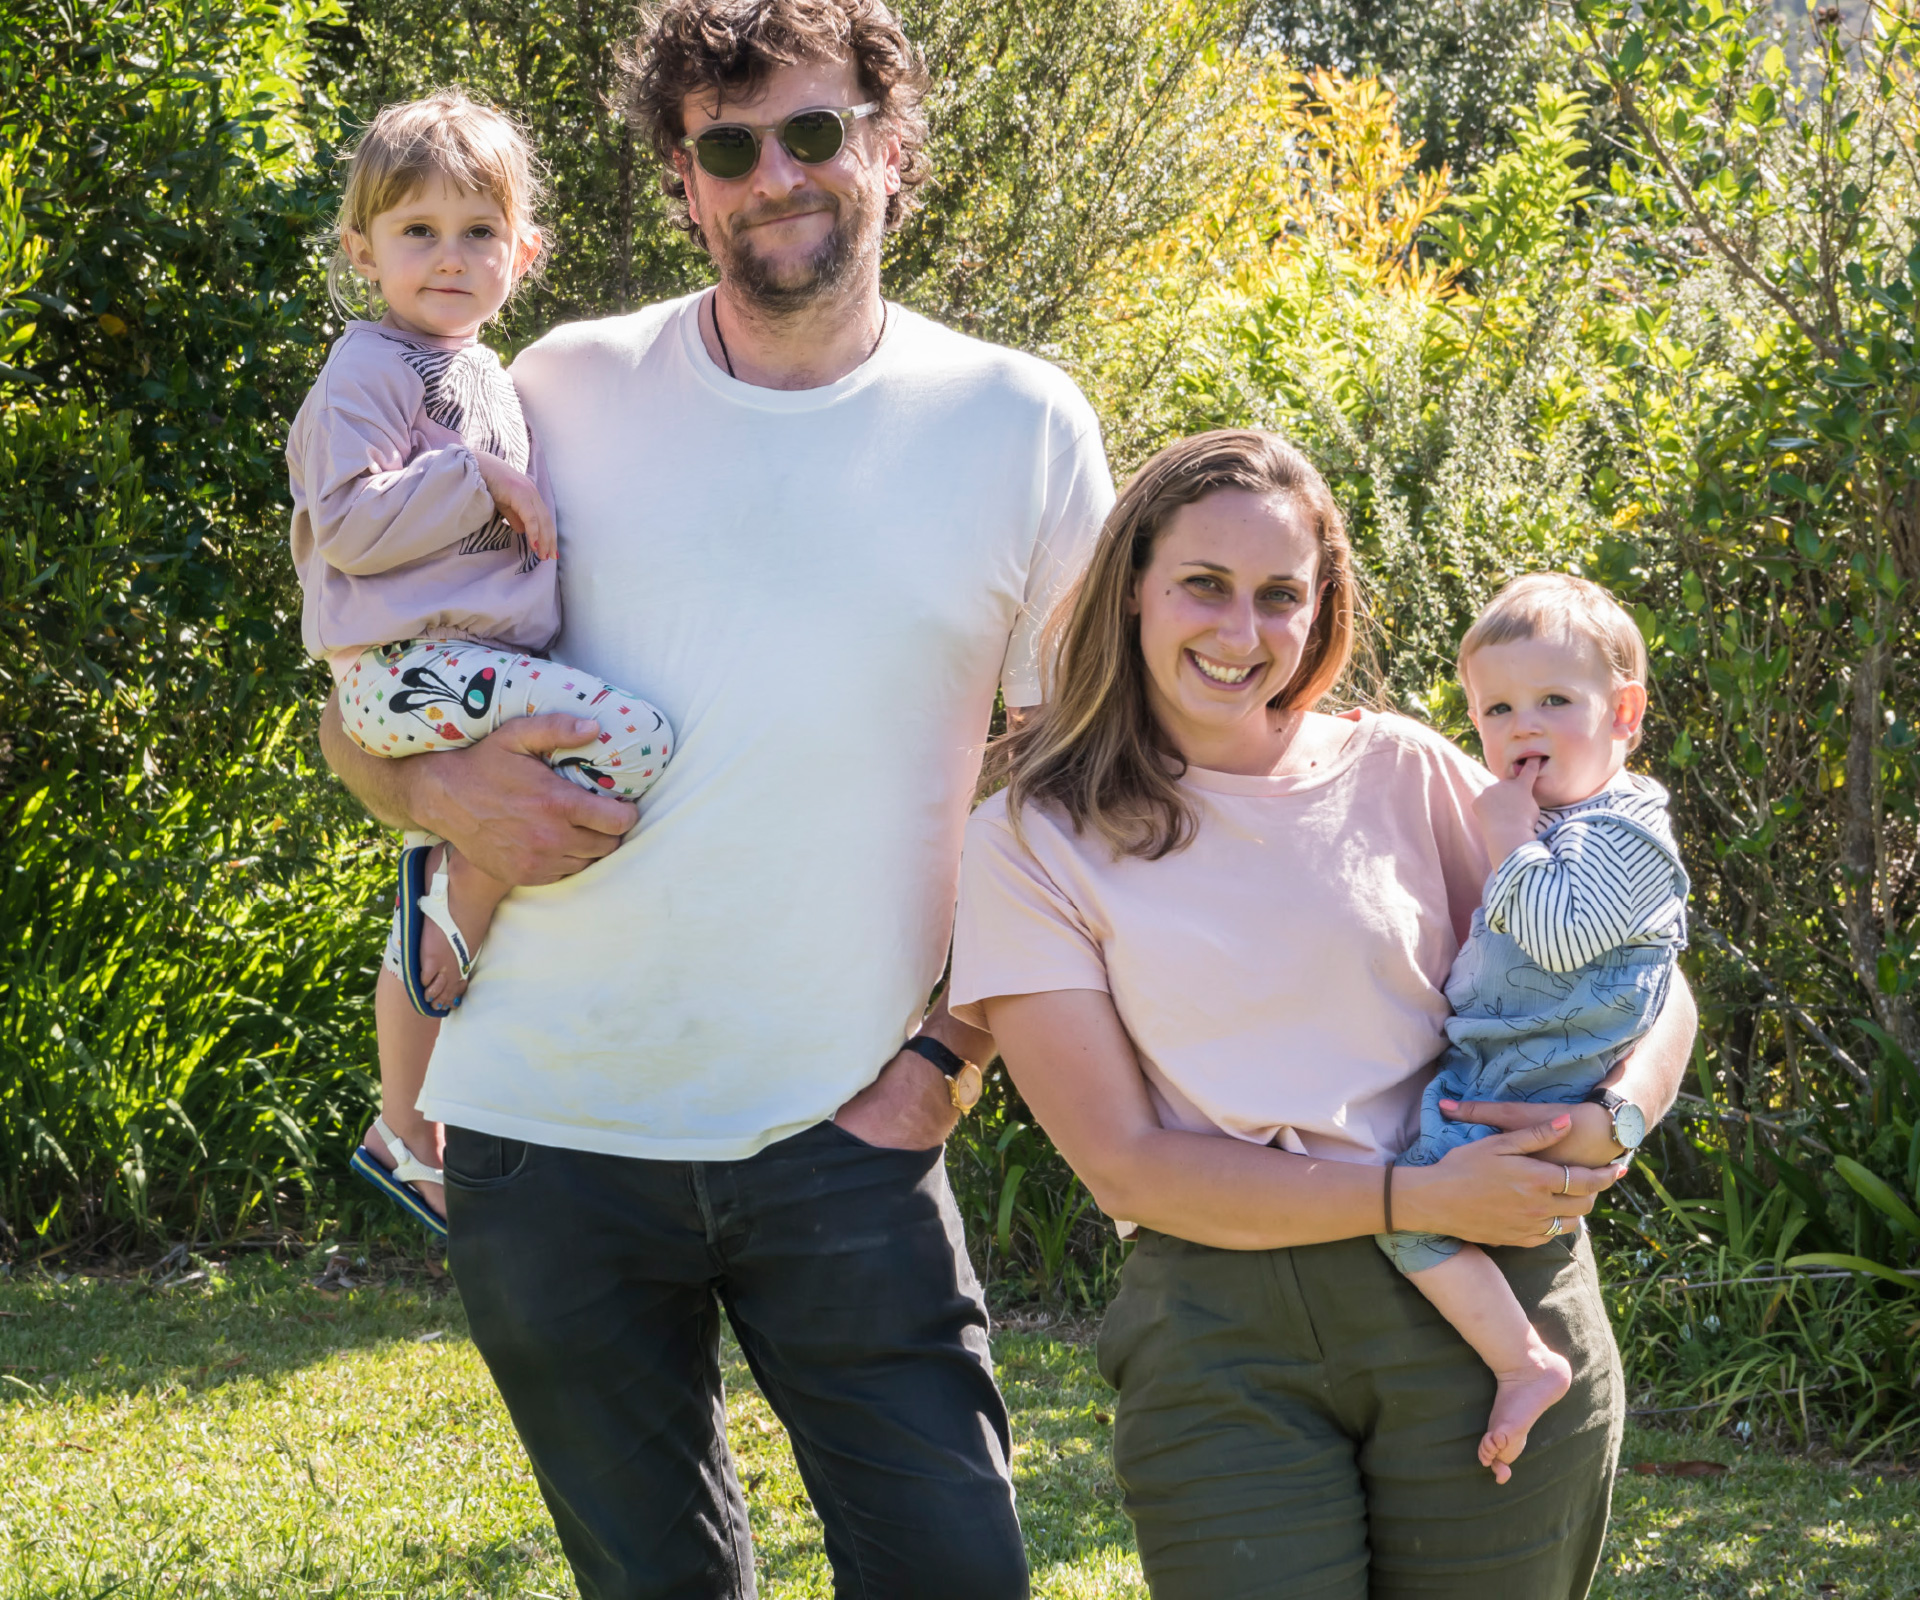
The couple are enjoying visiting the site to see their home evolve. “We’re both really busy with jobs and kids, but we get to go down there every now and then and go woohoo,” says Oliver. “It’s a pretty exciting part of the build and now the foundations are down we’re feeling on much safer ground. So far things have been going pretty smoothly and I put that down to our architect David Ponting. Our builder James is also phenomenal. Like anything in life it’s about the people you have around you. If you have good people everything tends to go quite smoothly.”

For more great videos, check out our YouTube channel.
EXPERT PROJECTS


Create the home of your dreams with Shop Your Home and Garden
SHOP NOW


