With a whole lot of heart and hard labour, a couple have revived a beautiful 1920s bungalow with views of Wellington Harbour

This 1920s Wellington bungalow has the most inspiring before and afters
Who lives here?
Julian Light, communications manager, and Jordon Wimsett, doctor, plus Teddy the puppy.
Where is the home?
Wadestown, Wellington.
When did you move in and how long did the renovation take?
We bought in May 2016 and the reno took 15 months.
Quite a character
What made you purchase your home?
We looked at the 1920s bungalow for 30 seconds before we fell in love with the grand old lady, her heritage features and potential. She really needed TLC and we saw an opportunity to roll up our sleeves.
What did you love about it?
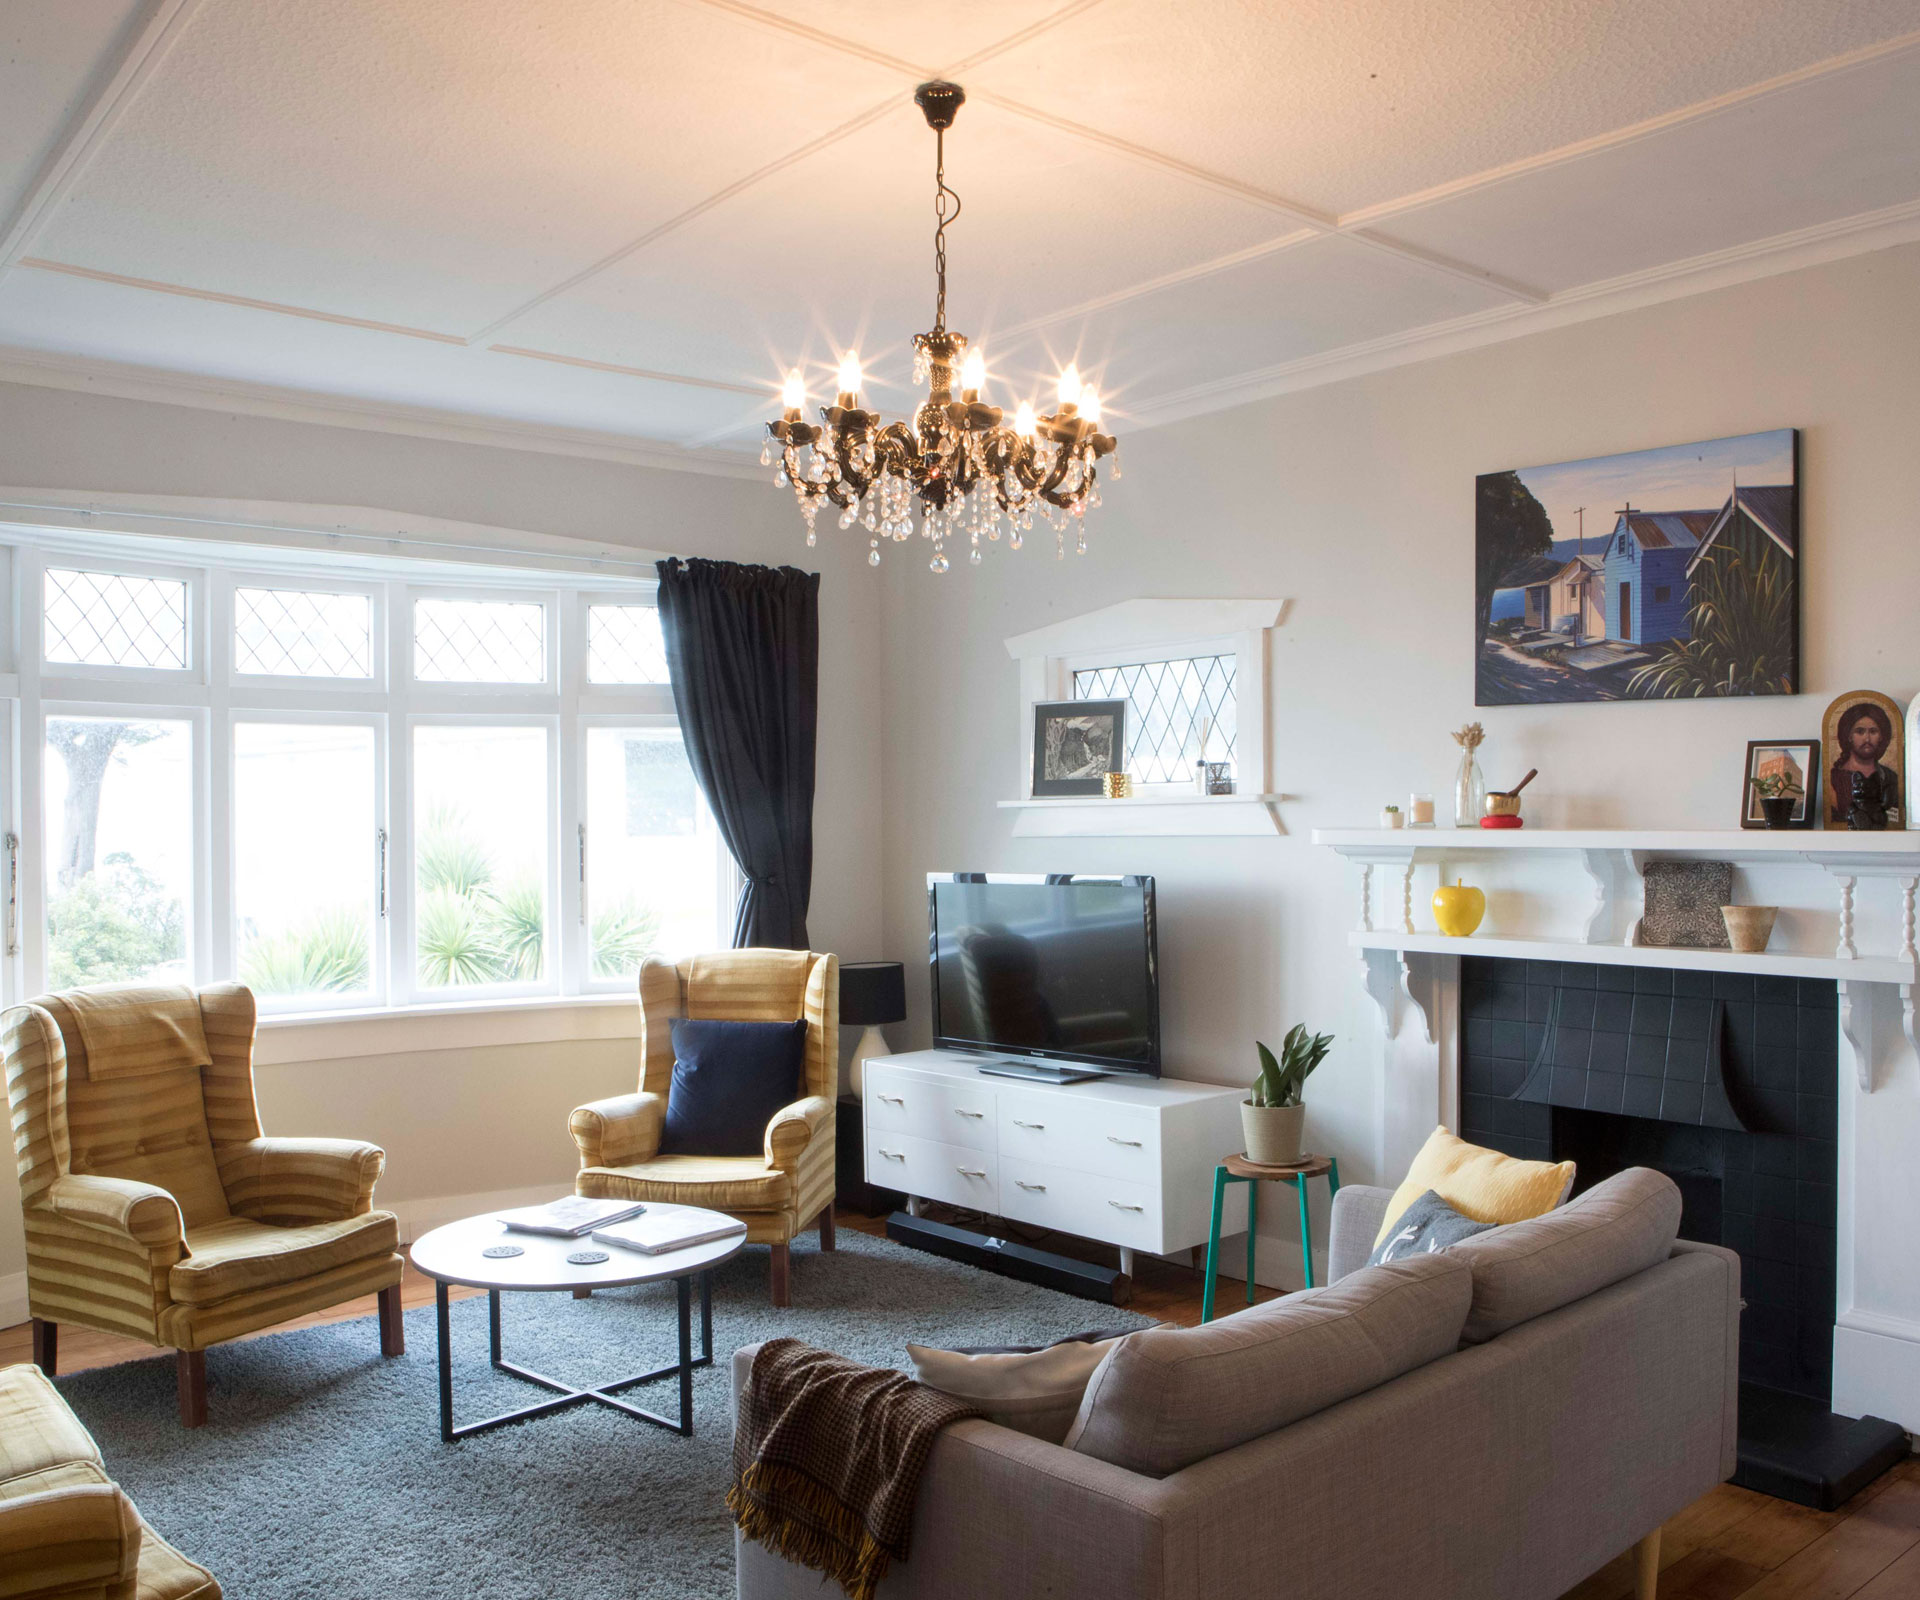
The character, which is getting harder to find. And this one is a real gem with rimu floors, high-stud ceilings, twin fireplaces, classic features and a claw-foot bath – all topped off by a stunning harbour view. We were smitten.
What didn’t you like about it?
The small, dark kitchen, bright lime-green bathroom, the five layers of wallpaper (which we painstakingly stripped) and a long-forgotten garden.
On the tools
Tell us about the renovation.
On the first night we got the keys, we started stripping the carpet in the sunroom and found letters written by love-struck teenagers in the 1970s. From there, we tackled the bathroom and its terrorising colour scheme and rundown facilities. We knocked down a hall cupboard to make the bathroom bigger and fit in a shower, and ripped off the tongue-and-groove walls. We plasterboarded, tiled and changed the layout to maximise the space. We modernised the bathroom but ensured the 1908 claw-foot bath was front and centre.
The three bedrooms and study needed plastering, painting and carpeting. We used Dulux ‘Lyttelton Quarter’ throughout, apart from the bathroom and laundry which are in Resene ‘Black White’. We also had the house rewired and replumbed.
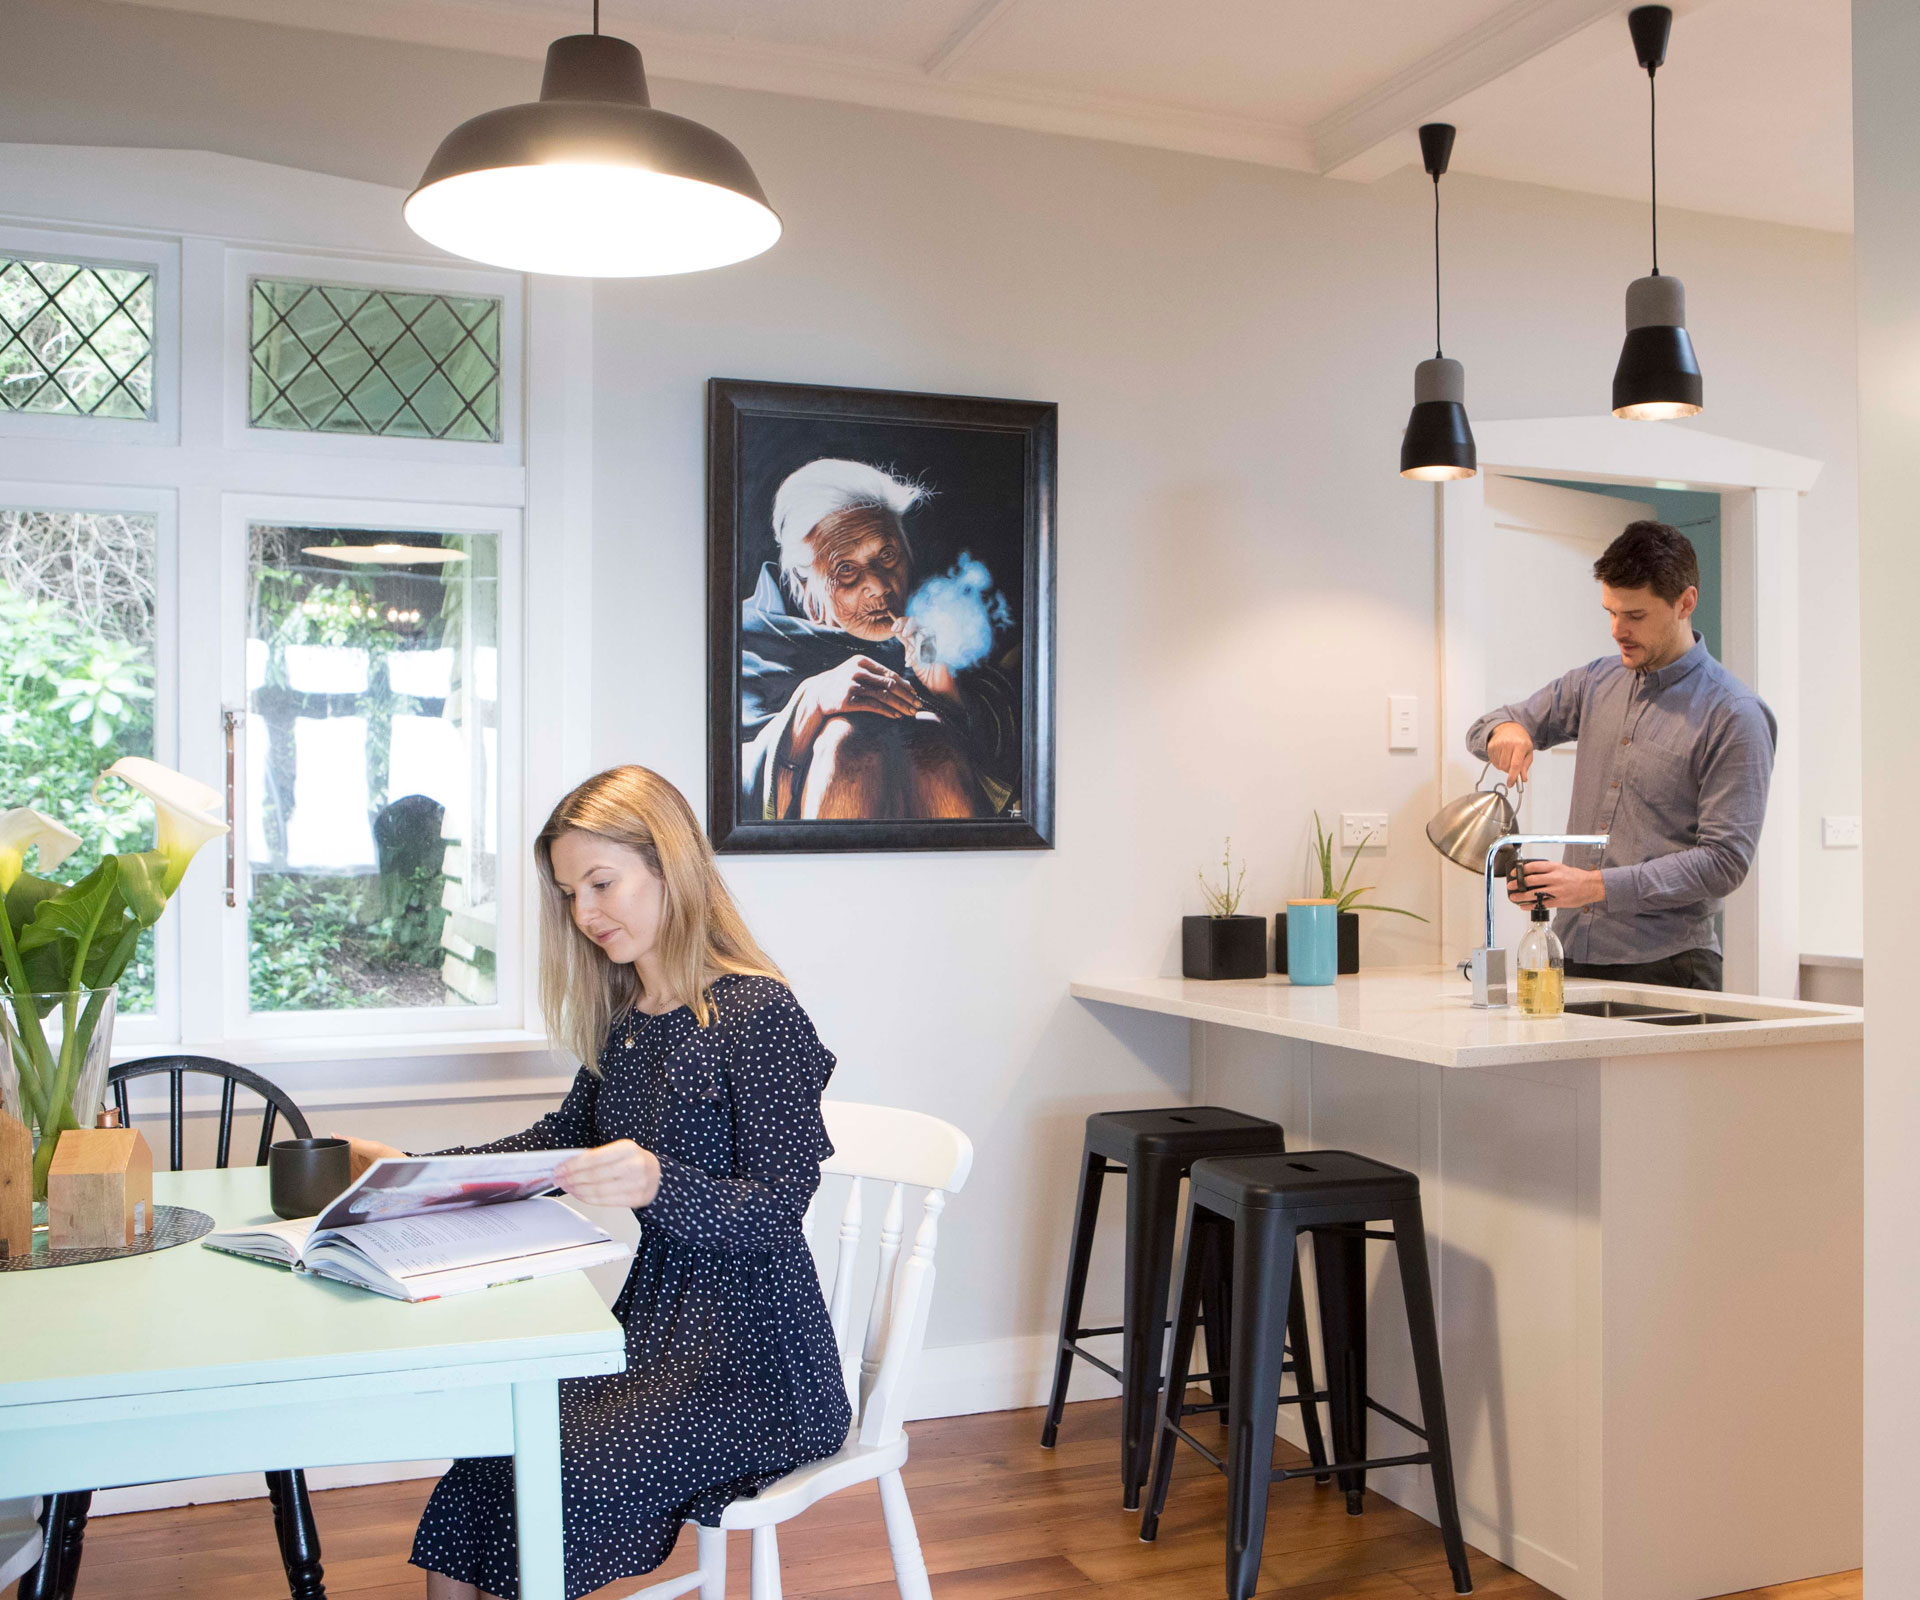
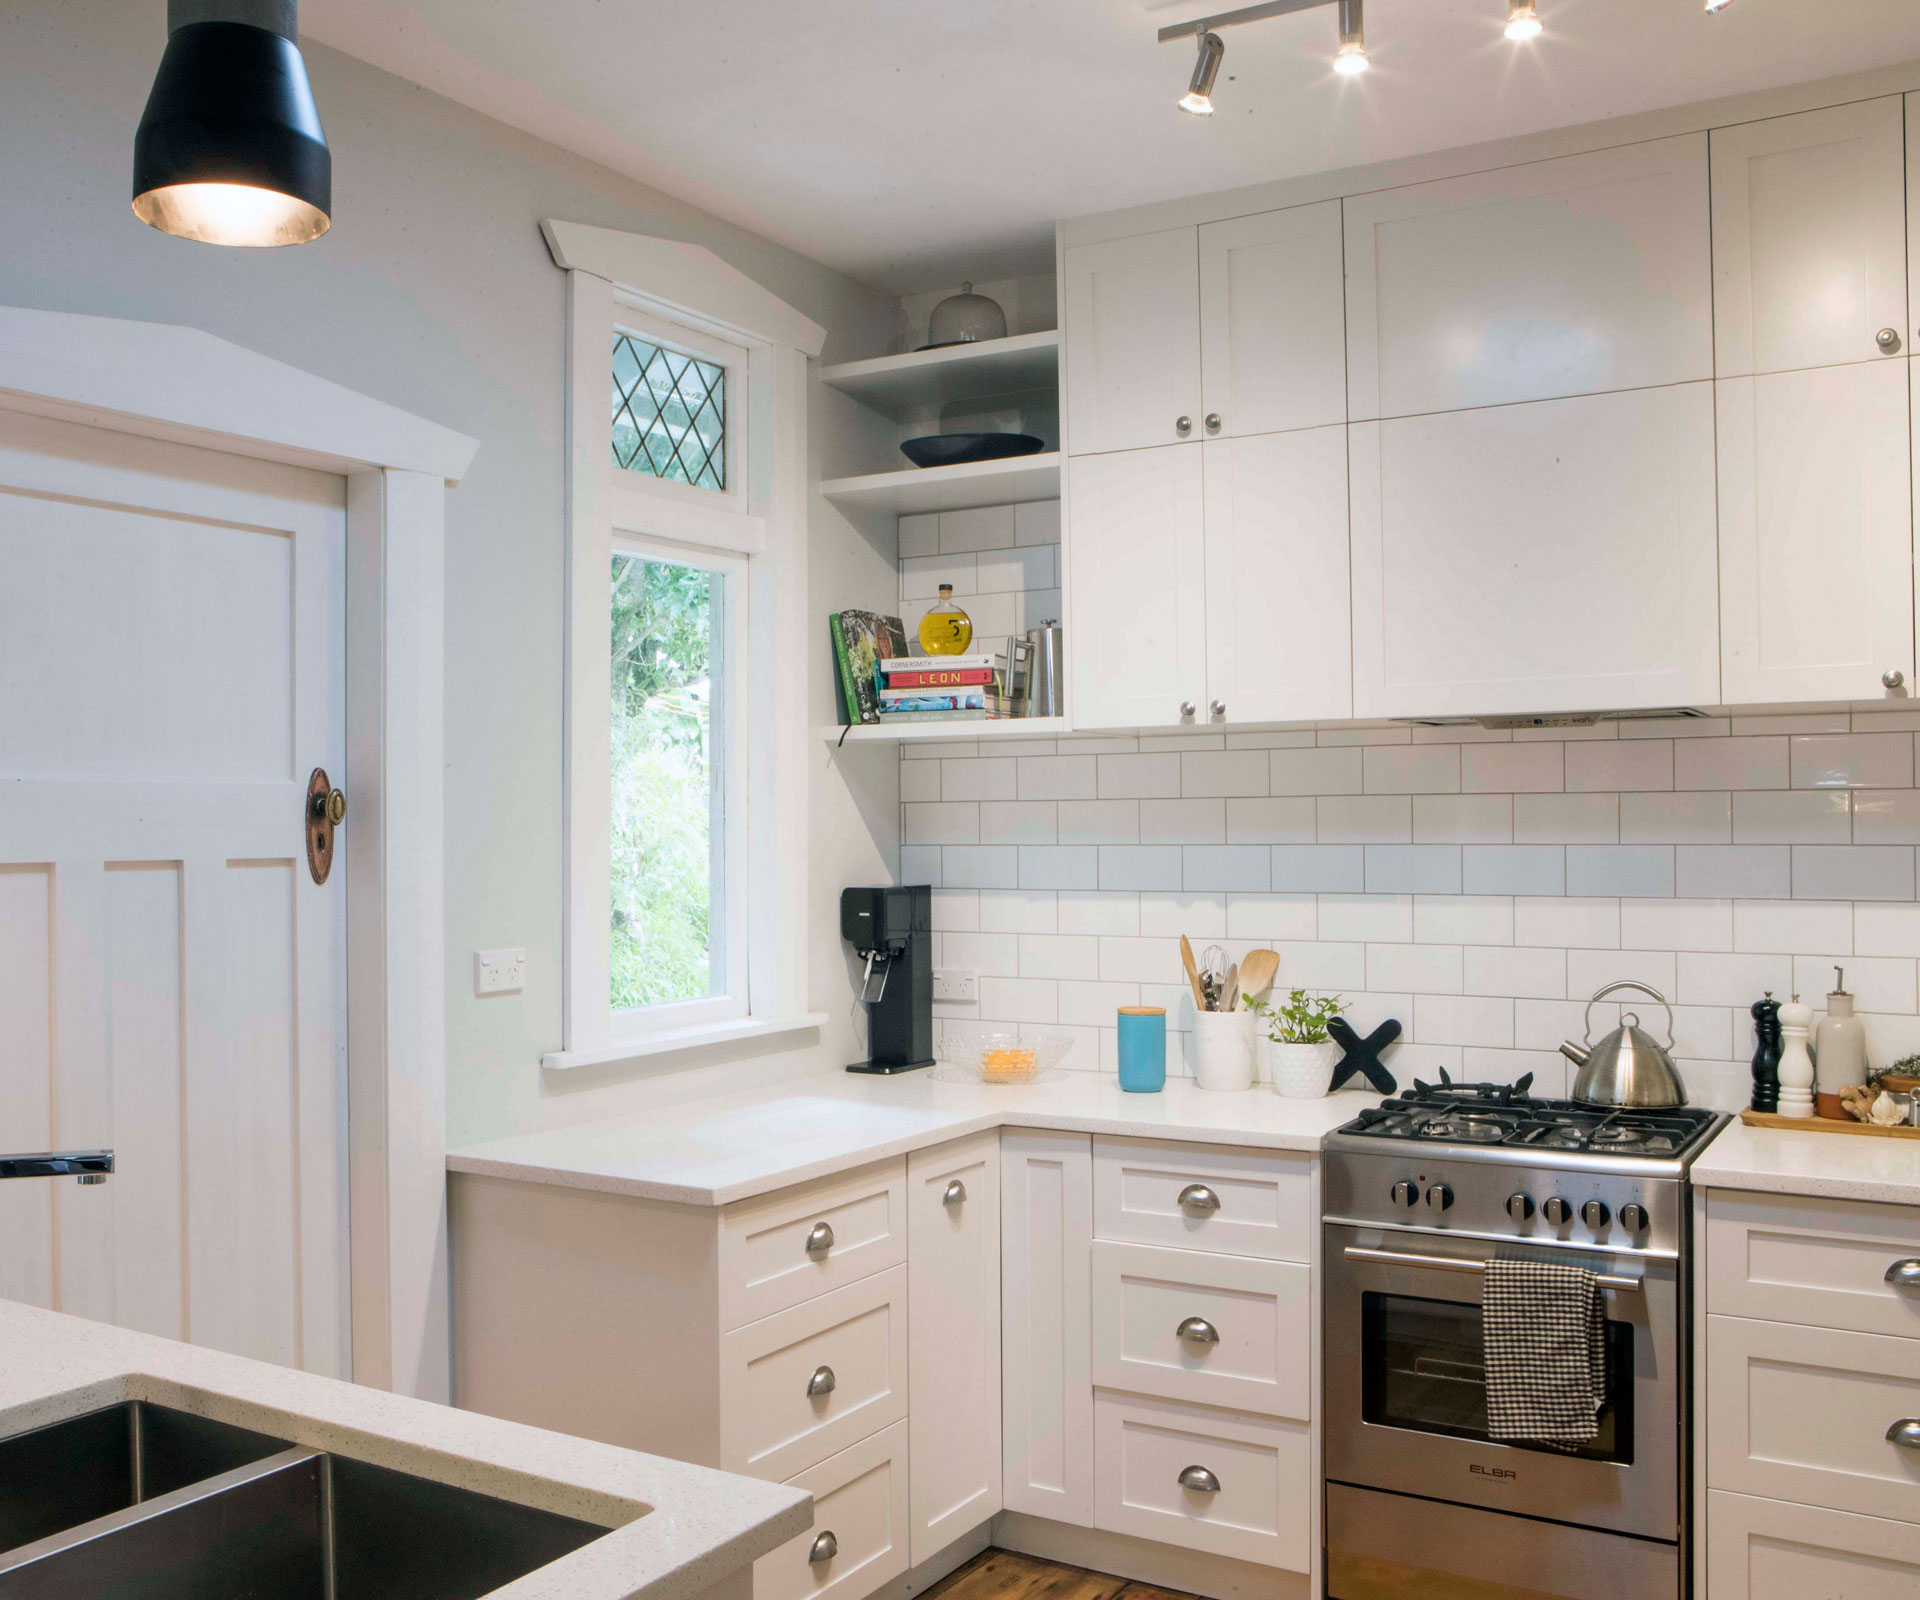
Next, we tackled the kitchen and dining room. We knocked down the wall between the two to make it bigger and lighter. We stripped out borer-ridden cabinets and tongue-and-groove walls. We installed a skylight to bring light into the kitchen and put in custom-built, floor-to-ceiling cabinets to accentuate the high stud and provide much-needed storage. One of the challenges was living among the debris of the kitchen renovation for two weeks with only a microwave!
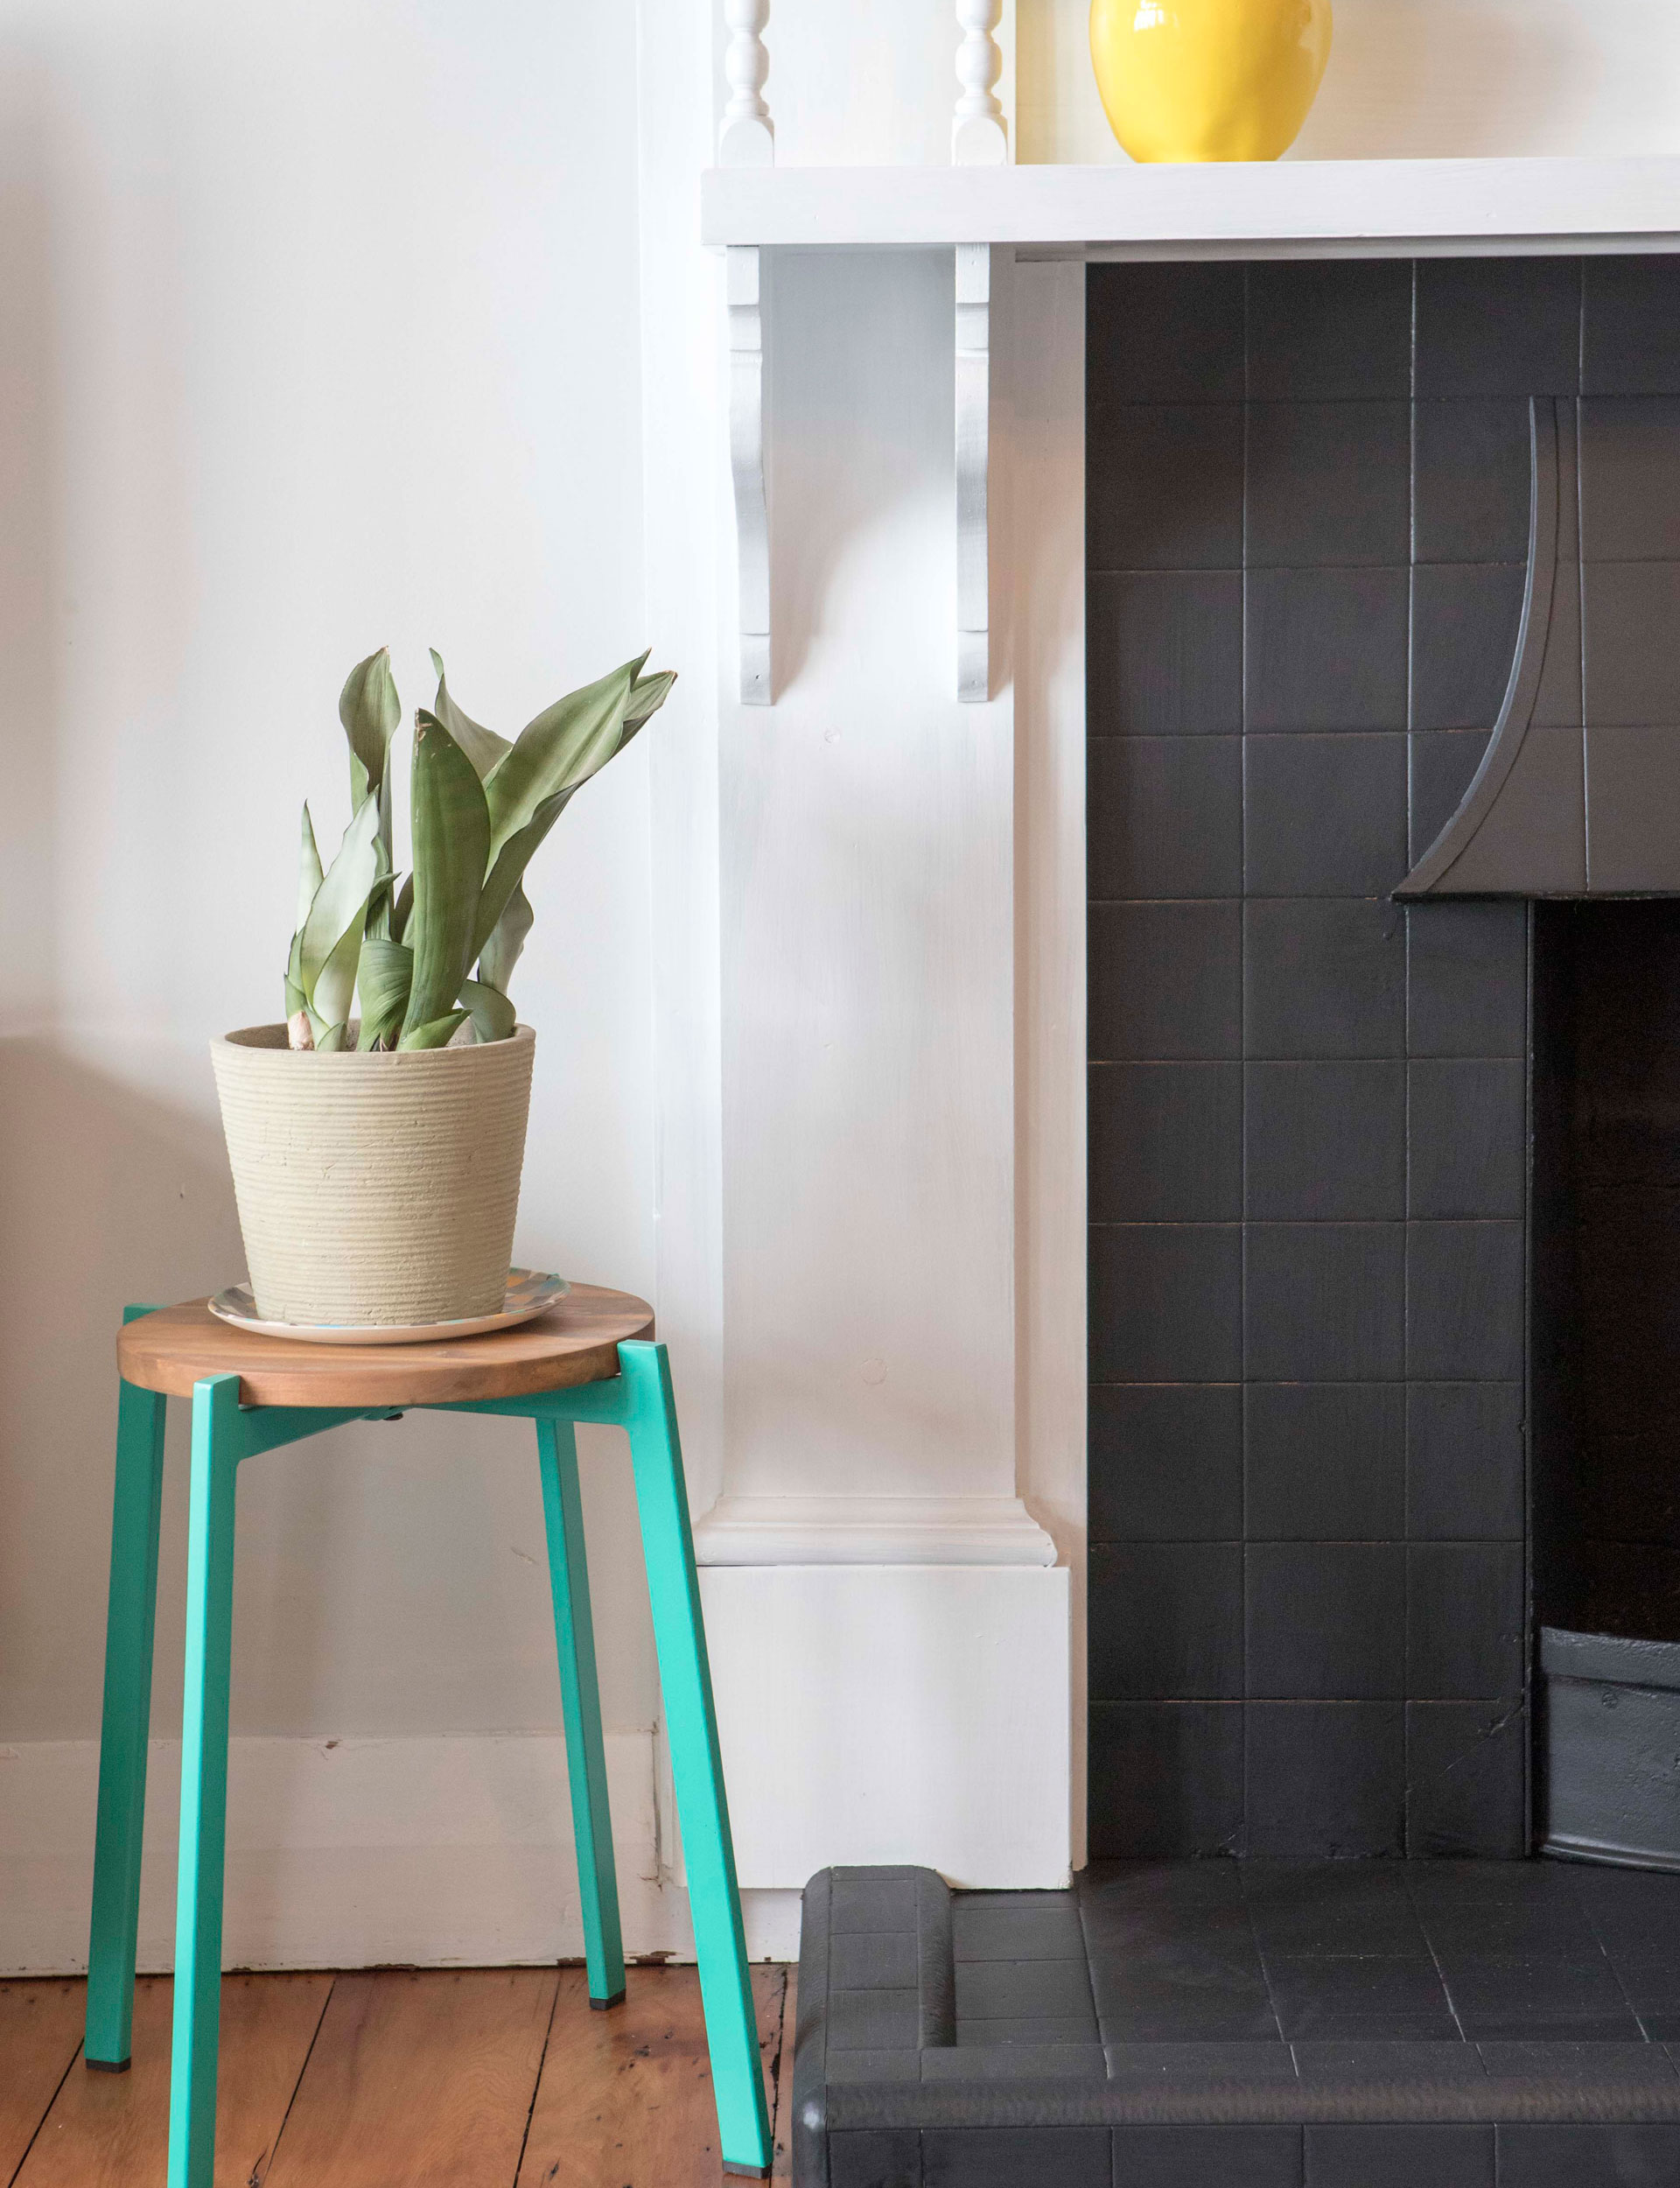
Further down the list was painting the fireplace in the lounge the same colour as the walls to minimise the tired old brick. The last big challenge was the laundry – no storage and a small space. We wanted it clean, bright and functional. We removed a lot of masonry that had been damaged in the earthquake but kept the old cast-iron stove (which we spray-painted glossy black) as a feature. Finally, we had the floors sanded and polished with a polyurethane finish.

Budget
What was your budget?
$60,000 and we came within a whisker of it.
What did you save on?
We’ve done the bulk of the work ourselves, with help from Jordon’s handy old man, giving up every spare minute we had. It’s been a lot of hard work but has paid off in a beautifully restored character home that we’re very proud of. Instead of paying someone to paint the interior, we gave up evenings and weekends because we knew it would save us some pennies – which we spent elsewhere. We refused to cut corners, but where we could we tried to do it ourselves.

The other key to keeping costs down was doing our homework. We made sure we got lots of quotes from tradies and suppliers and scoured DIY websites before making decisions. We took advantage of sales and Trade Me and, where we could, we reused rather than bought new. For example, the shelf in the bathroom came from the hall cupboard we ripped out.
Staring at a $1500 restoration of the claw-foot bath, we decided on a DIY kit instead – it was the best save because, after a few hours of elbow grease, it came up as good as new.
What did you splurge on?
The dark, dingy kitchen required a big investment. We had a clear vision of a light, modern, open space with lots of storage. We wanted the cabinetry to fit with the style of the house and to reach the ceiling, so we had it custom made. The stone benchtop was expensive but we didn’t want to compromise and the look and feel sits with the character of the house. On the other hand, the three pendant lights were from Kmart, so we were prepared to invest where needed but also to bargain hunt.
We also indulged in a rain shower for the bathroom, which adds a luxurious touch. We took advantage of the underutilised roof space with attic stairs to increase the storage – this wasn’t budgeted for but it was a worthwhile, practical investment.
DIY style
You did most of the work yourselves. Did you bring in tradies?
We’re both from DIY families so we had a few useful skills; we also roped in Jordon’s old man who is a Jack of all trades, and called in favours from friends and family with skills. Where our expertise fell short, we called in hired help. Our tradies were fantastic.
Did you buy new pieces for the home, or mostly use secondhand items or things you already owned?
Definitely a mix. We invested where it was necessary to bring a modern touch – but, being a 1920s bungalow, it embraces secondhand furnishings. We made sure the kitchen, bathroom and laundry were all brand new but Trade Me, garage sales and demolition yards were our friends. We bargain hunted a lot. Rather than buying new, we spent hours restoring items such as our eccentric yellow couches, the fire surround and the dining table.
TOTAL: $60,000

1/6
Living room before.

2/6
Where many potential buyers would have baulked at the home’s state of disrepair, Jordon and Julian saw an unpolished gem with character features that needed to shine.

3/6
Bathroom before.

4/6
Julian and Jordon restored heritage features in almost every room, including the claw-foot bath. Instead of spending $1500 on having it professionally restored, the pair used a DIY kit to great success. The basin and shower are both from Franklin’s.

5/6
Kitchen before.

6/6
“The dark, dingy kitchen required a big investment. We had a clear vision of a light, modern, open space with lots of storage.”
Words by: Jo Bates. Photography by: Nicola Edmonds.
EXPERT PROJECTS


Create the home of your dreams with Shop Your Home and Garden
SHOP NOW


