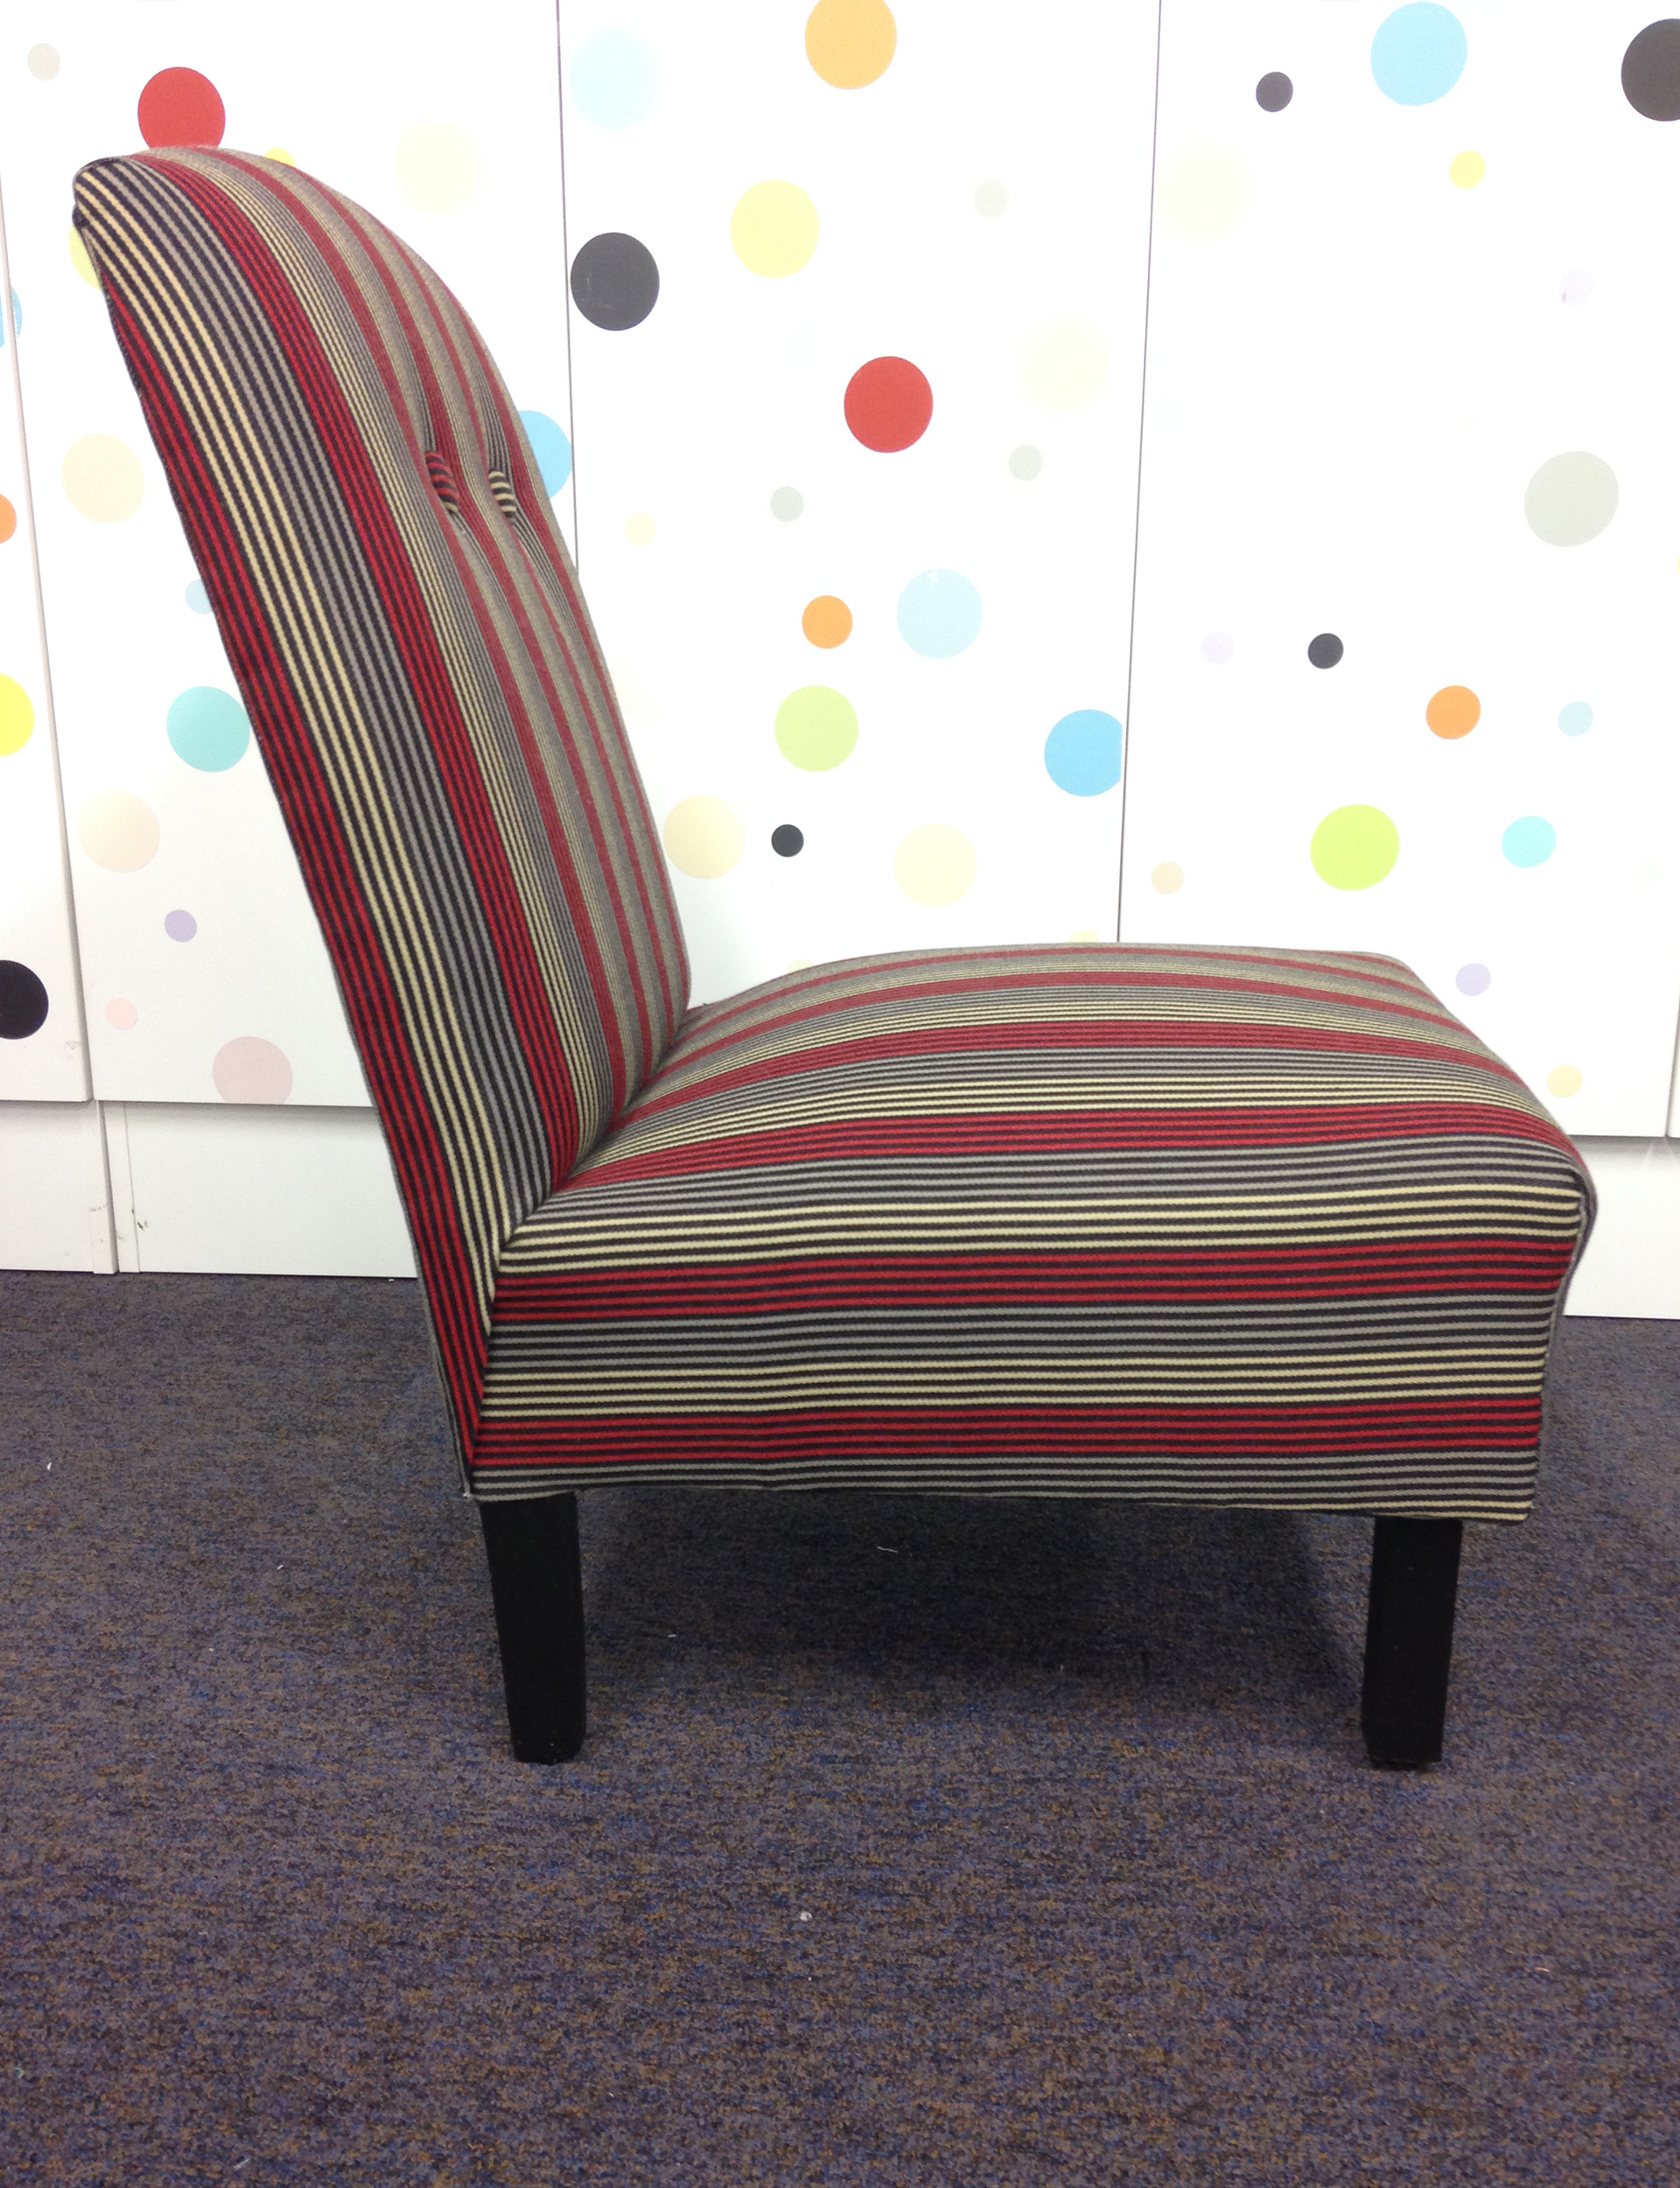
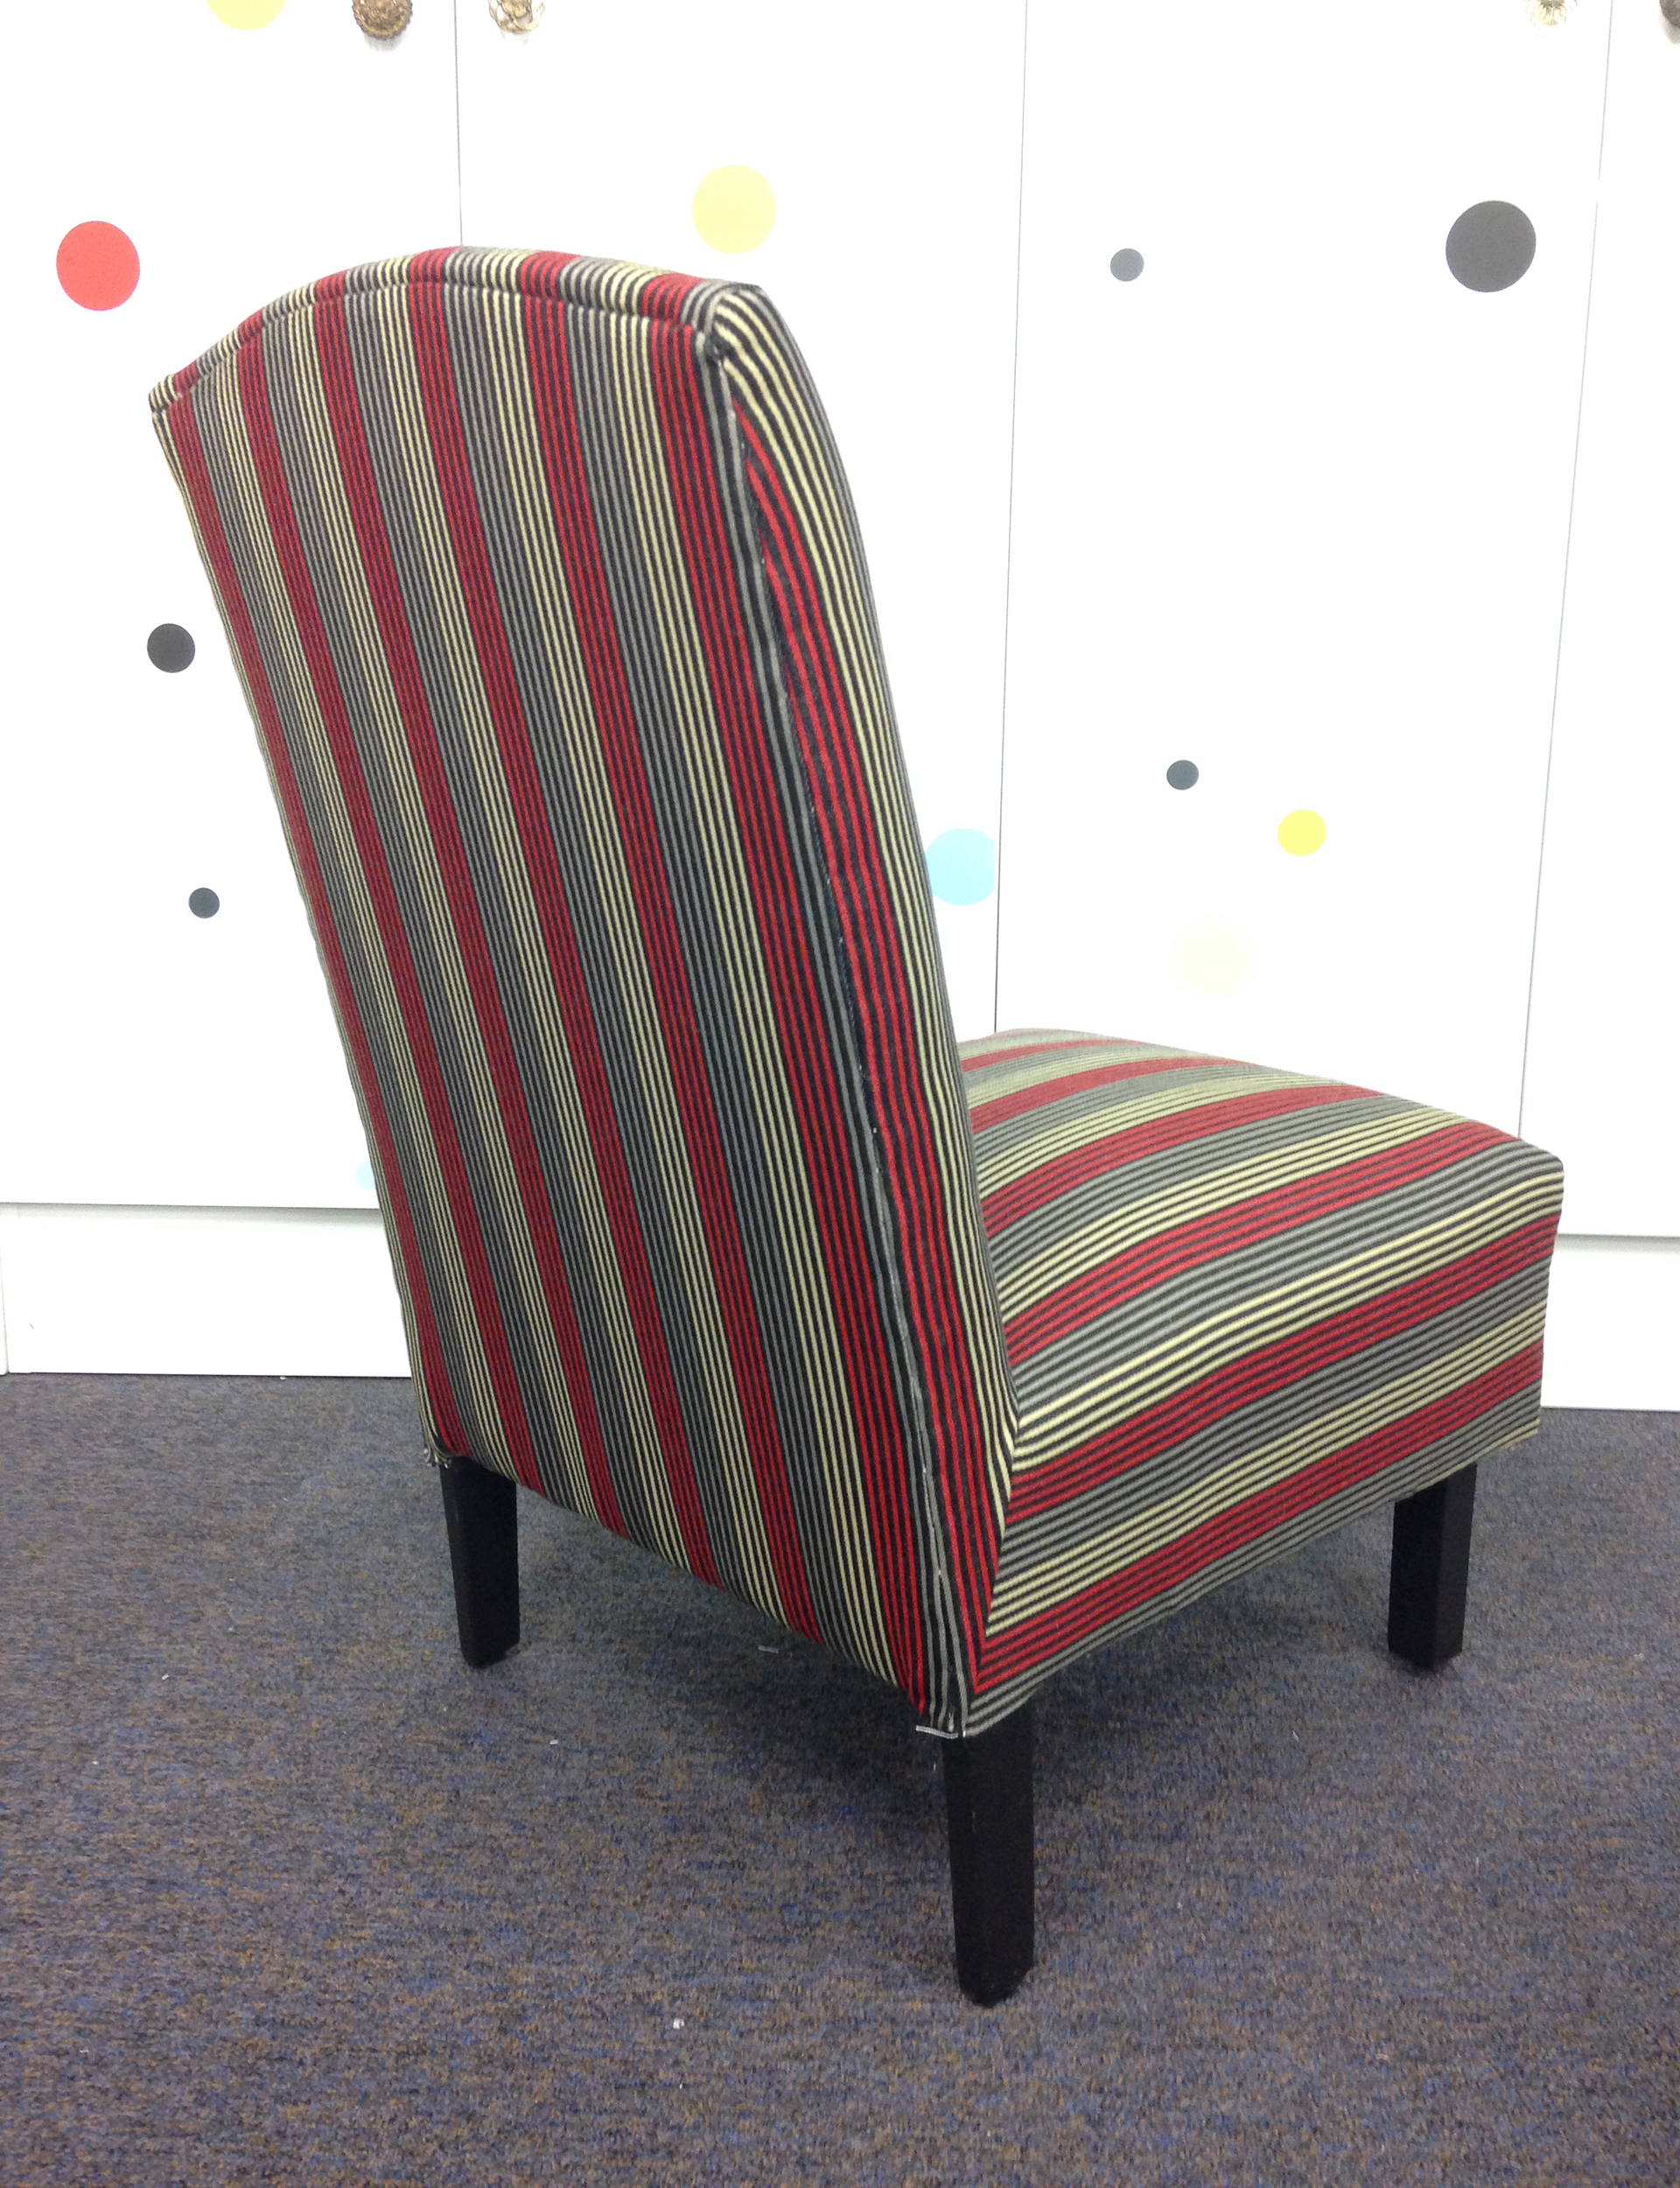
Upcycling expert Antonia Marino of Voodoo Molly shares her step-by-step reupholstering guide to help you give your fave vintage chair a new lease on life
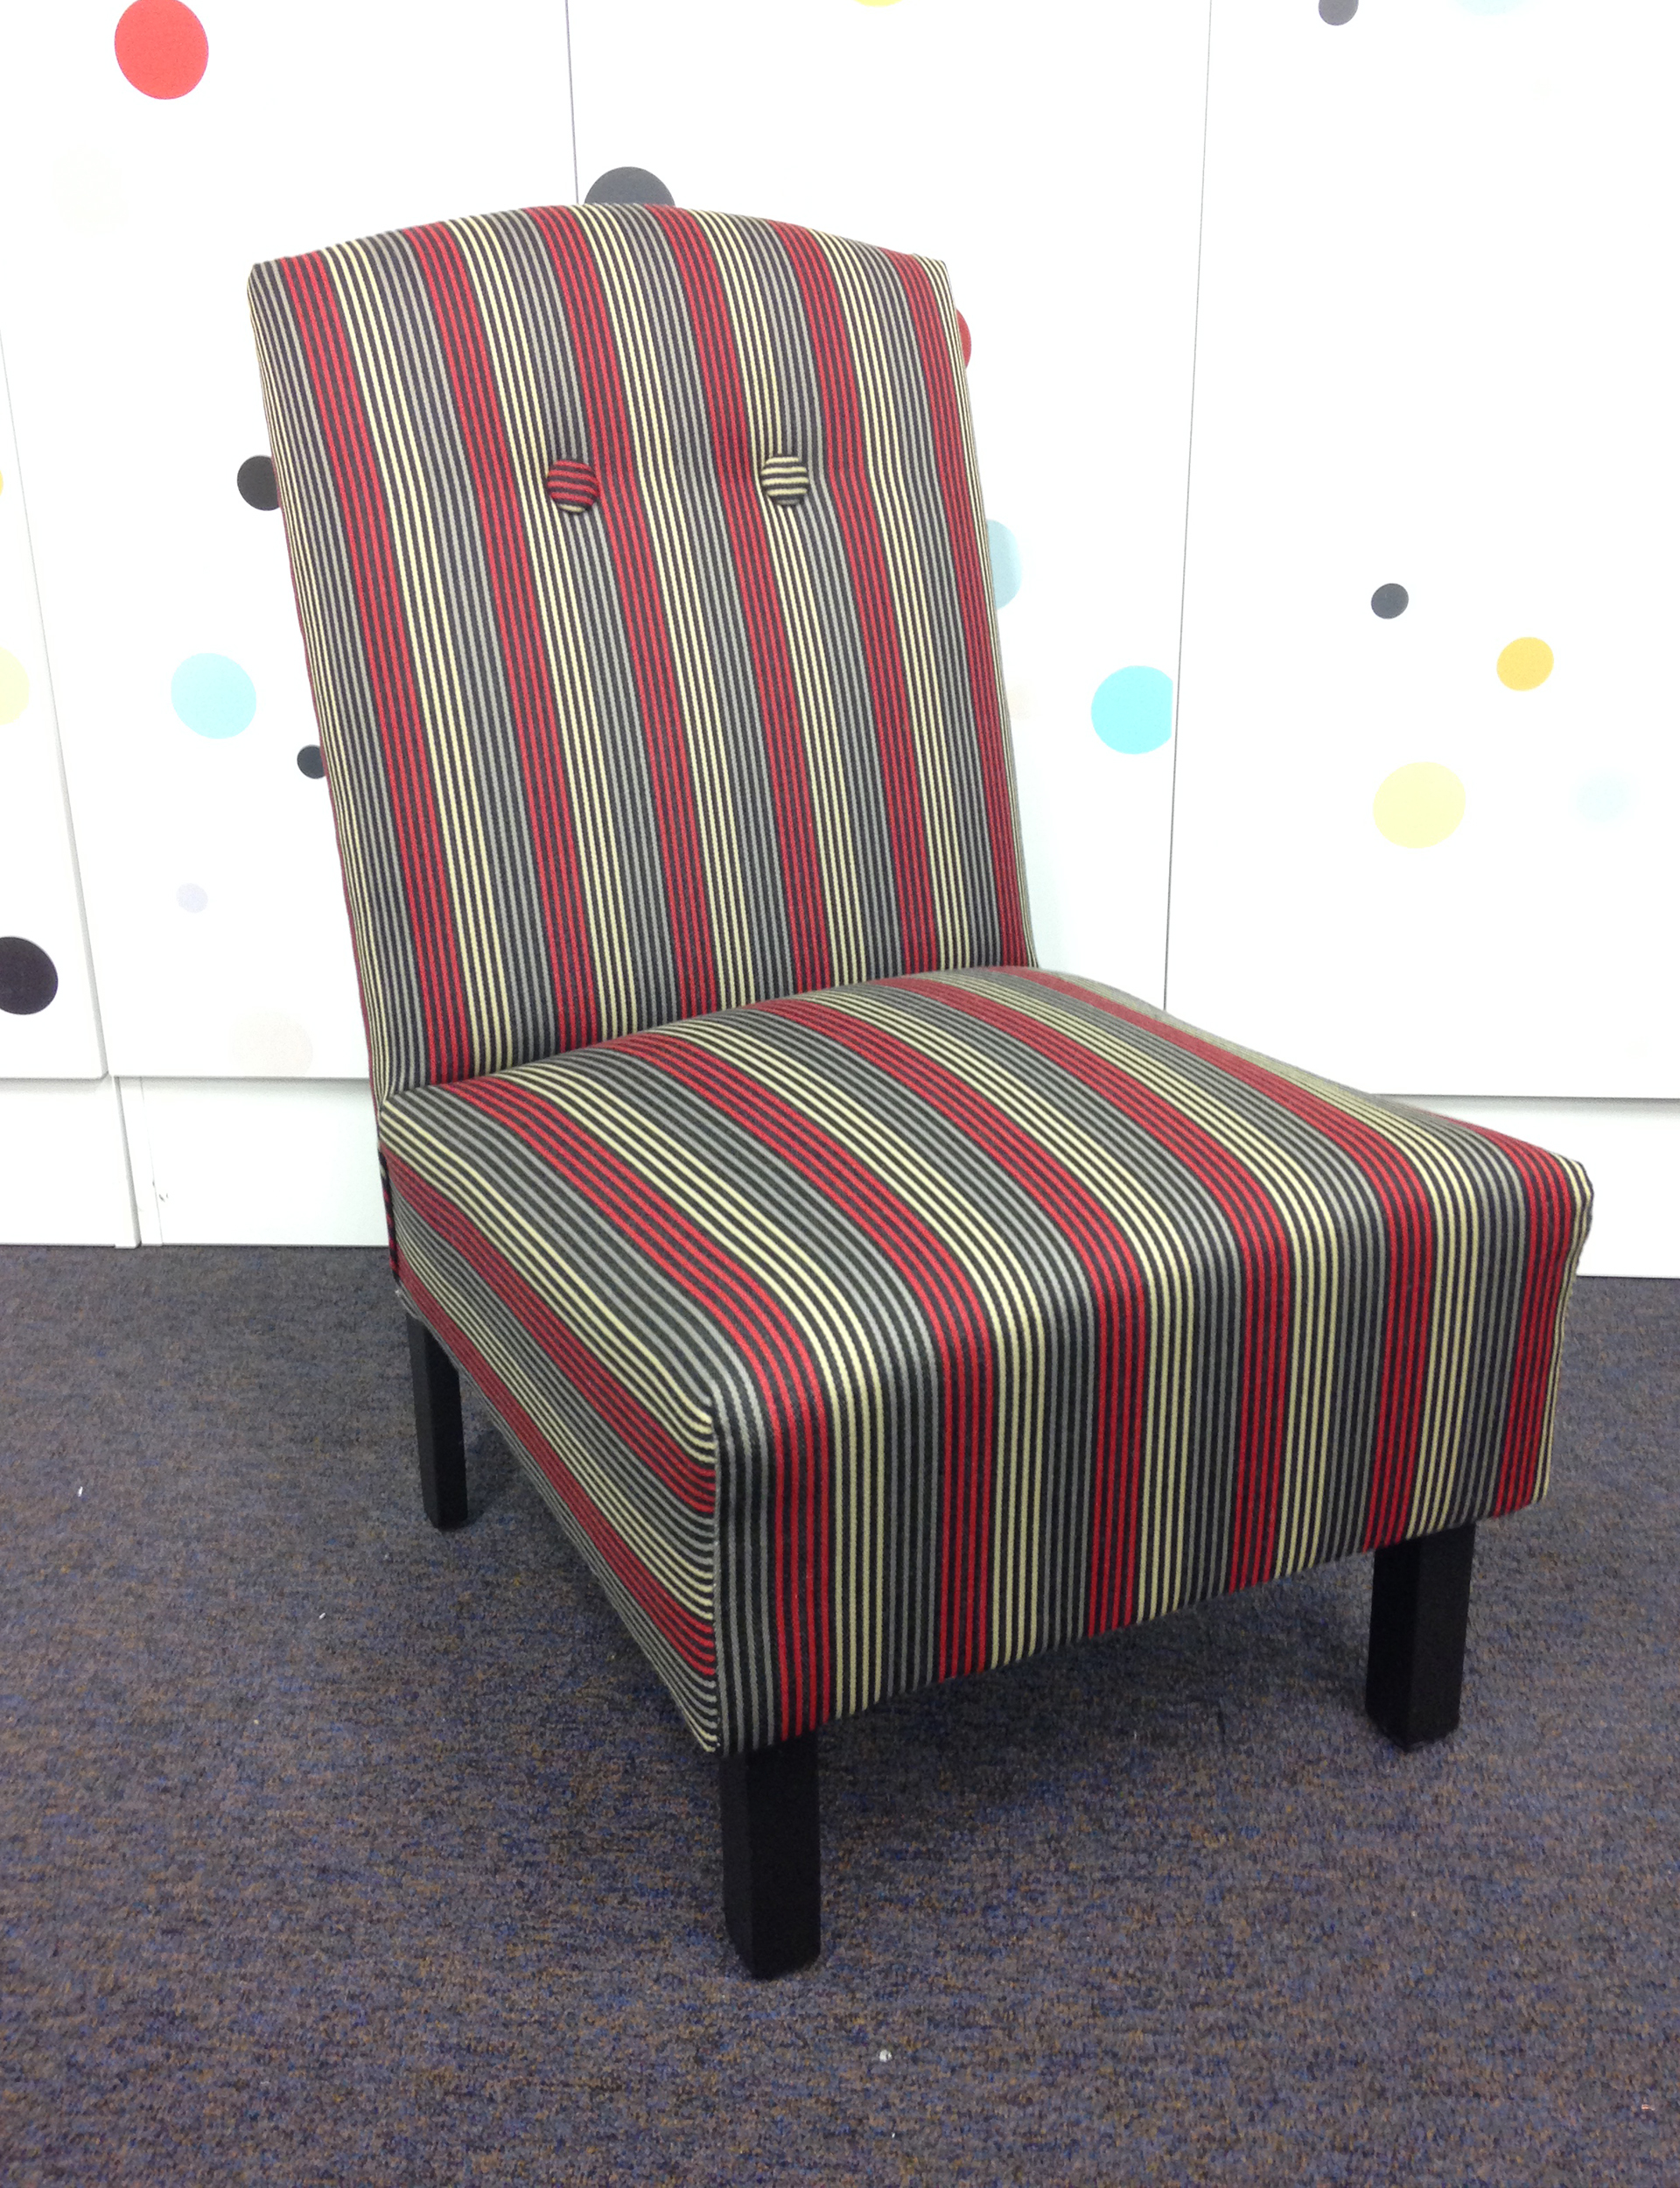
Your step-by-step guide to reupholstering an armless chair at home
This is one of the simplest chair types to re-cover, making it an ideal first project. It can be done without a sewing machine or specialist supplies – all you need is fabric, a gun stapler with 10mm staples, diagonal pliers and decorative nails
Step 1
+ To avoid a complete rebuild, pick a chair with structural integrity that has reusable foam, padding, springs and webbing.
+ Before you start, take lots of pictures of the chair – from every angle, of every fold and every seam.
Step 2
+ Label parts of the chair by using a marker to write the part name on each piece of fabric, with a directional arrow.
+ These will become your patterns and references.
Step 3
+While the old fabric is still in place, roughly measure each piece to work out how much fabric to buy.
+ Choose quality medium-weight, upholstery-grade fabric.
+ Add seam and stapling allowances plus about 15 percent for mistakes and flaws, and a little more if you are working with large patterns, stripes or geometrics.
Step 4
+ Carefully remove old fabric using diagonal pliers and a flathead screwdriver.
+ In most cases this means removing the bottom panel first and then the back panel.
+ Write the order down, and keep taking photos.
+ Keep fabric for reference.
Step 5
+ Using the old fabric as a guide, cut out new fabric pieces, adding 5cm pulling allowance all around.
+ Label pieces on the back with chalk.
+ For a simple chair you’ll cut out three pieces of fabric: seat, inside back and outside back.
Step 6
+ Secure seat fabric onto seat with 10mm staples.
+ Start with centre front, then staple centre back, then centre sides.
+ Do not staple too close to the corners at this stage.
Step 7
+ “Release cuts” are needed so the fabric can be pushed around corners of leg posts.
+ To do these, cut in from the edge of the fabric to the point where the fabric hits the post.
Step 8
+ Fold in corners neatly and staple down.
+ Cut excess fabric from inside fold to reduce bulk.
Step 9
+ Repeat steps 6 and 8 for inside back, making sure to work out from centre of each edge.
Step 10
+ Add buttons now if you wish, using a long button needle and tough nylon twine.
Step 11
+ You’ll be using decorative dome-head nails (not staples) to secure fabric to outside back.
+ Lay fabric over back of chair, making sure it’s straight.
+ Fold top and side edges of fabric under and carefully hammer a decorative nail into top two corners.
+ Staple bottom edge underneath chair.
+ Carefully hammer decorative nails evenly around the rest of the fabric to secure it.
Step 12
+ To add dustcloth, lay black cotton fabric under base of chair and fold edges under.
+ Staple cloth in place, starting from centre of each side and working out to the corners.
+ Cut release cuts if necessary to fit around the legs.
For more information, video tutorials, to buy Vintage Paint, or to book an upholstery course with Mollies Make & Create, visit voodoomolly.nz.
Photography by: Maree Homer/ bauersyndication.com.au. Words by: Fiona Ralph.
EXPERT PROJECTS


Create the home of your dreams with Shop Your Home and Garden
SHOP NOW


