From practical jewellery holders to stylish keyrings, these four clever ways of using fimo are a great way to style your home without costing a fortune
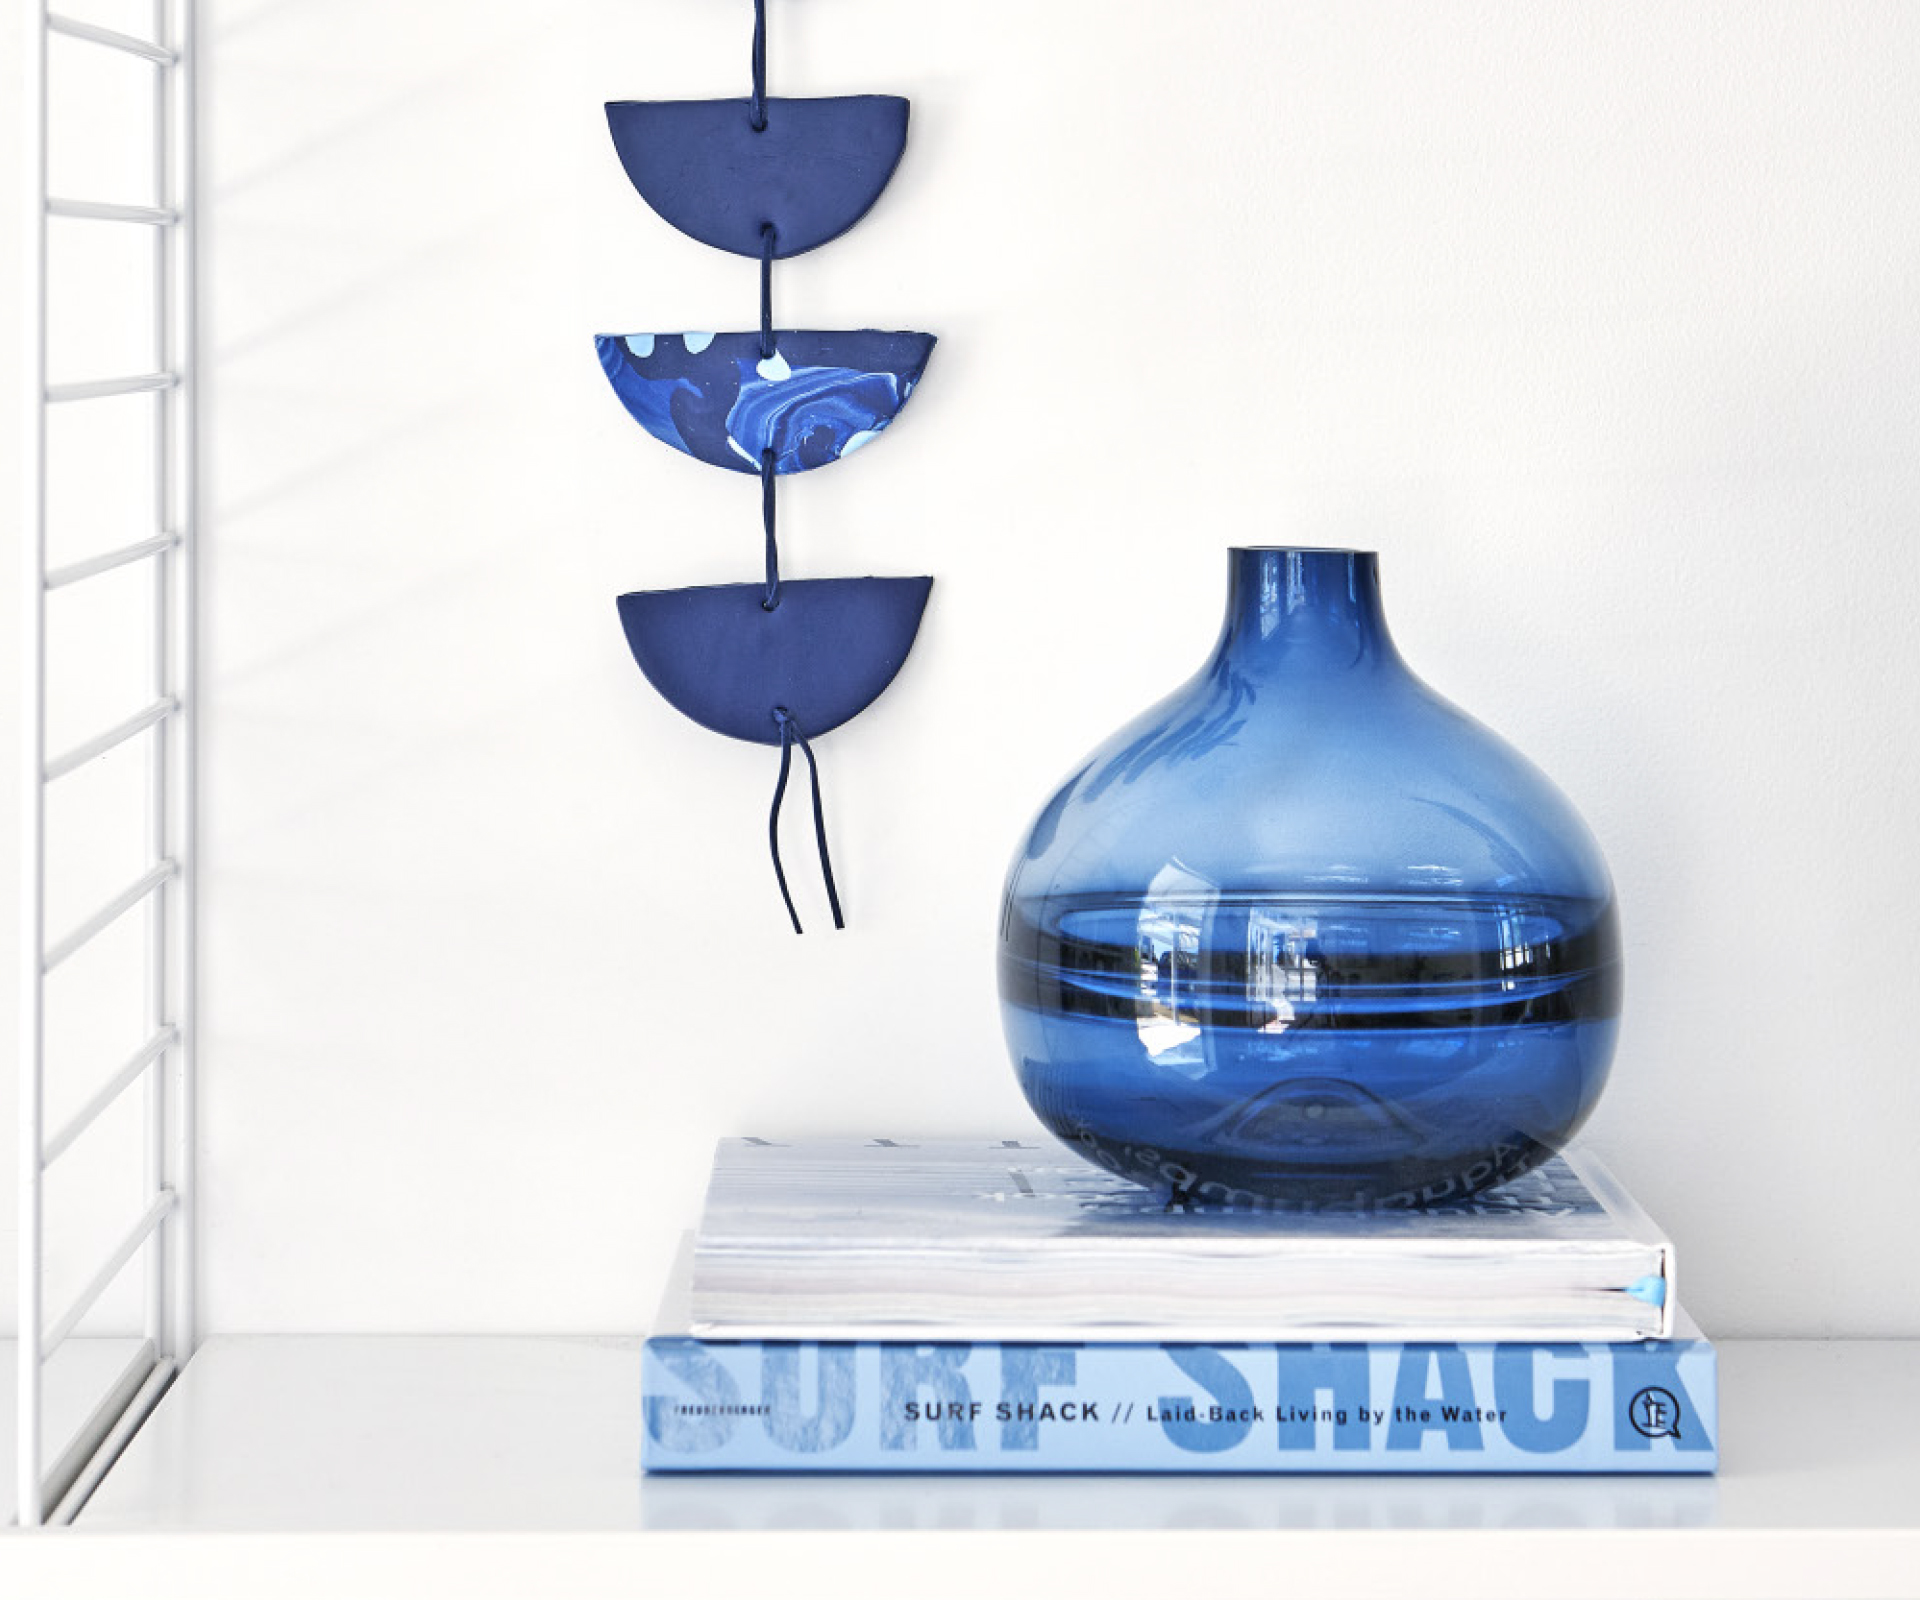
1. Wall Sculpture
+ Take 2 packets of navy Fimo and roll in hands until soft.
+ To create a marbled look, add some pale blue Fimo and roll until colours swirl together.
+ Roll out to a 2cm thickness.
+ Use a large cookie cutter to cut out 2 circles, then cut each in half with a knife.
+ Make a hole at top and bottom of each half-circle with a skewer.
+ Bake as per instructions for jewellery dish.
+ Cool for 1 hour then thread onto twine or a suede thong and hang.
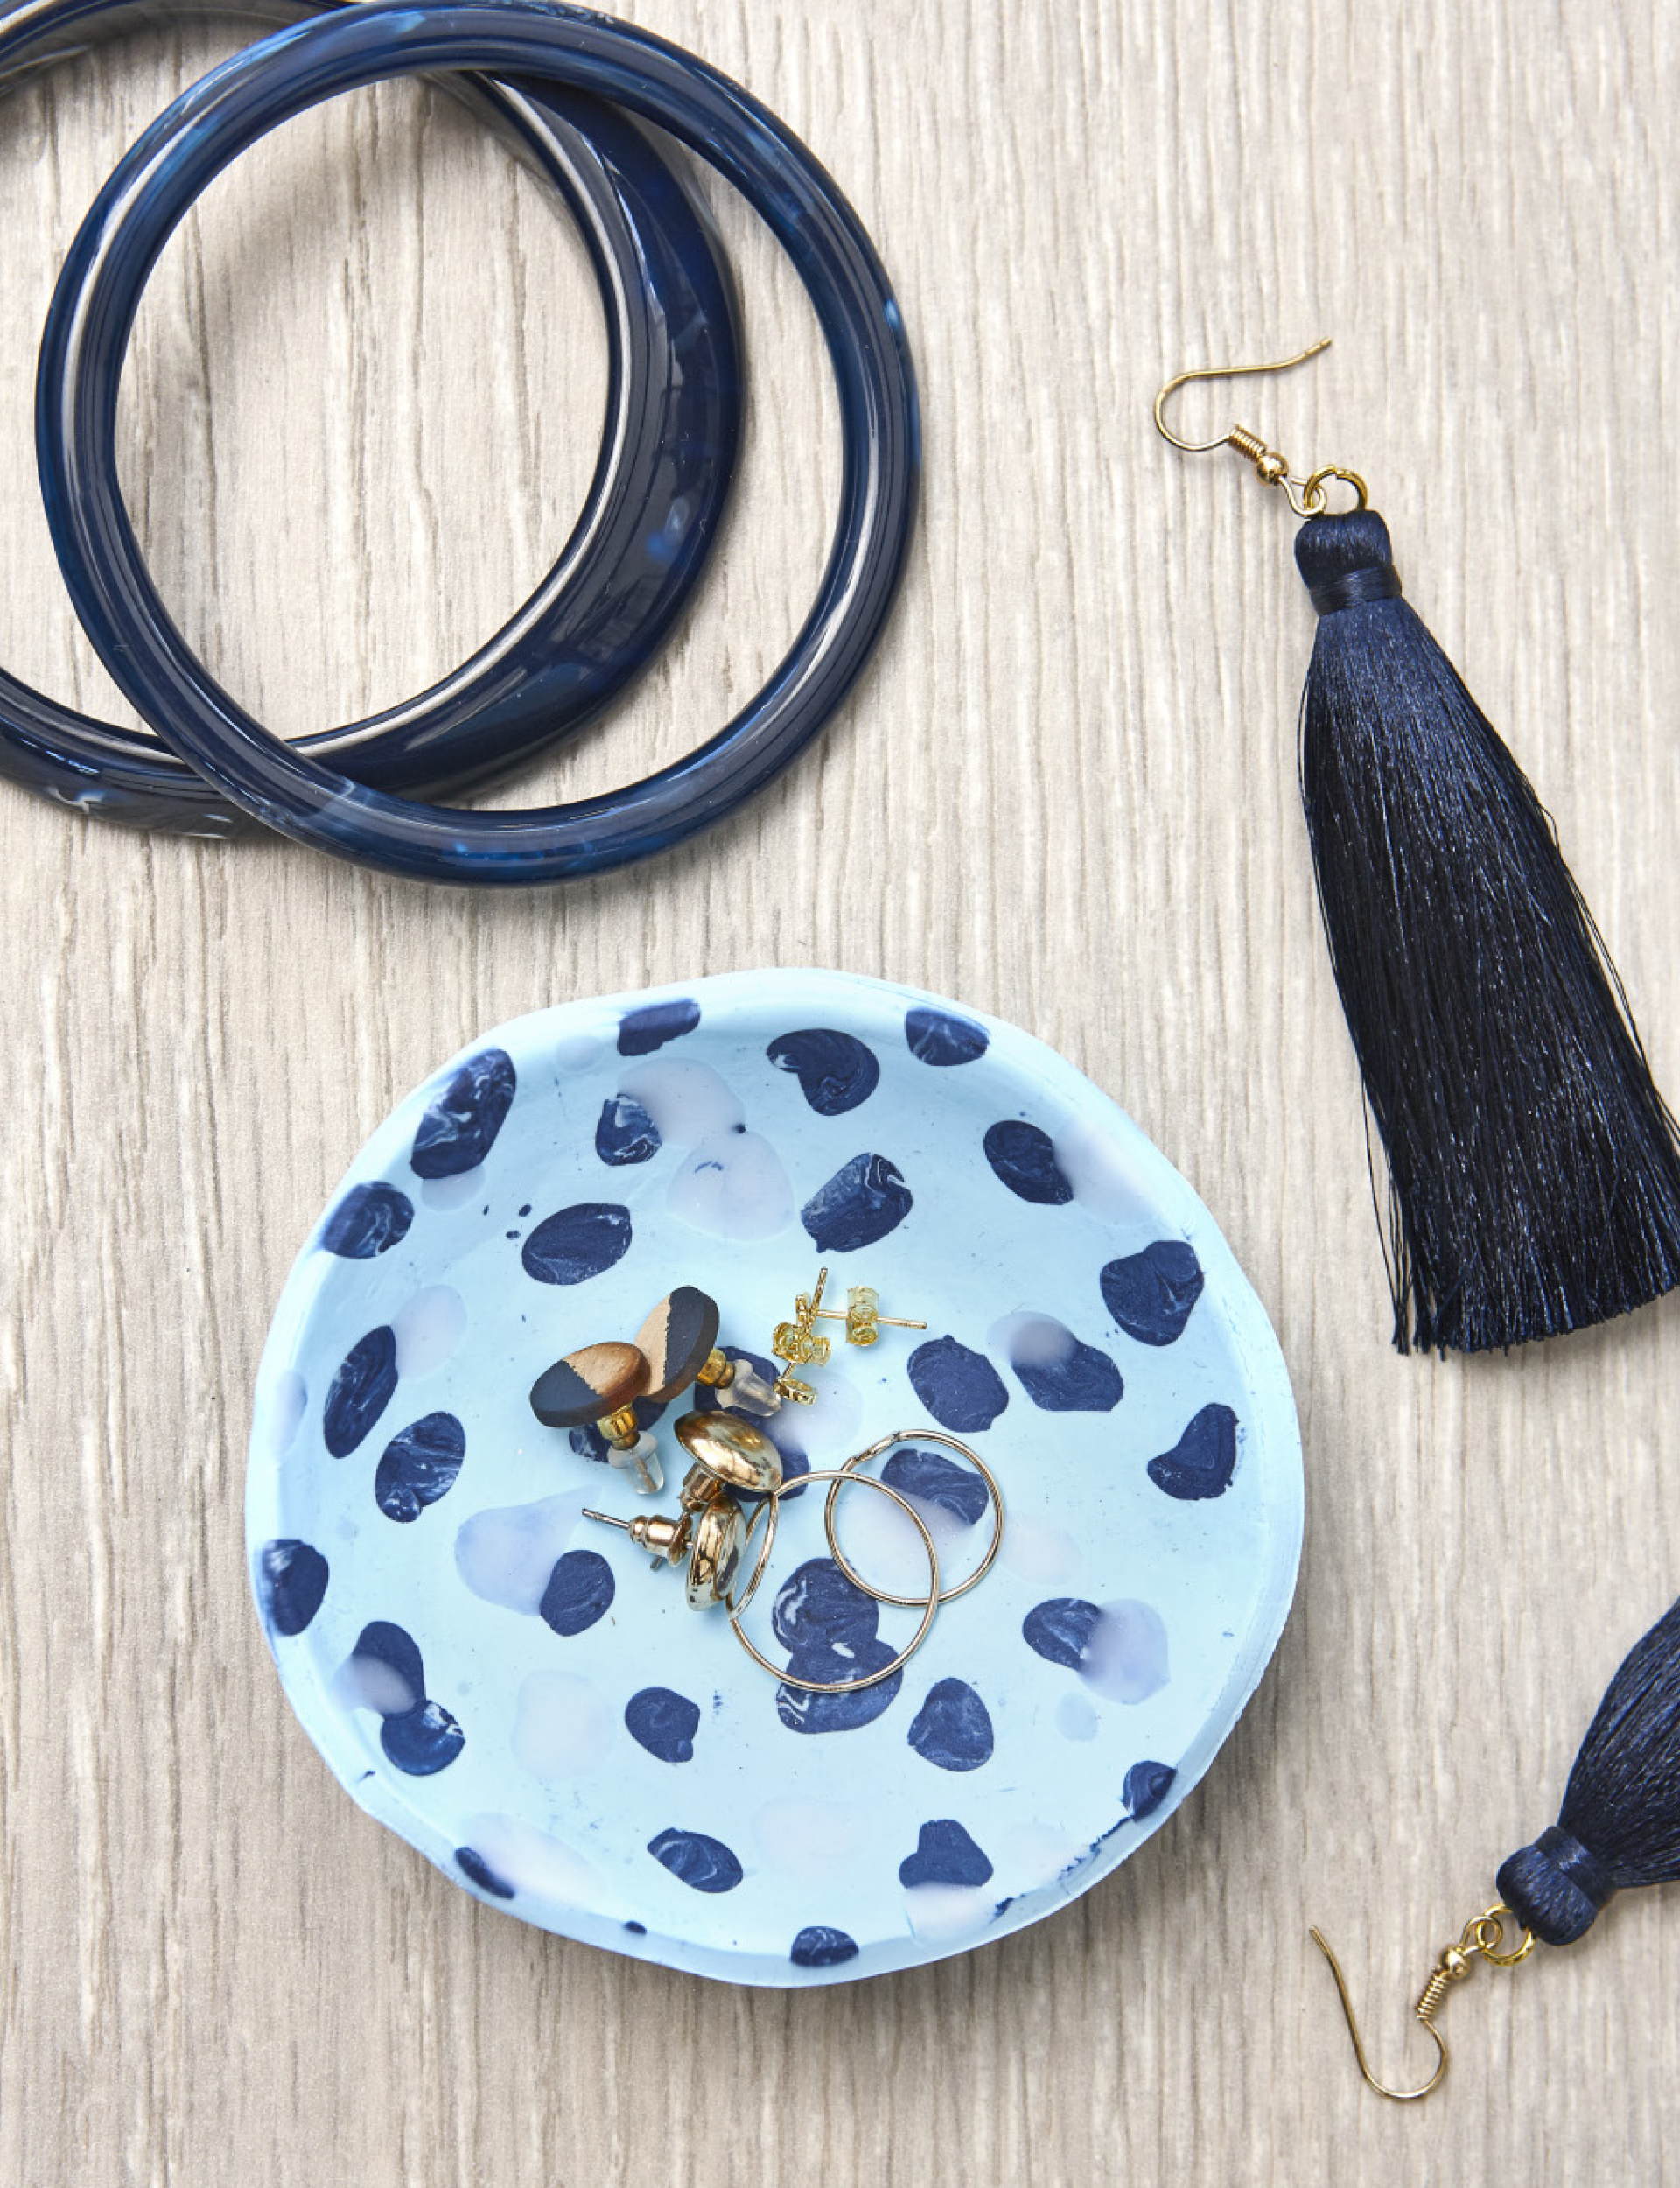
2. Jewellery Dish
+ Roll 2 packets of pale blue Fimo in your hands until soft.
+ With a rolling pin, roll out to a 2-2.5cm thickness.
+ Break off tiny pieces of Fimo from a navy and a white block and randomly place on the pale blue to create a terrazzo look.
+ Roll over top with rolling pin.
+ Place Fimo over a small ovenproof condiment dish to form the shape of your jewellery dish and trim edges.
+ Place on a baking paper-lined tray and bake at 110°C for 30 minutes.
+ Leave to cool.
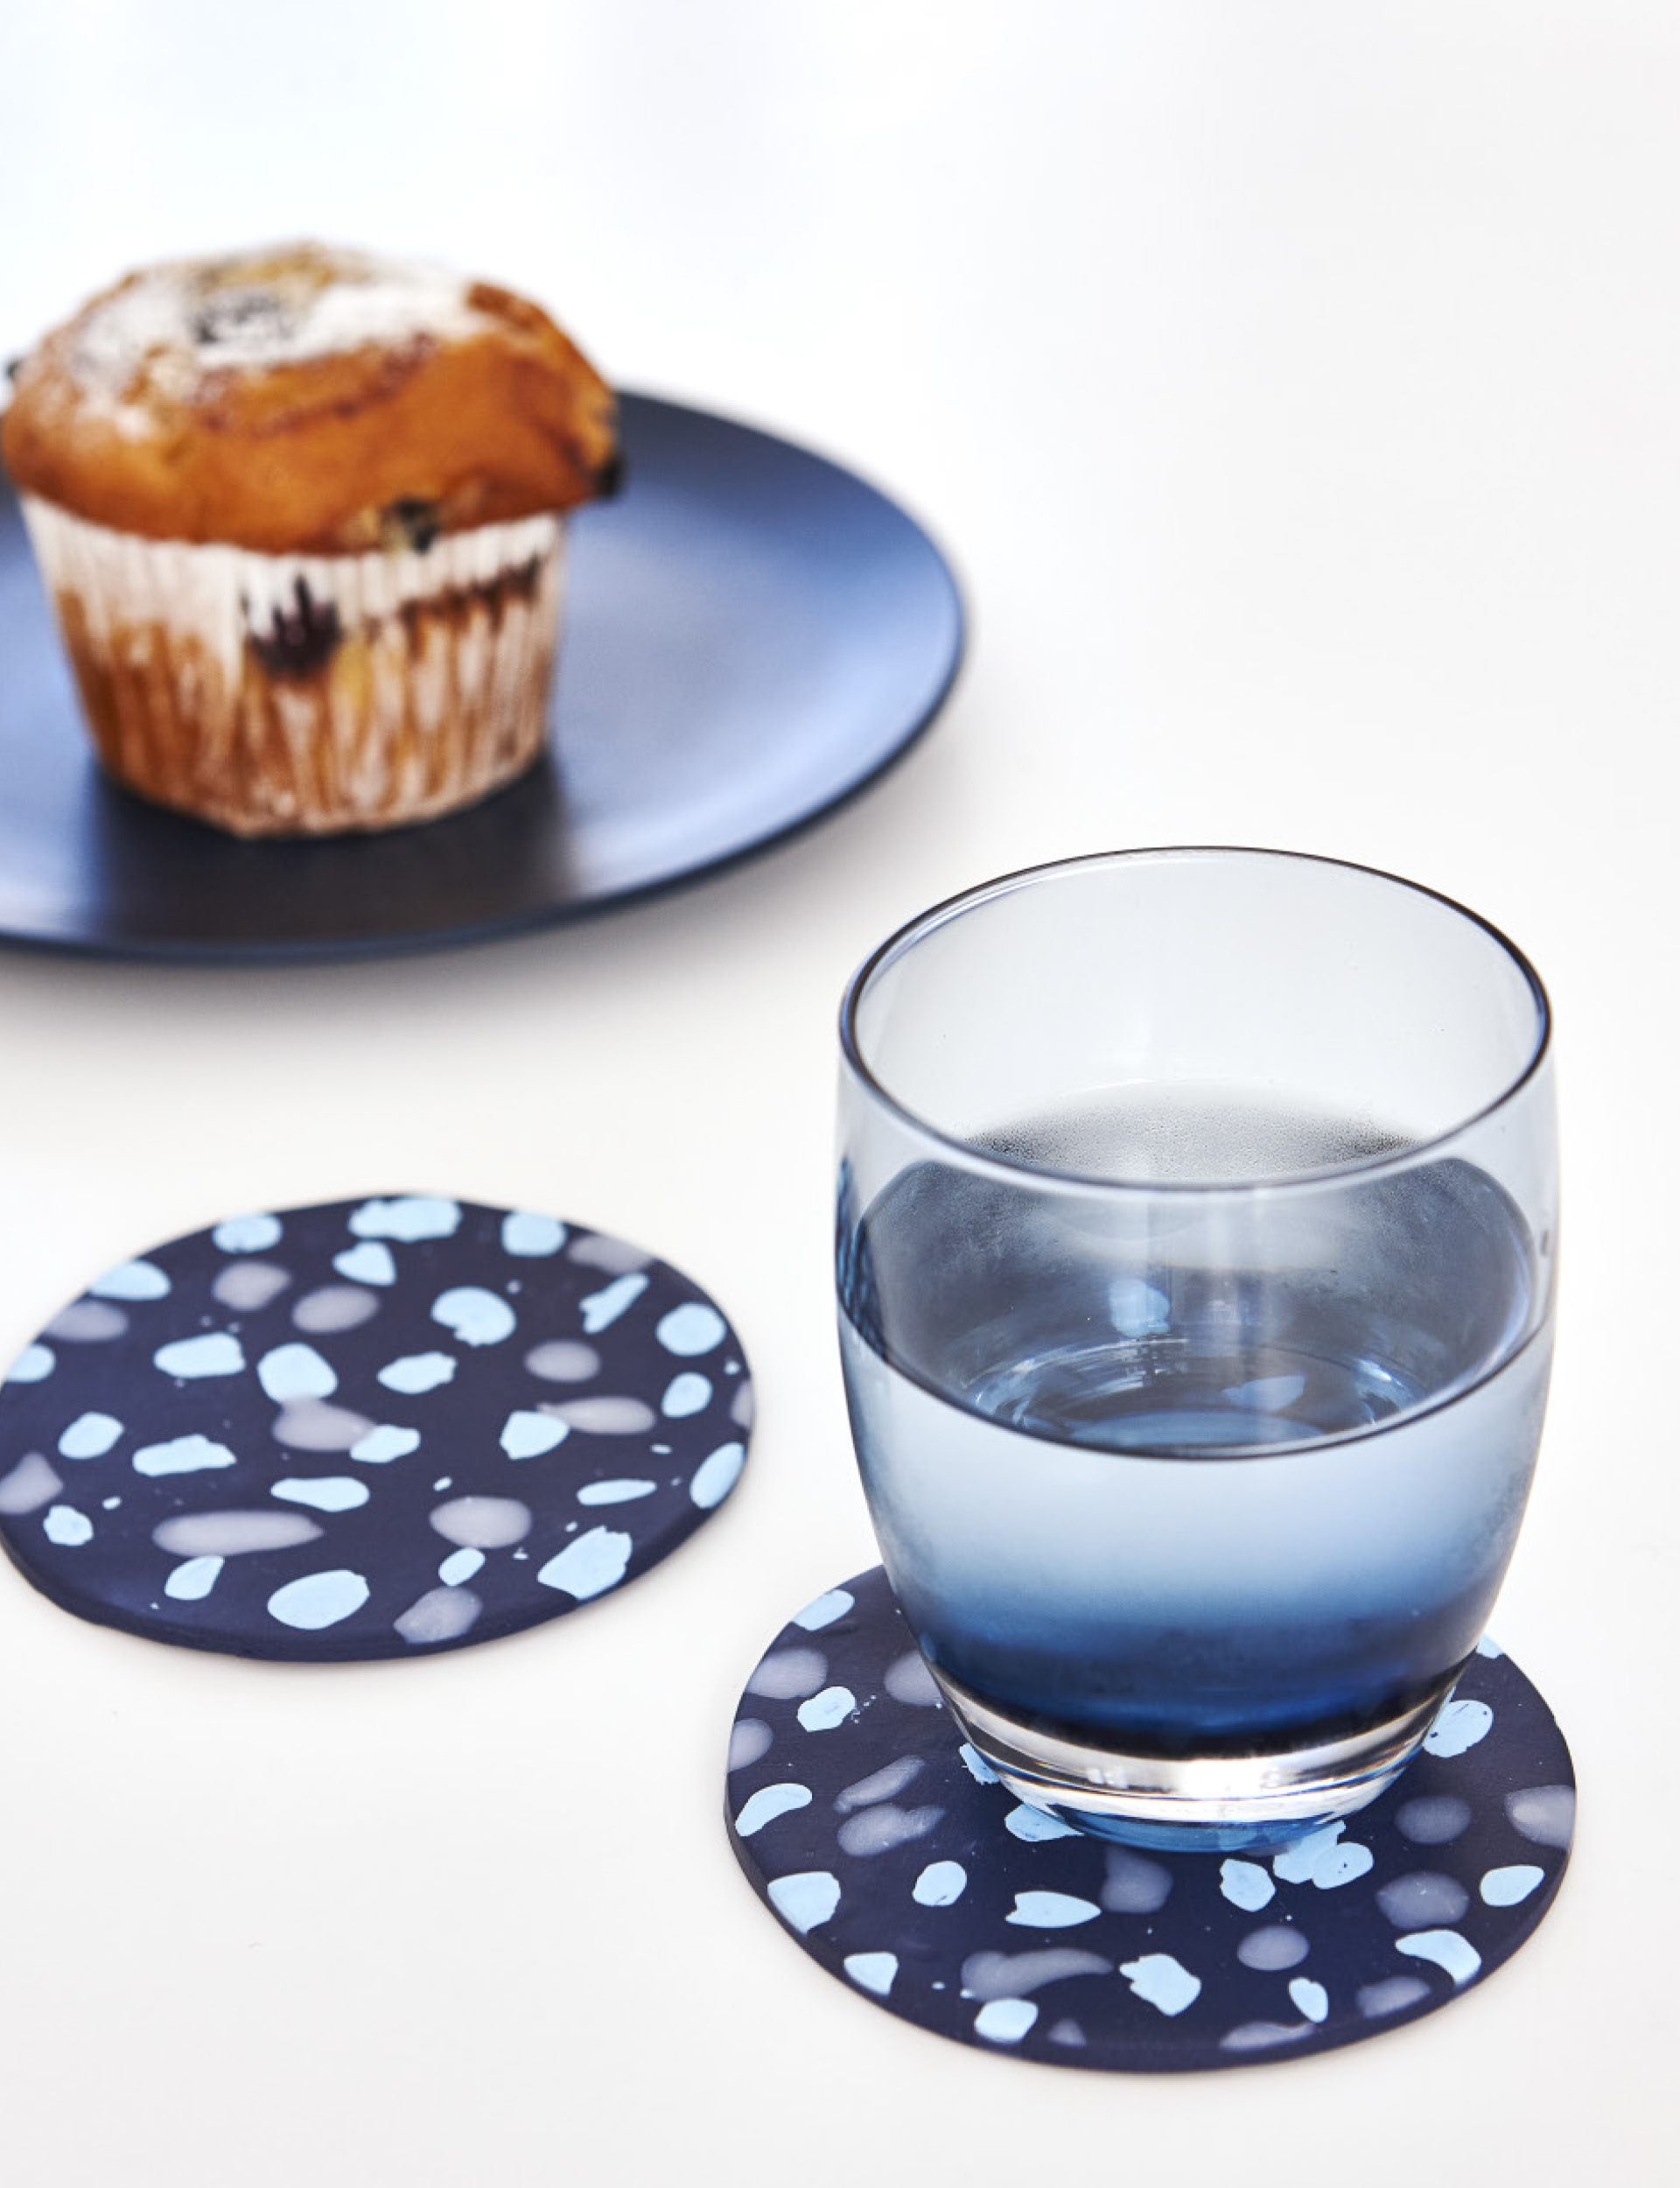
3. Coasters
+ Roll 2 packets of navy Fimo in your hands until soft.
+ With a rolling pin, roll out to a 1-2cm thickness.
+ Create a terrazzo effect with pale blue and white Fimo, as per instructions for jewellery dish.
+ Cut out coaster shapes using a 10cm cutter.
+ Place on a baking paper-lined tray and bake at 110°C for 30 minutes.
+ Leave to cool for at least 1 hour before use.
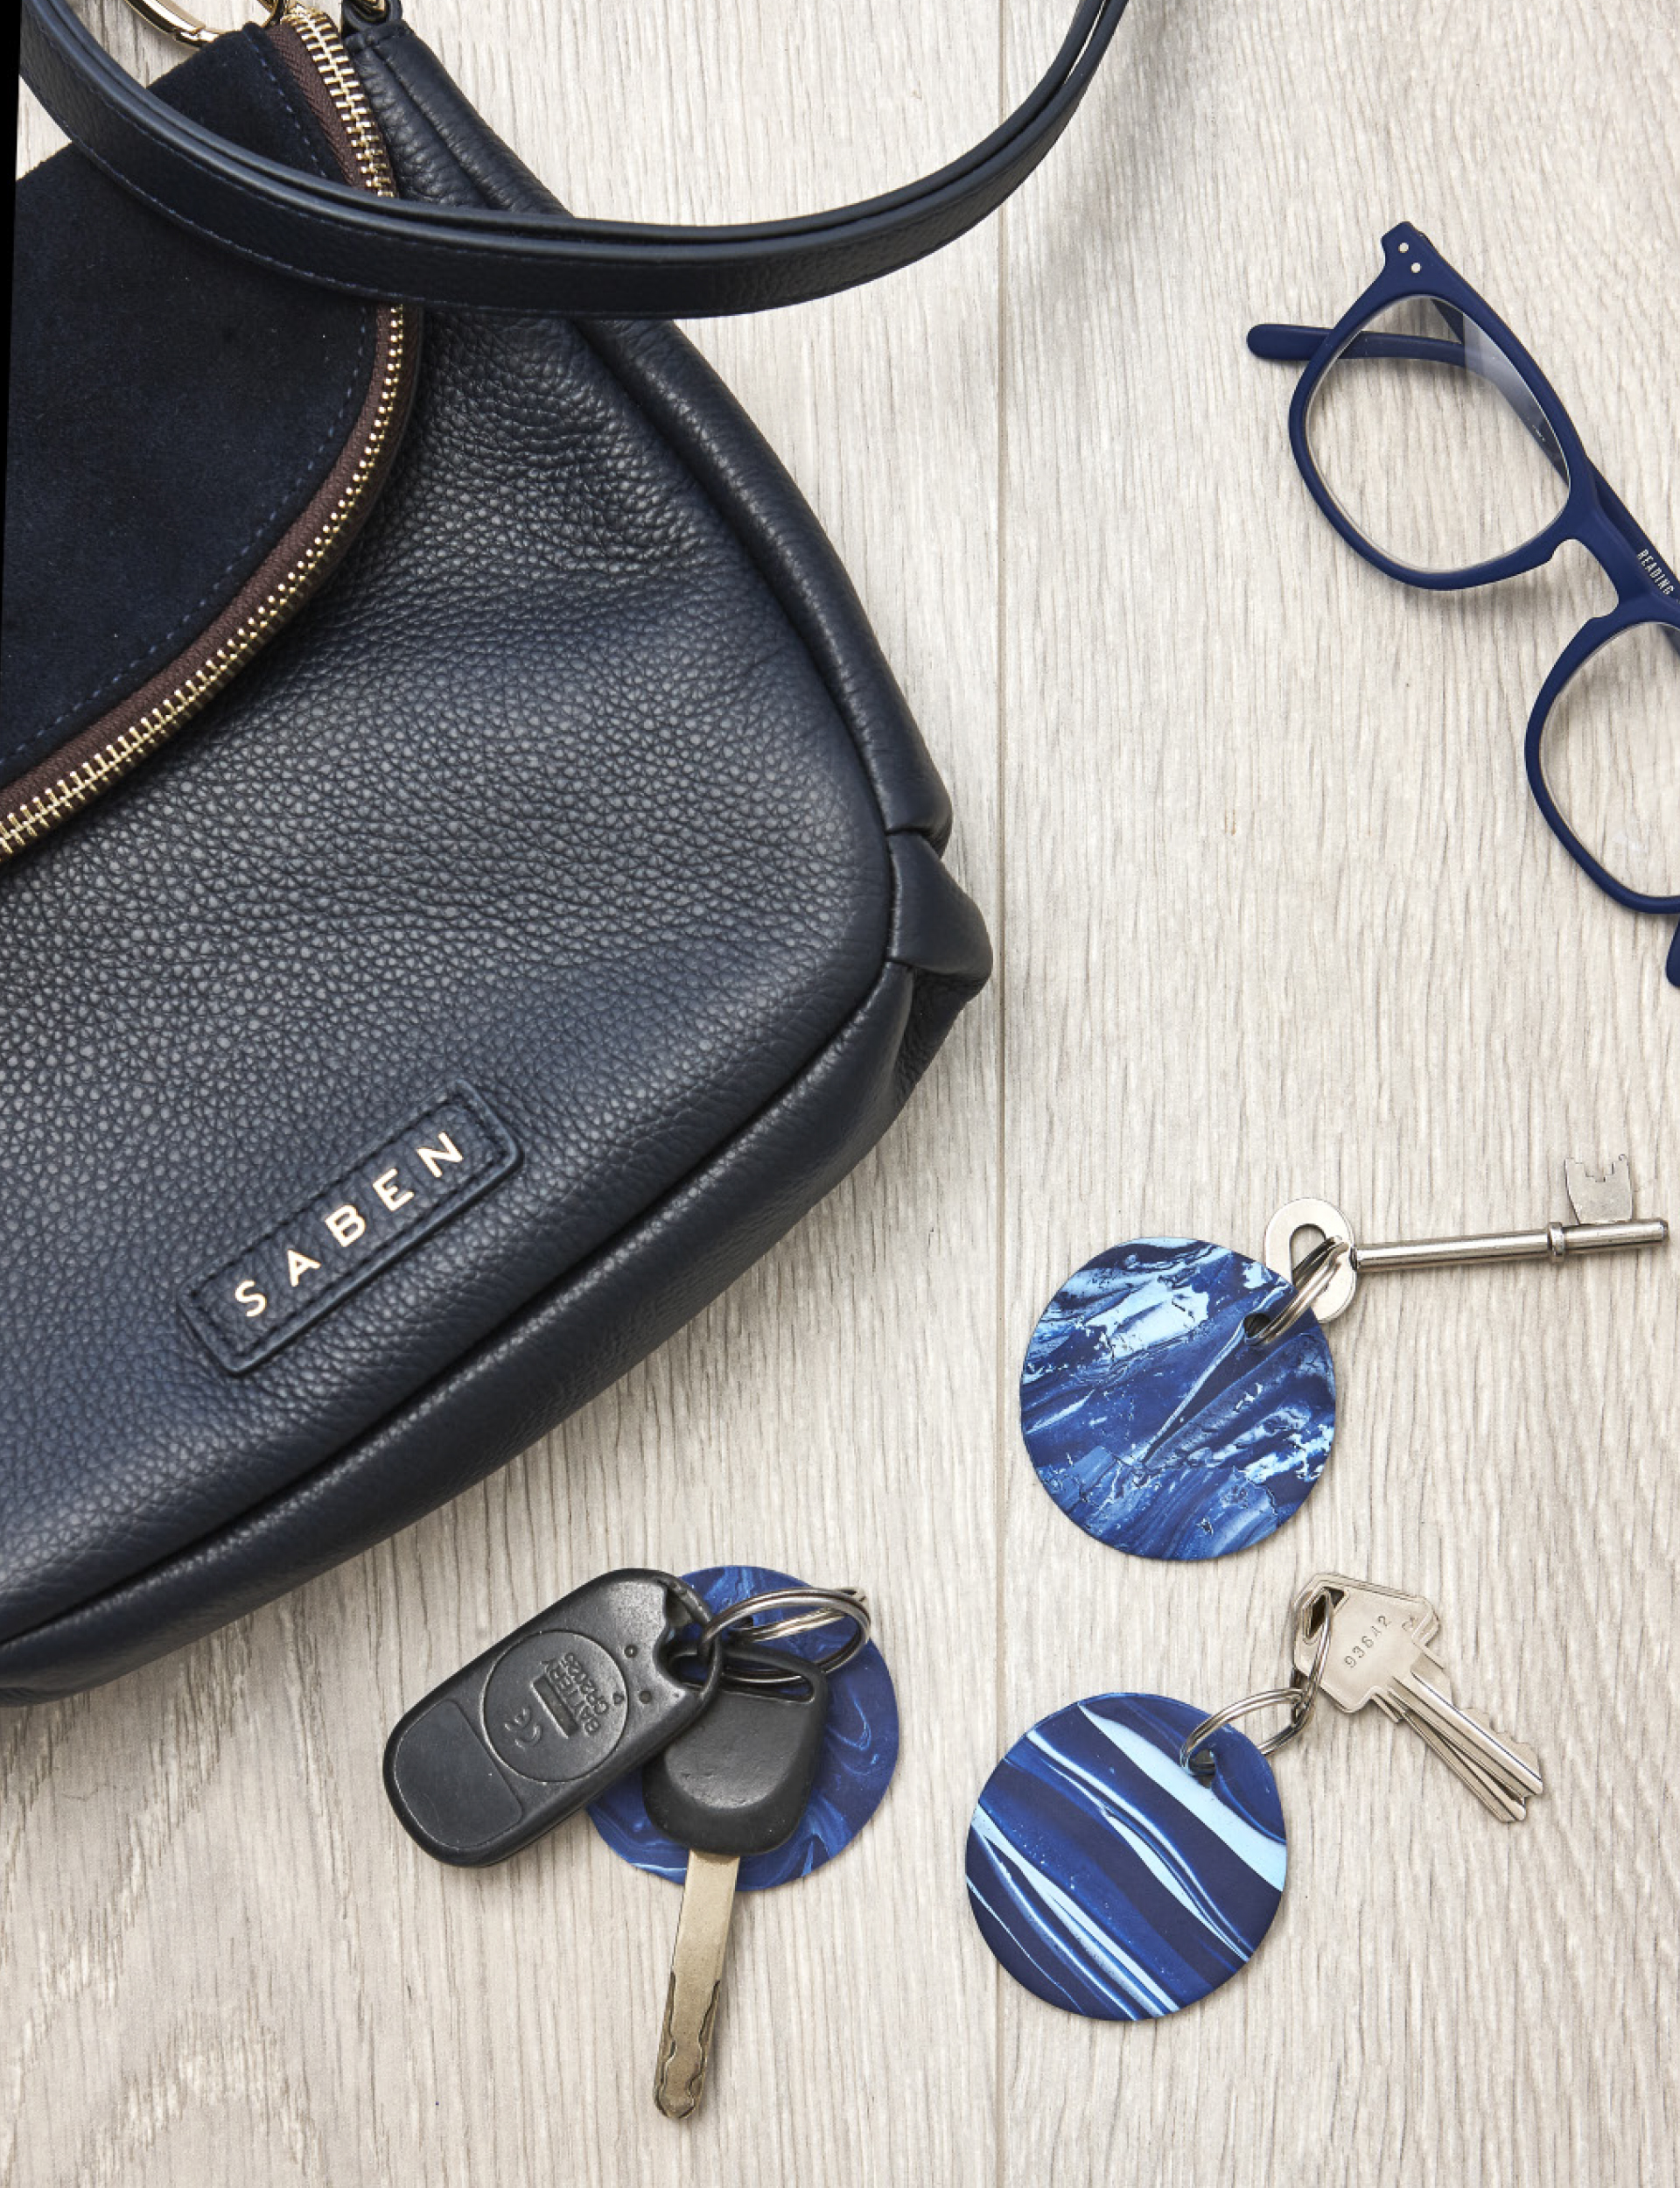
4. Key Ring
+ Follow same instructions as for the coasters, playing with the Fimo to make a pattern you like, but use a 6cm cookie cutter to cut out discs.
+ Use a skewer to make a hole in each to fit a metal key ring.
+ Bake as above.
+ When cold, attach key rings.
Created by: Vanessa Nouwens. Photography by: Wendy Fenwick.
EXPERT PROJECTS


Create the home of your dreams with Shop Your Home and Garden
SHOP NOW


